Table of Contents
MECM Installation series
| The installation and configuration of a full MECM setup is a complex hence time consuming activity. I have slides these steps in multiple blog articles to create a better overview |
- Part 1 : Installation of MECM 2207 with CMG
- Part 2 : Installation of a Root Authority for MECM with CMG (this article)
- Part 3: Installation of Cloud Management Gateway (CMG)
- Part 4: Installation of ConfigMgr client yet to be posted (stay tuned 📻)
Introduction
We will need certificates for the following MECM related components:
- Root certificate
- CMG Web Server certificate
- MECM Web Server certificate (optional, required for https PKI)
- Client certificate (optional, required for https PKI)
MECM Required certificates
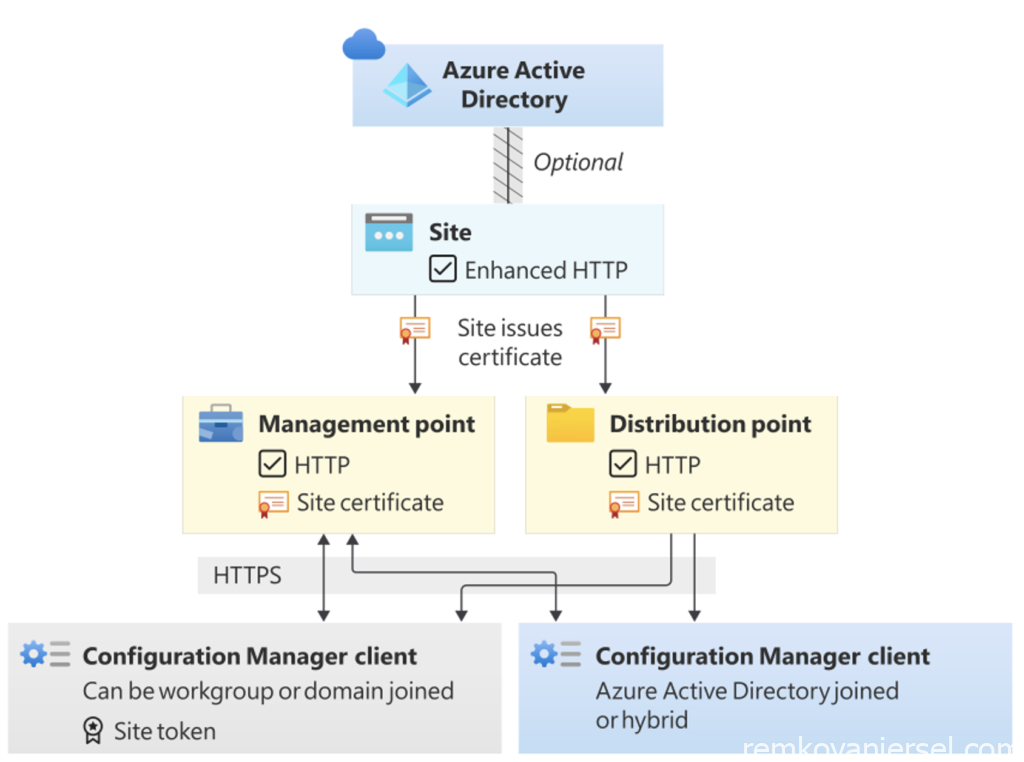
Now this is getting interesting and potential difficult, as MECM presents you with different http/https/PKI options and if one is set wrong you will end up with issues which are hard to troubleshoot
- Download pending = wrong client connections setting on management point
- Downloading forever = wrong communication setting on distribution point(s)
There are three options:
| Enhanced HTTP without CMG | Enhanced HTTP with CMG | Full PKI with CMG | |
| Complexity | Simple | Medium | Complex |
| Required certificates | – Root certificate | – Root certificate- MECM CMG Webserver certificate | – Root certificate- MECM CMG Webserver certificate- Client certificate |
| Management PointGeneral Setting | – HTTP (means enhanced)- Option NOT set to Allow Configuration Manager cloud management gateway traffic | – HTTP (means enhanced)- Option set to Allow Configuration Manager cloud management gateway traffic- Option set to Allow intranet and Internet connections | – HTTPS – Option set to Allow Configuration Manager cloud management gateway traffic- Option set to Allow intranet and Internet connections |
| Distribution PointCommunication Setting | – HTTP (= enhanced)- Option set to Create self signed certificate | – HTTP (= enhanced)- Option set to Create self signed certificate | – HTTPS (Note: Client MUST have a valid PKI client certificate) |
| Microsoft documentation | https://learn.microsoft.com/en-us/mem/configmgr/core/plan-design/hierarchy/enhanced-http | https://learn.microsoft.com/en-us/mem/configmgr/core/plan-design/security/plan-for-certificates |
Installation of Certificate Authority
A certificate authority (CA) is needed for MECM as it depends on internal certificate (such as root certificate)
The following guide is a “quick” setup of a CA setup, and for enterprise environments not recommended as it doesn’t follow the best practices.
For more information see https://learn.microsoft.com/en-us/previous-versions/windows/it-pro/windows-server-2012-r2-and-2012/hh831574(v=ws.11)
Before we begin, make sure your account is a member of the Domain Admins and Enterprise Admins groups. We need to have temporary Enterprise Admins, after we are done you need to remove this membership for security best practices
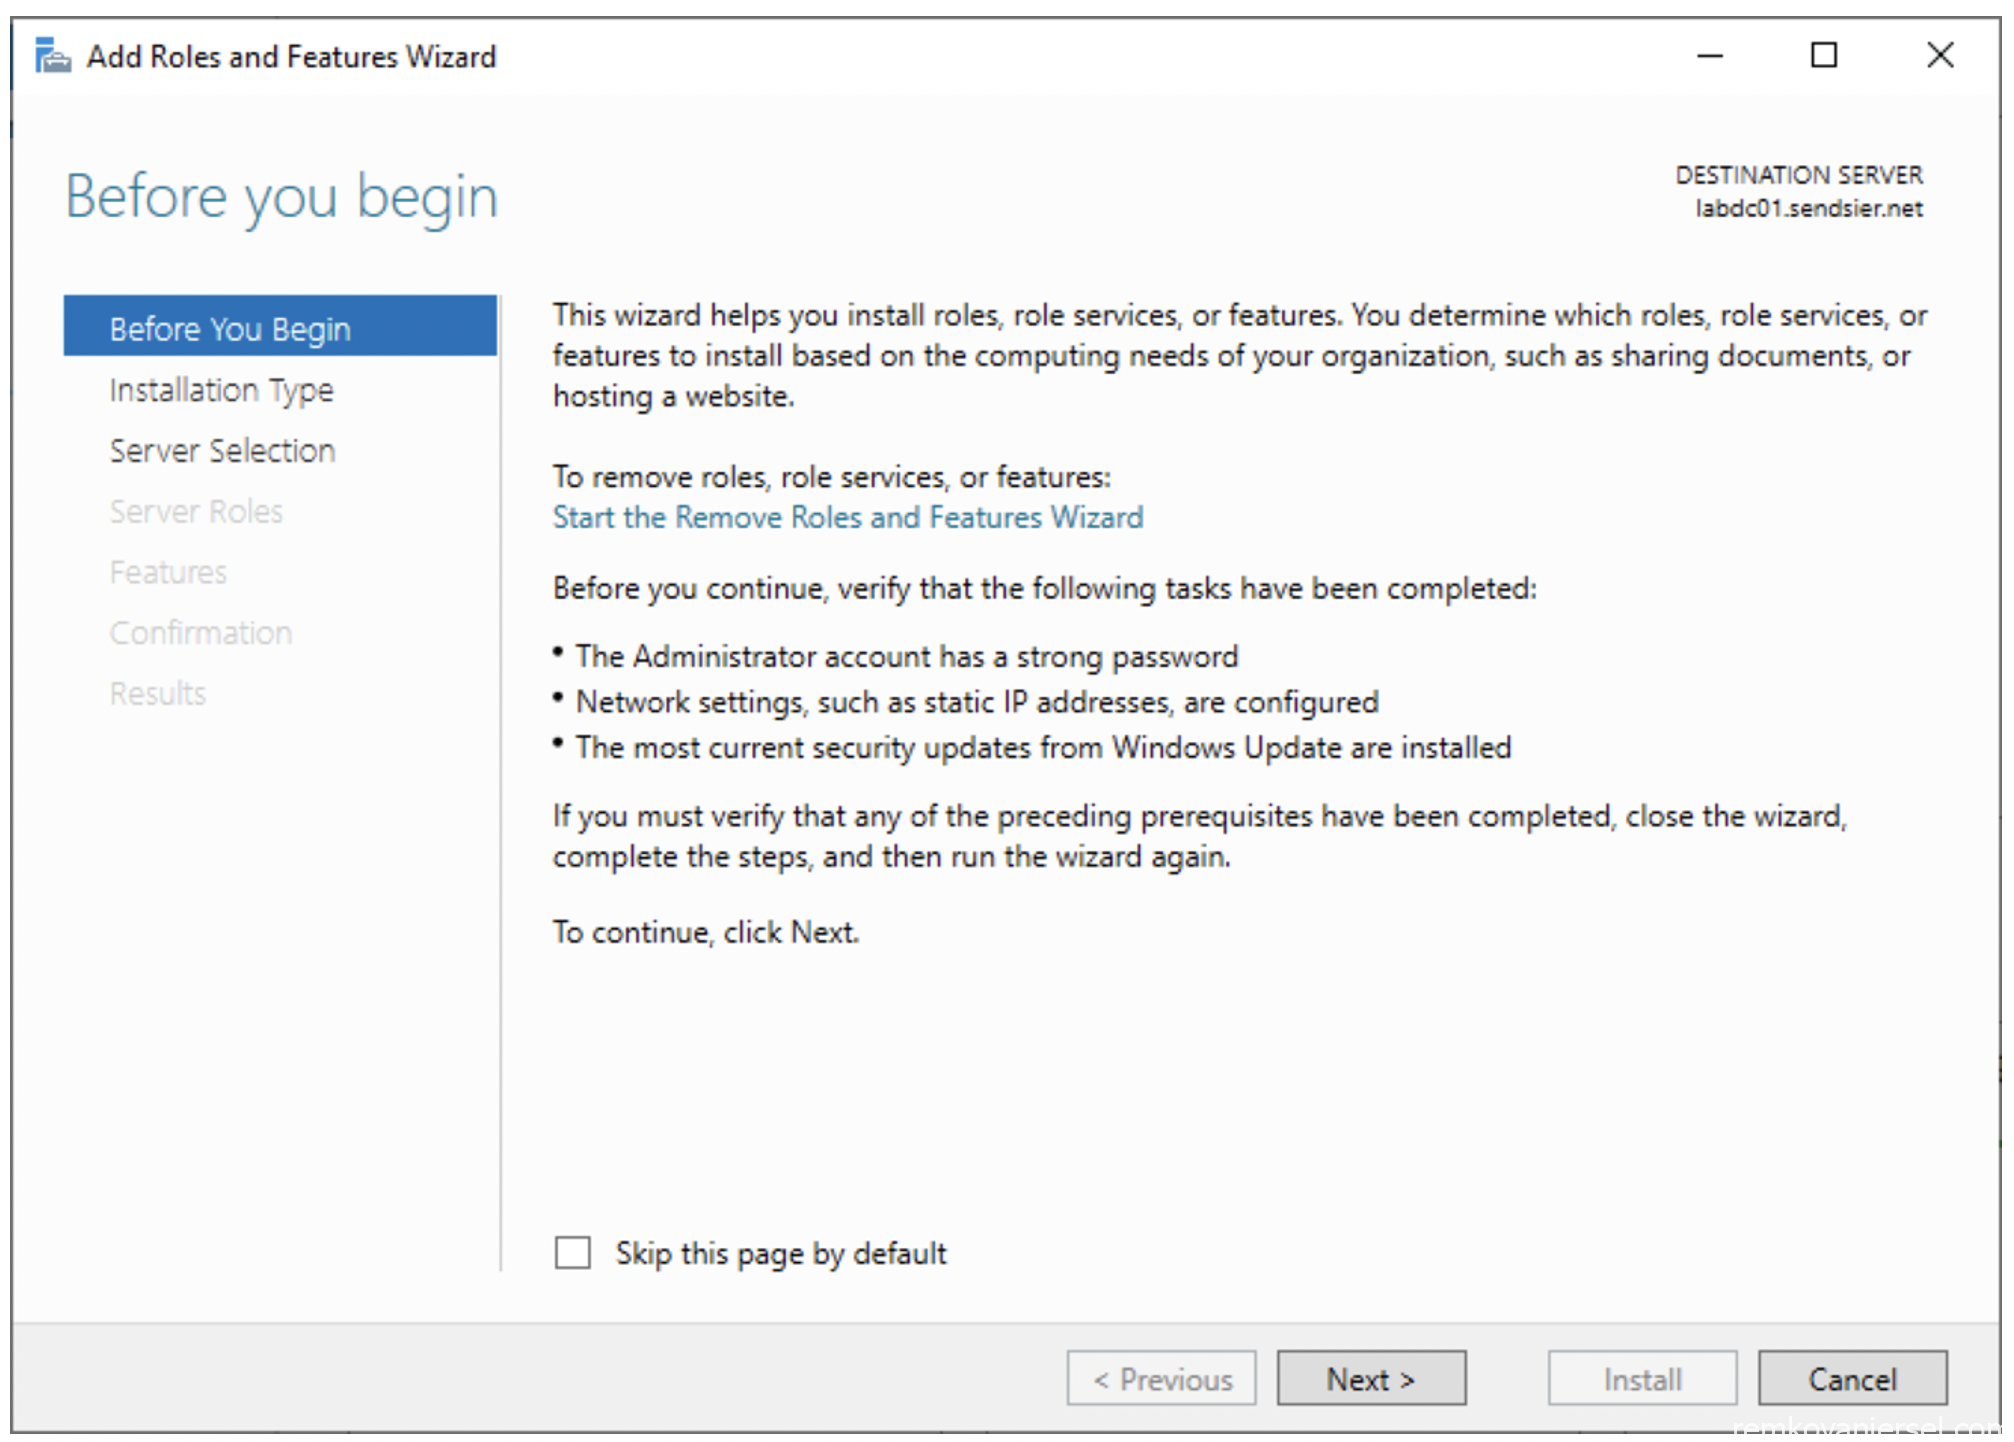
- Launch Server Manager
- In the menu, click on Manager > Add Roles and Features
- Before You Begin
- Installation Type
- Server Selection
- Server Roles
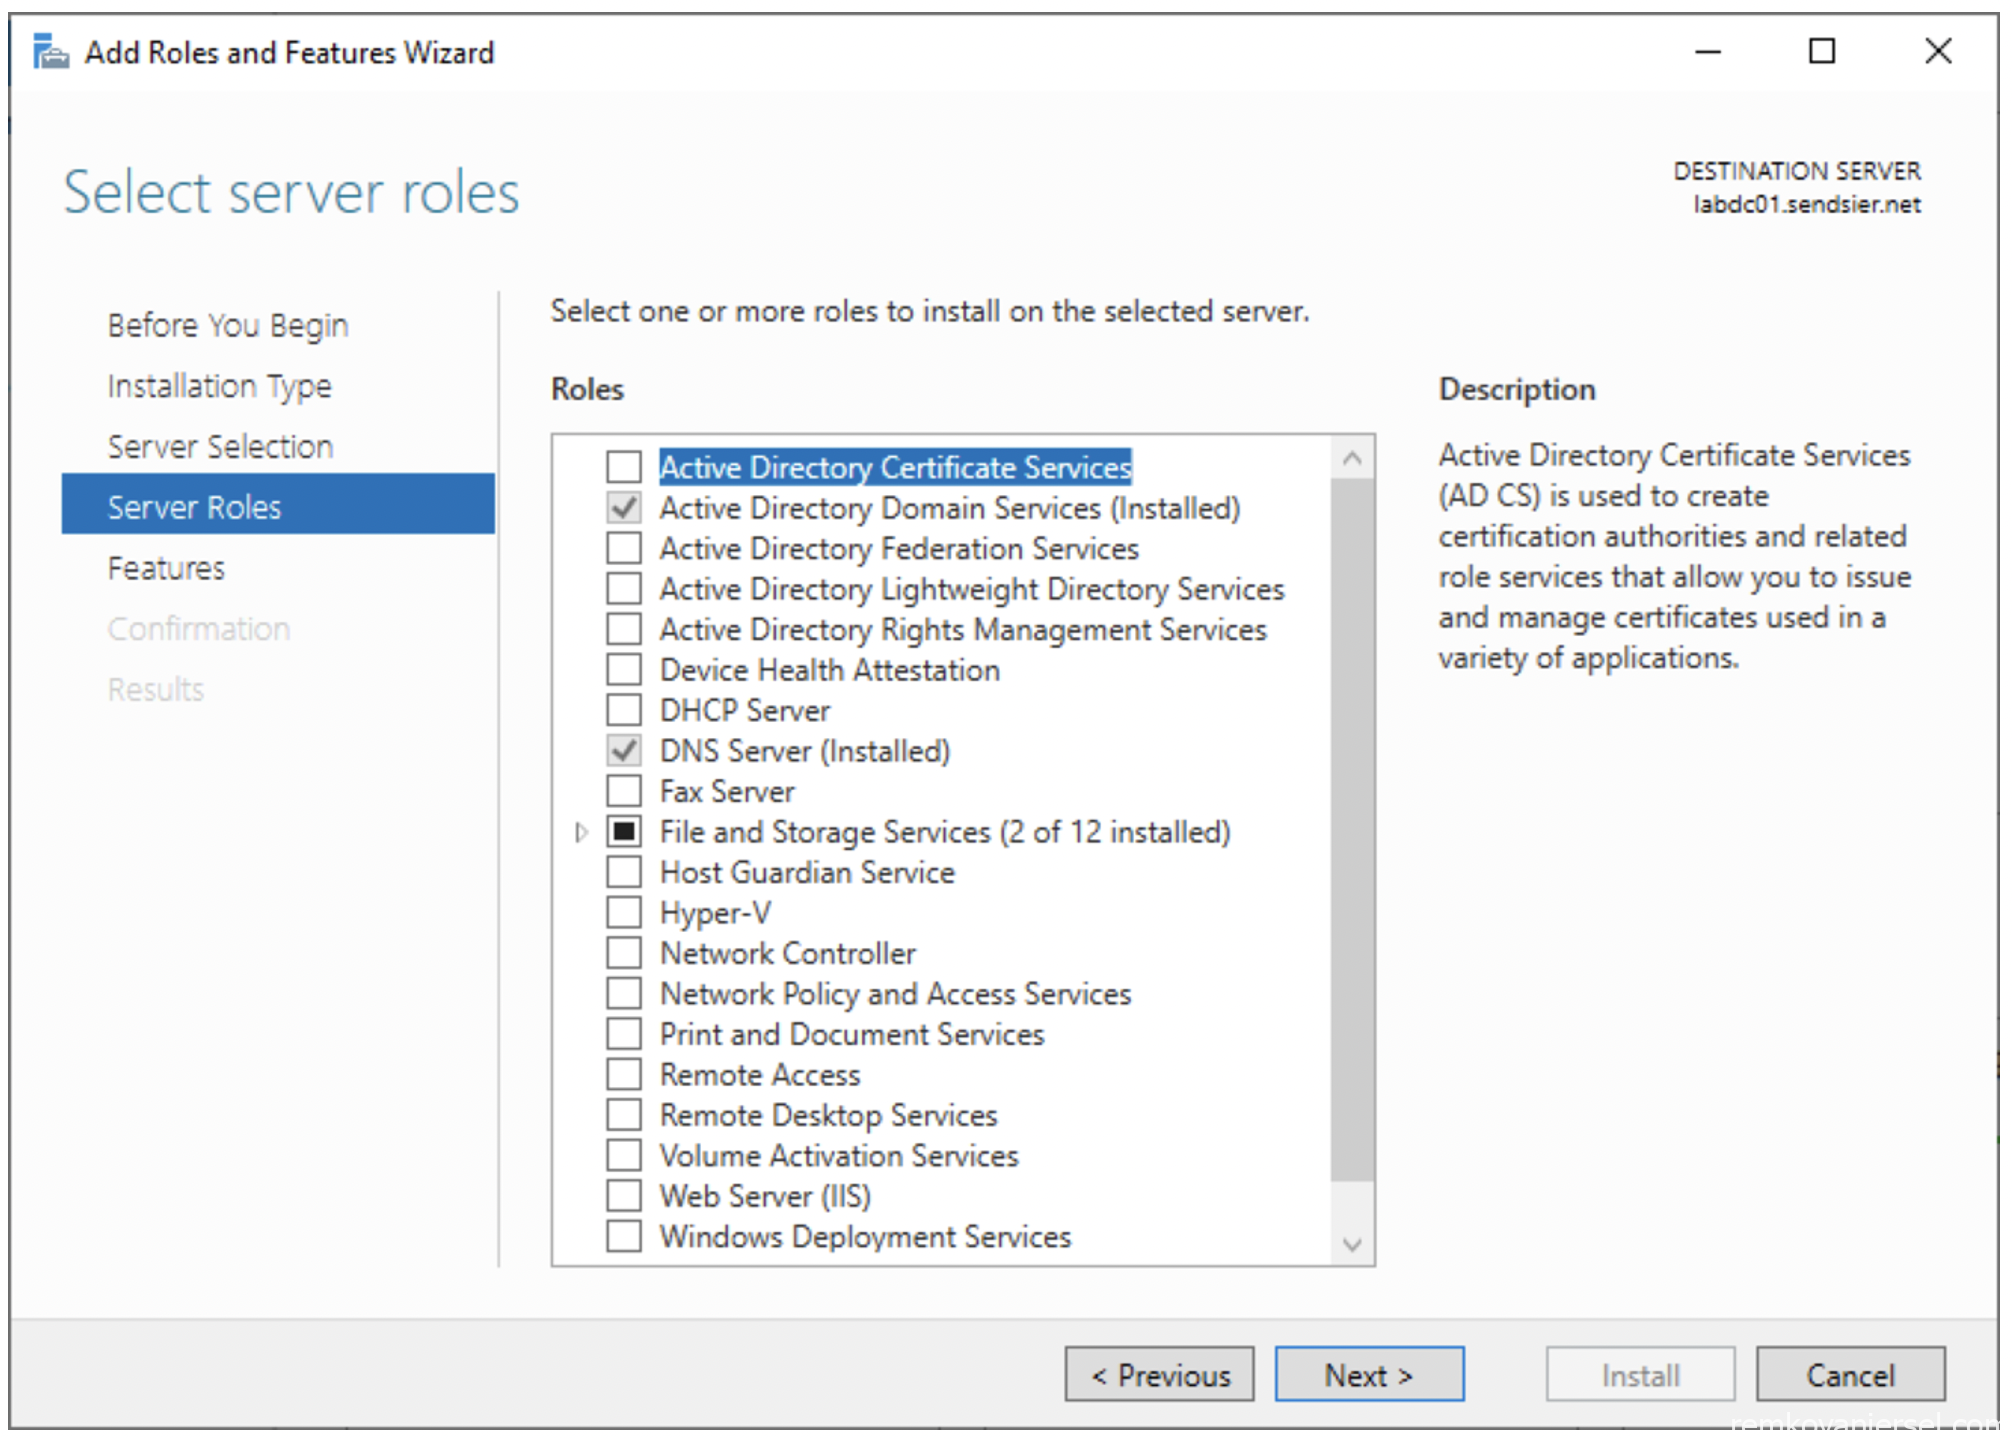
- Server Roles / Select Active Directory Certificate Services
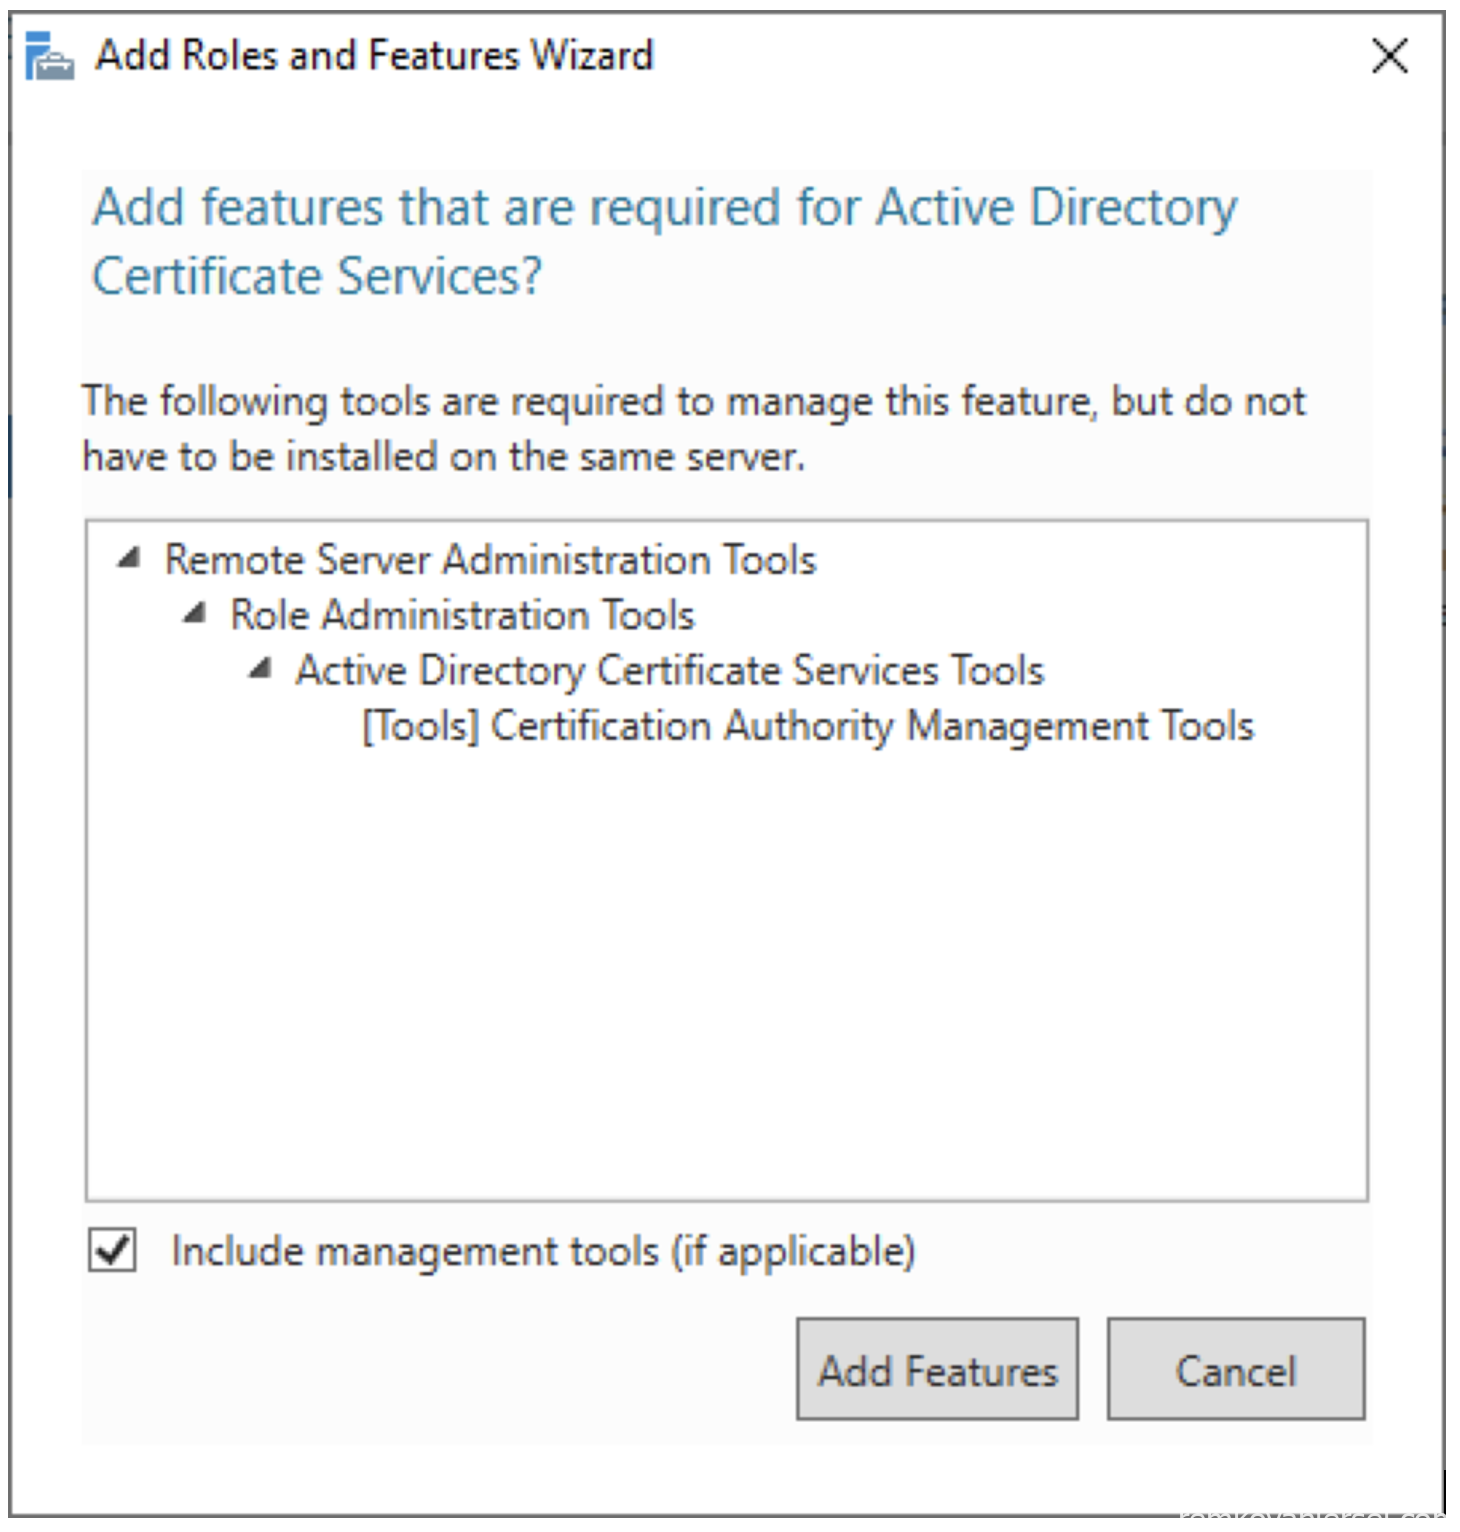
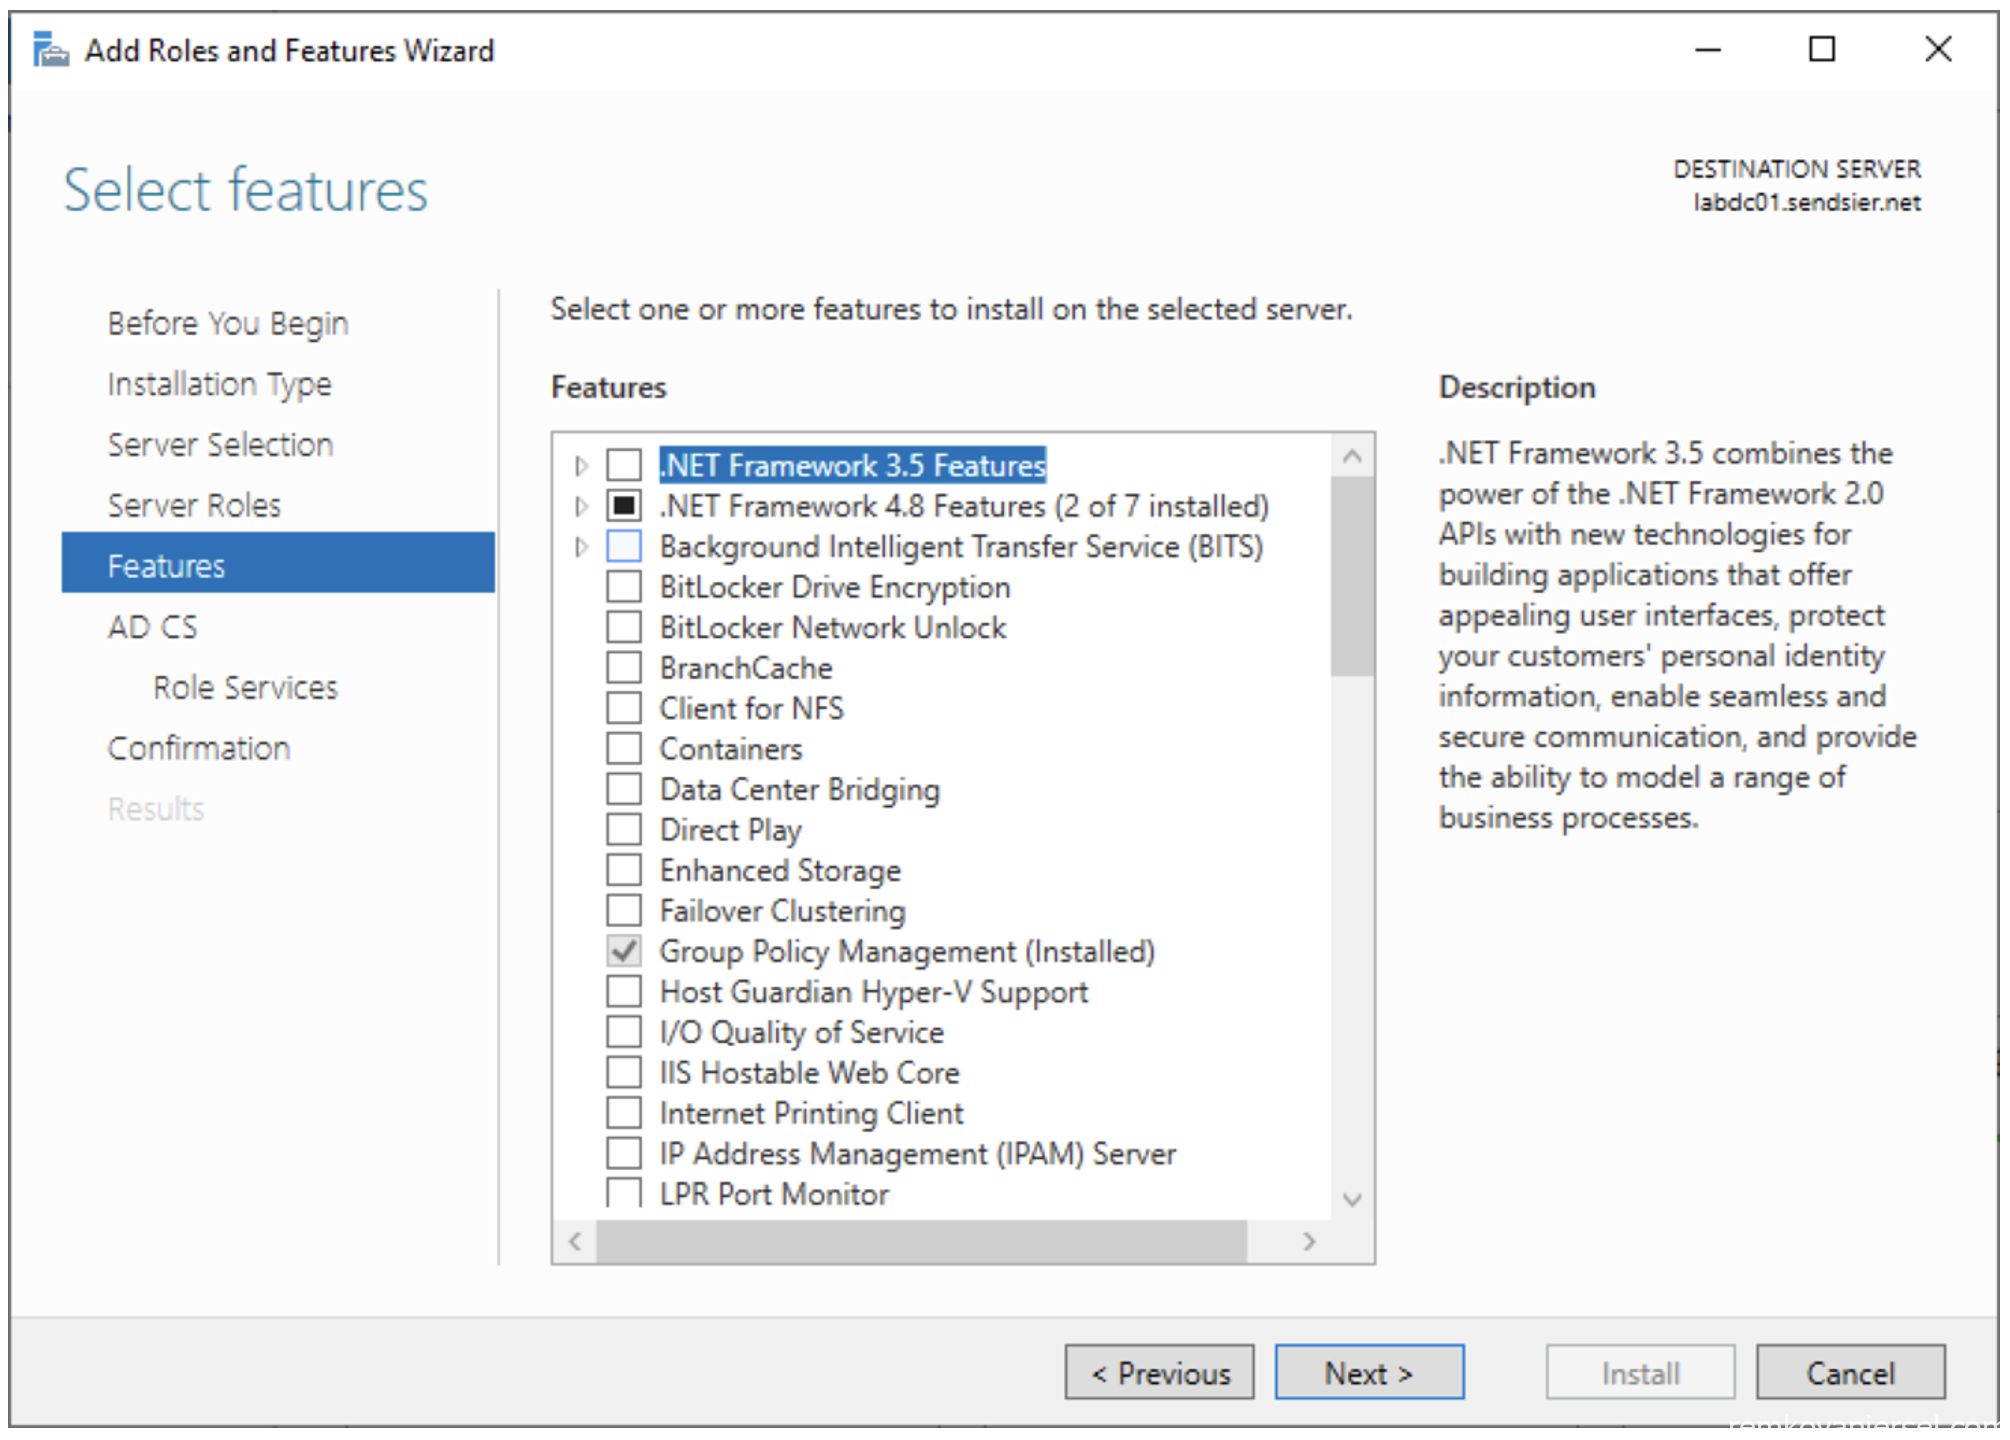
- Features
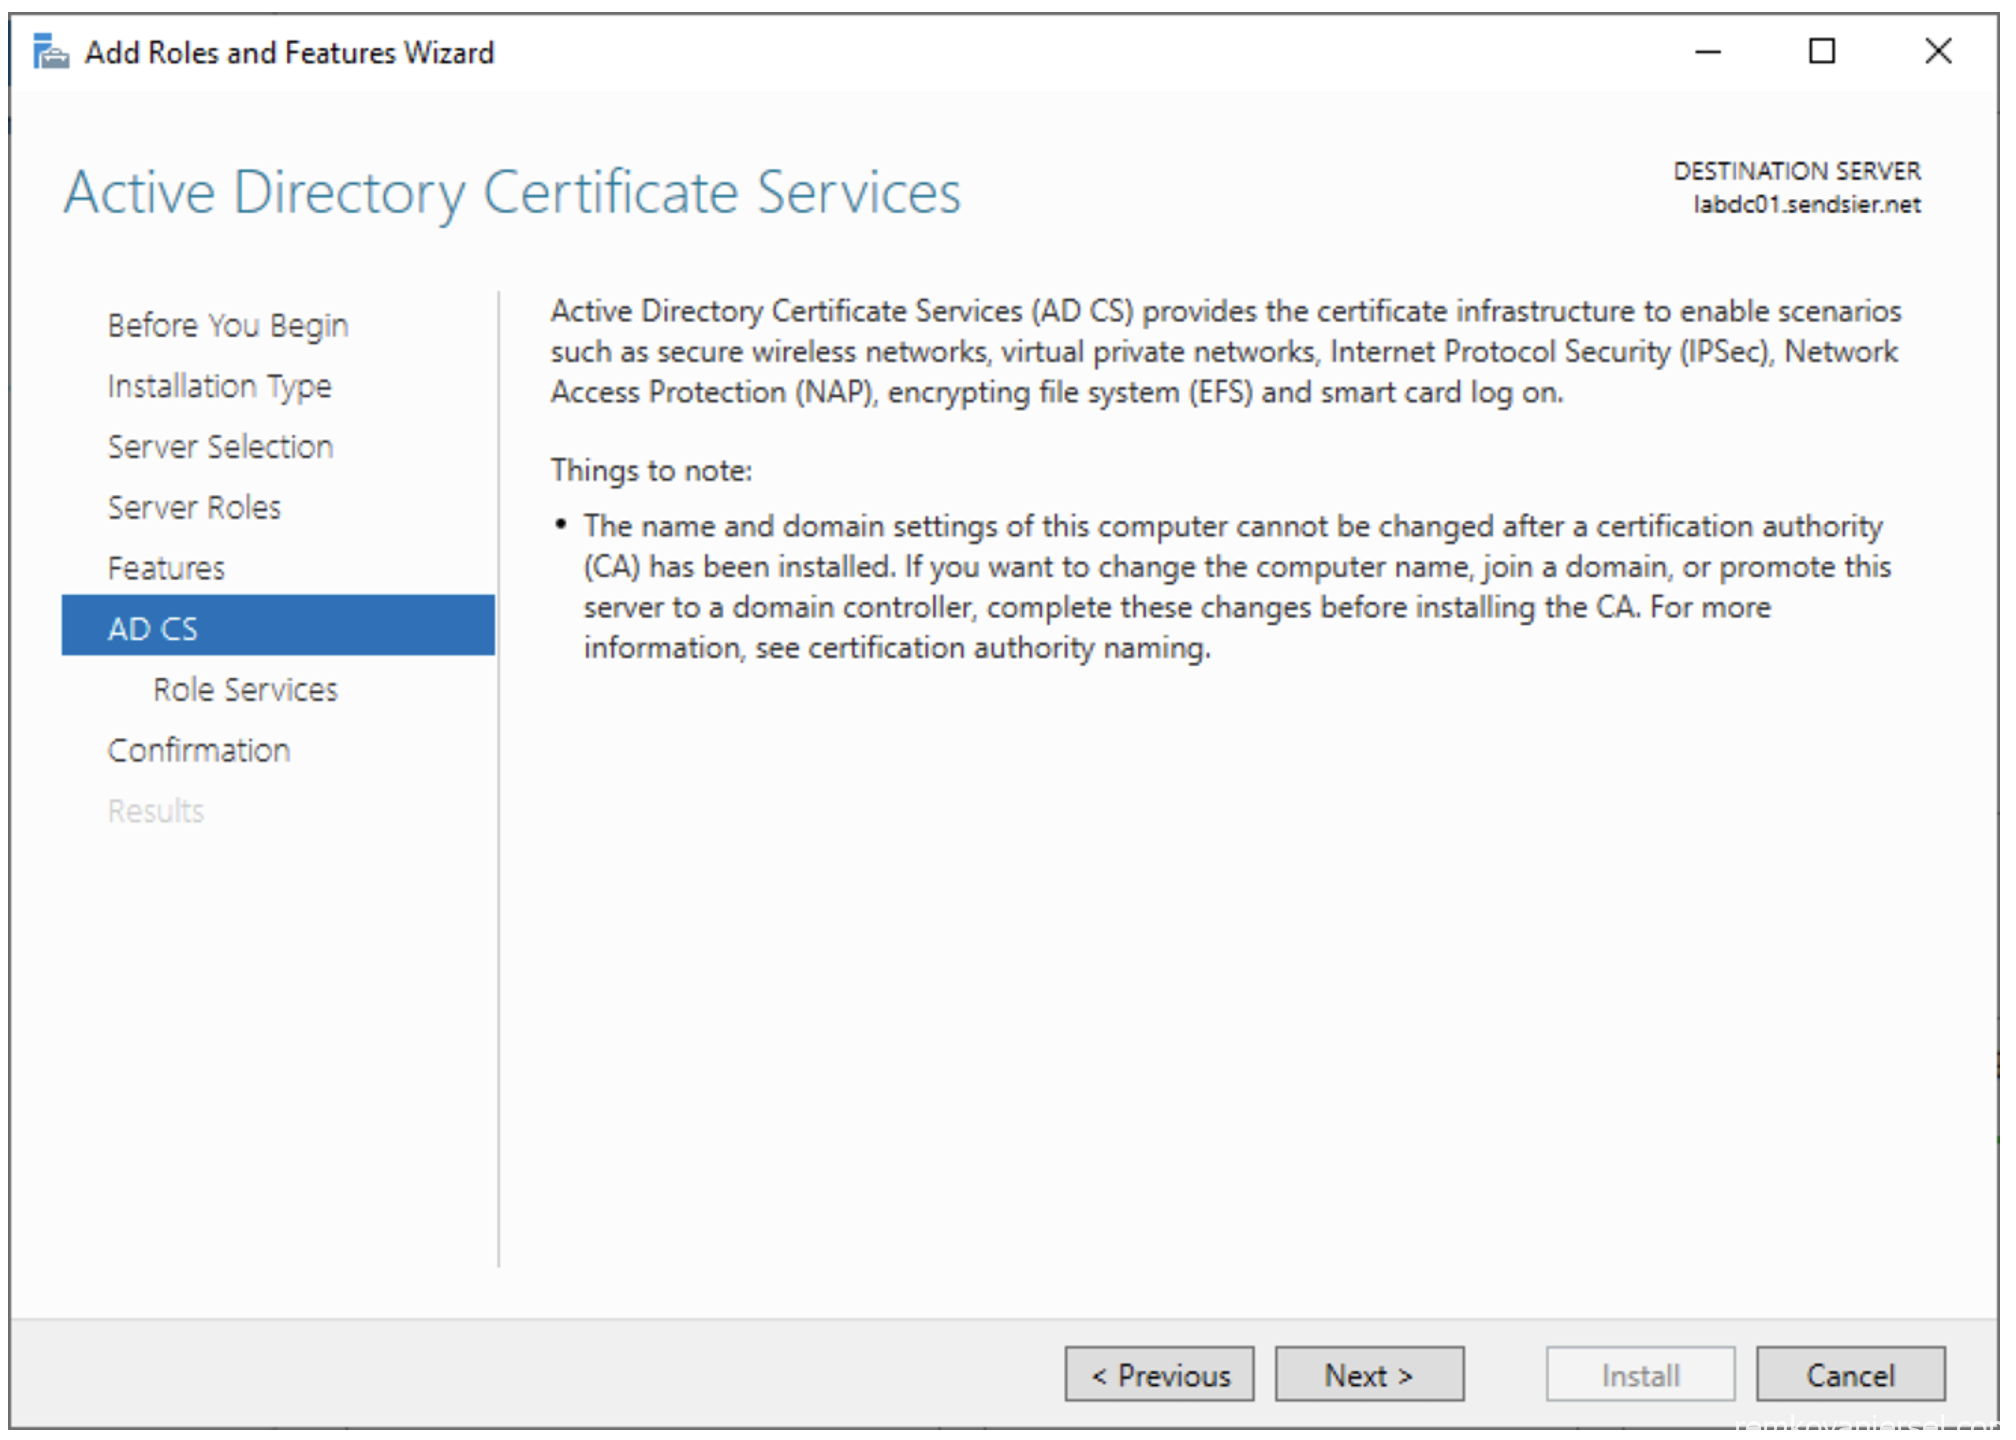
- AD CS
- AD CS / Role Services
For now we only need Certificate Authority
(See other guides for Network Device Enrollment Service for other functionality such as Wifi authentication for MEM managed AAD devices)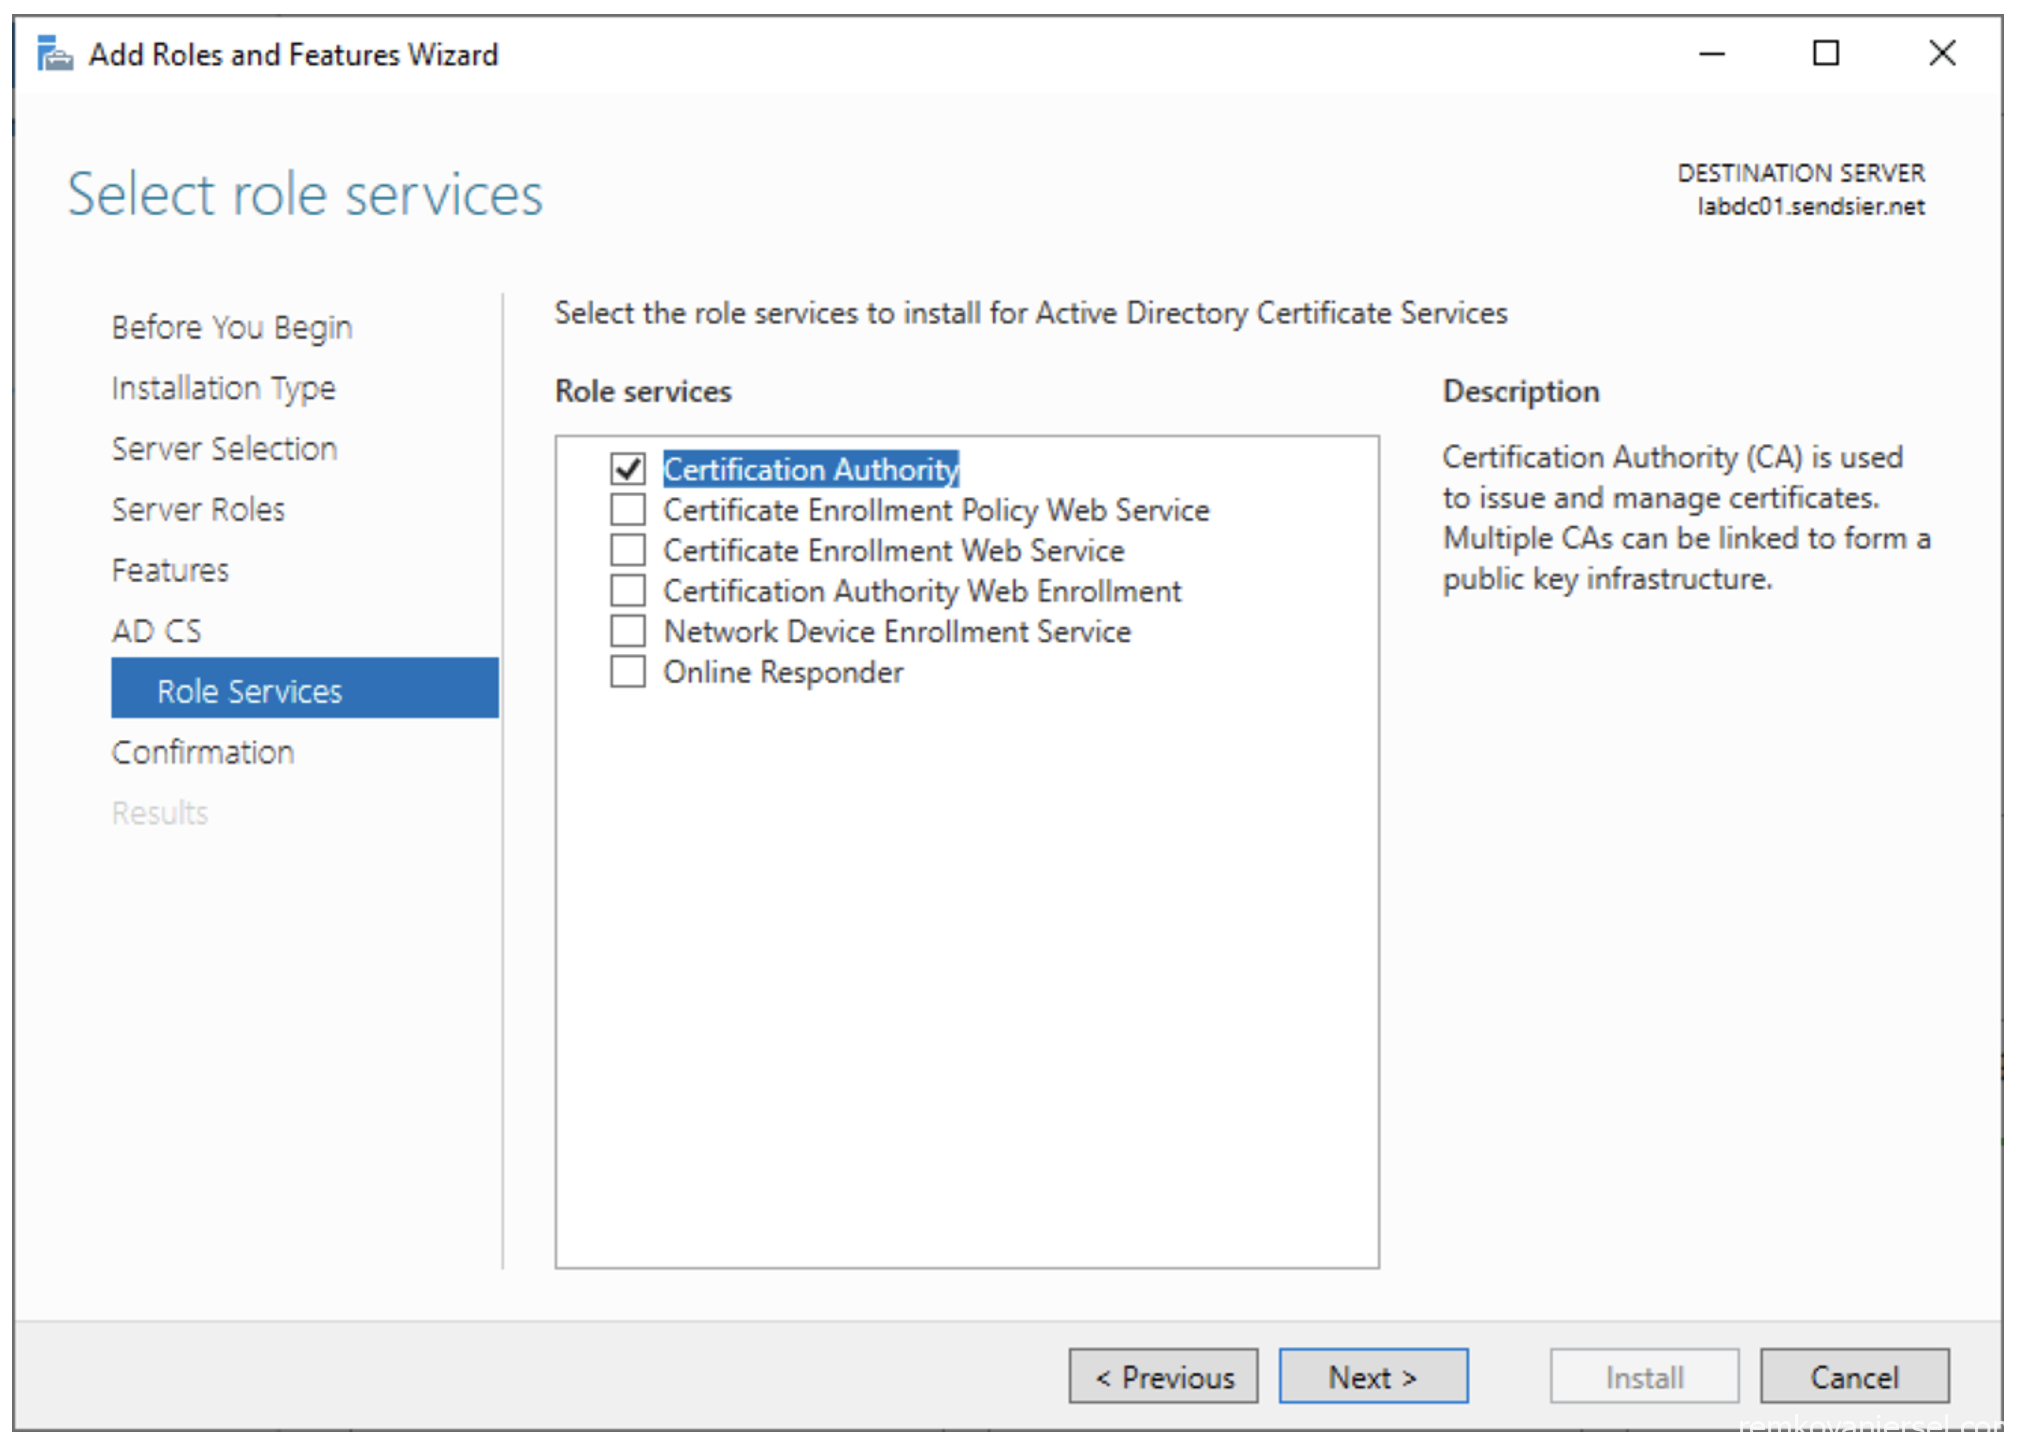
- Confirmation
Click on install, and do not close the wizard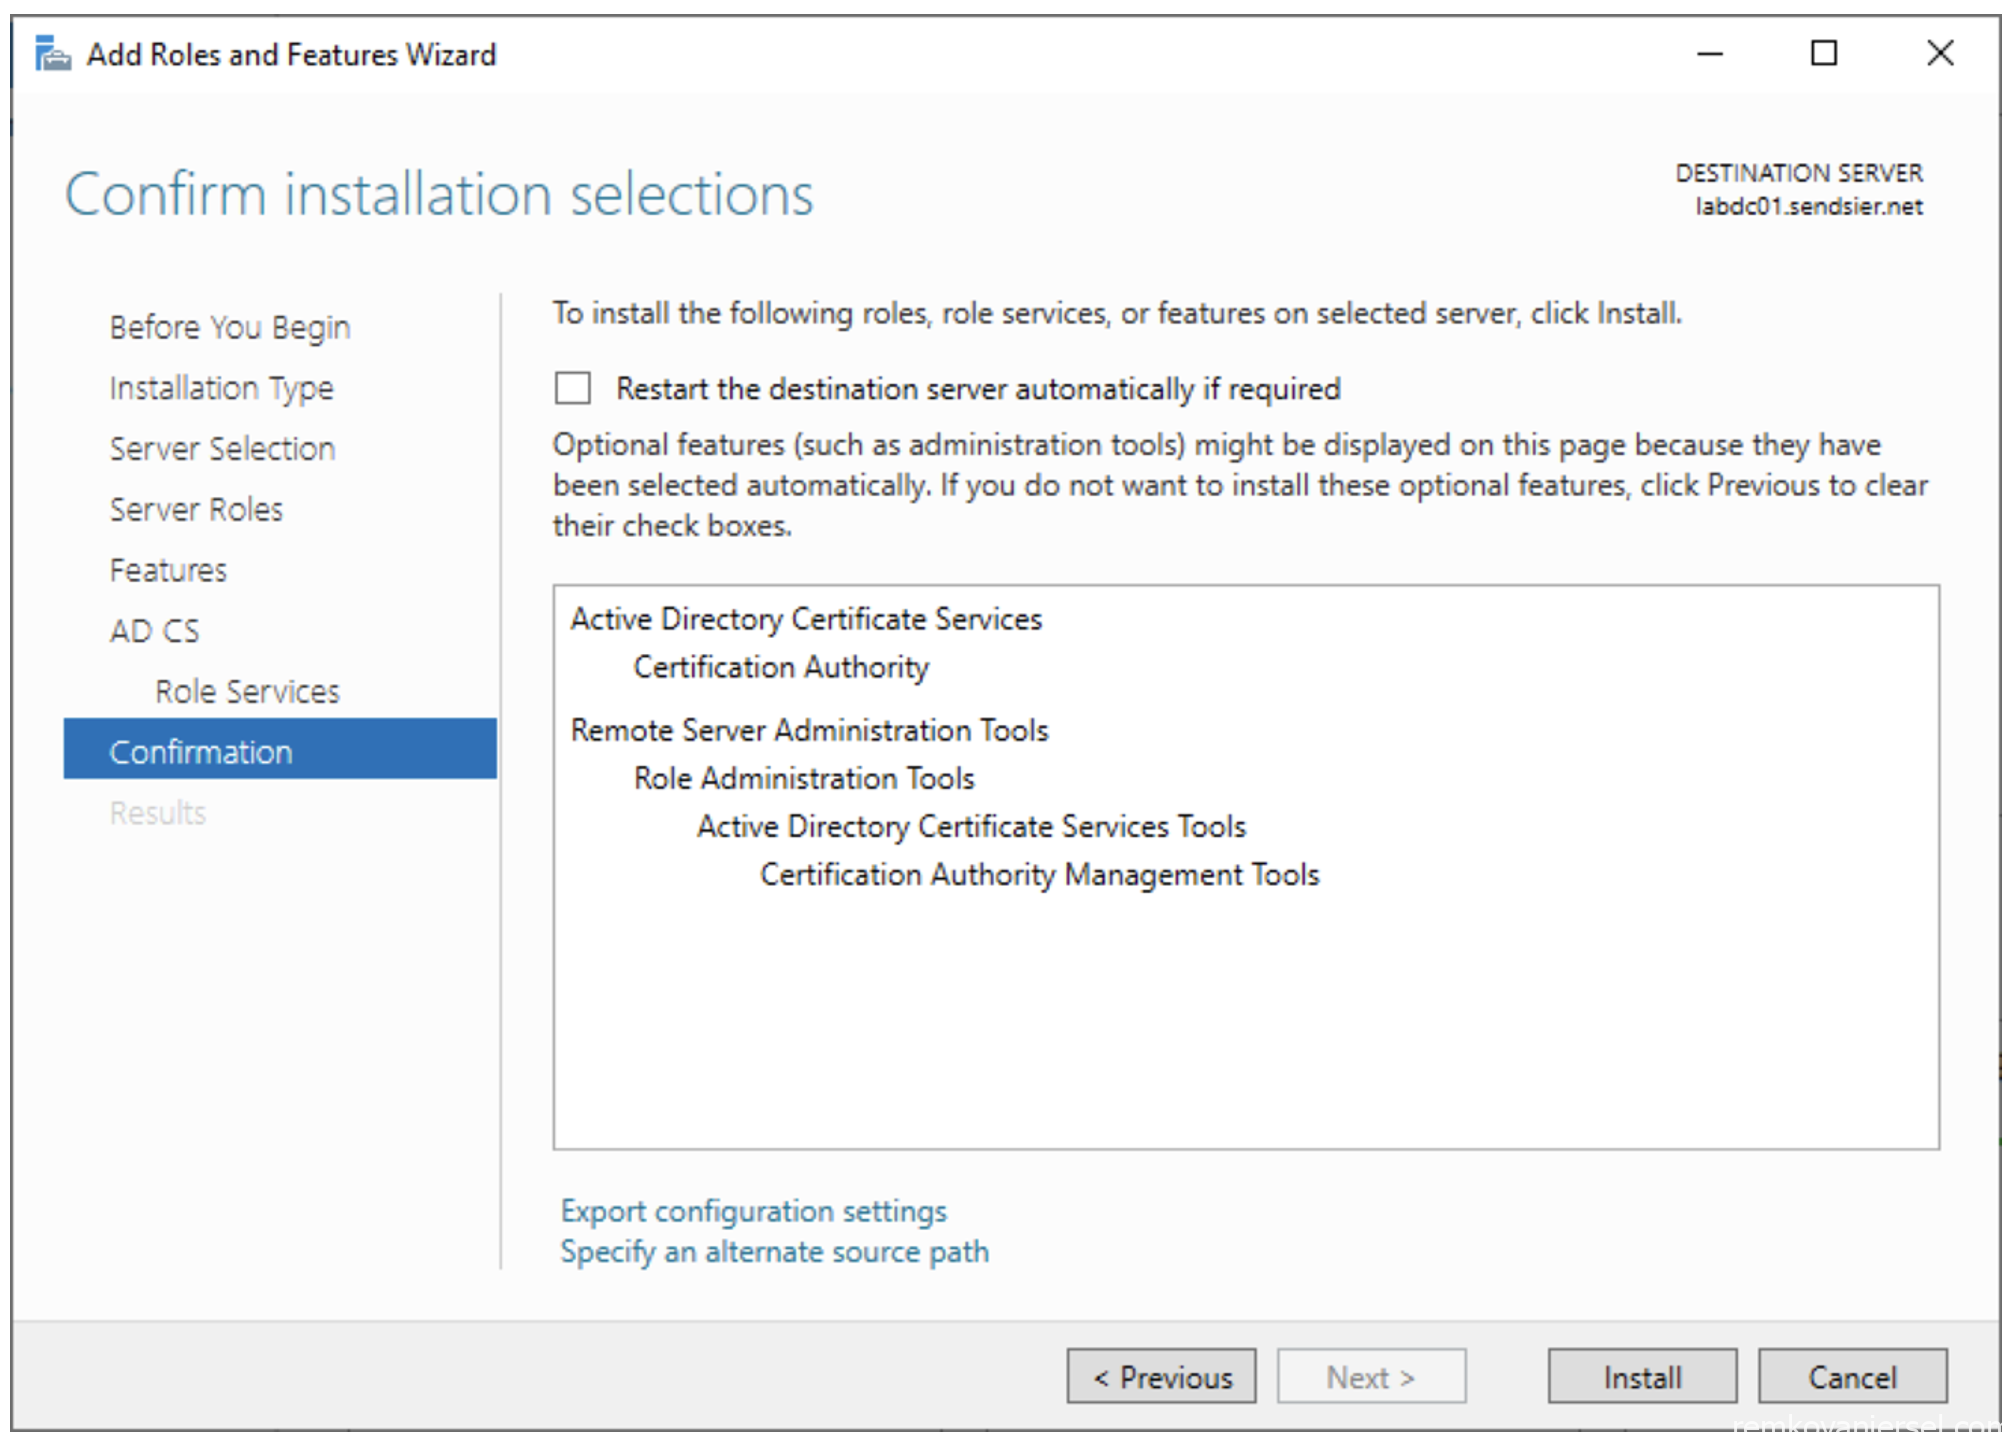
Certificates
Now that the CA is installed, we are going to create the required certificates and template
Root certificate
Export the trusted root certificate
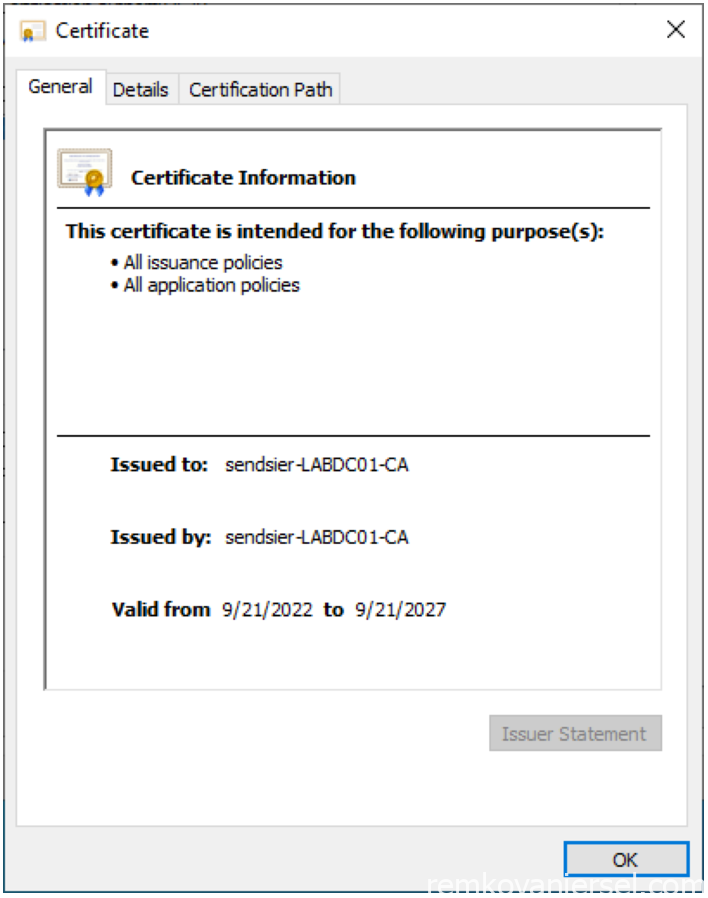
- Start the Certification Authority app via the start menu on the CA server
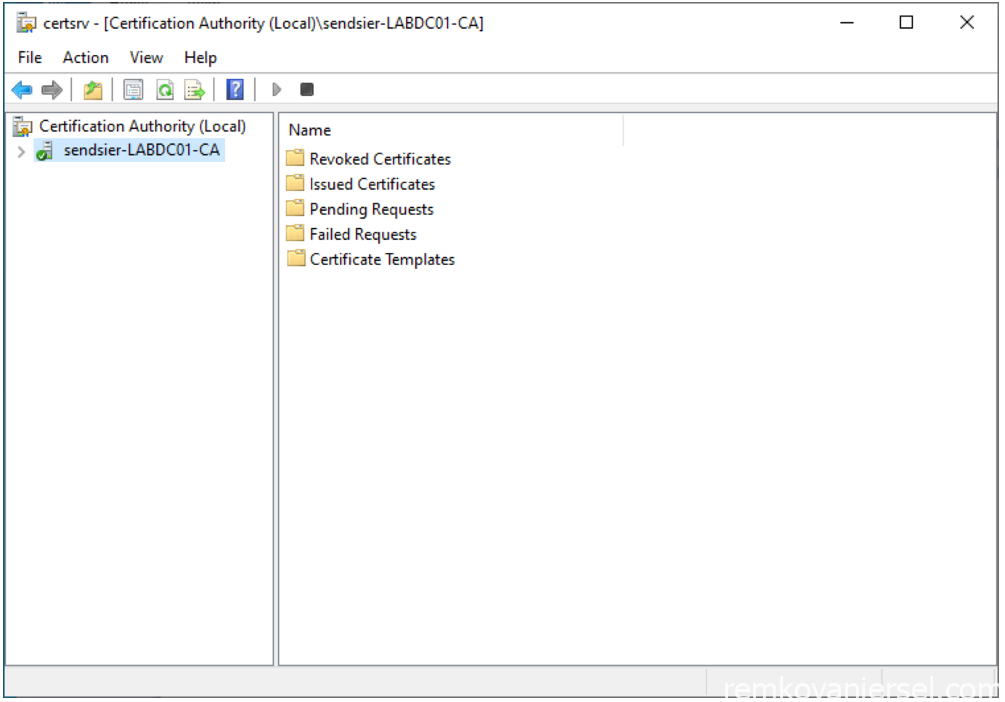
- Right-mouse click on the node and select properties
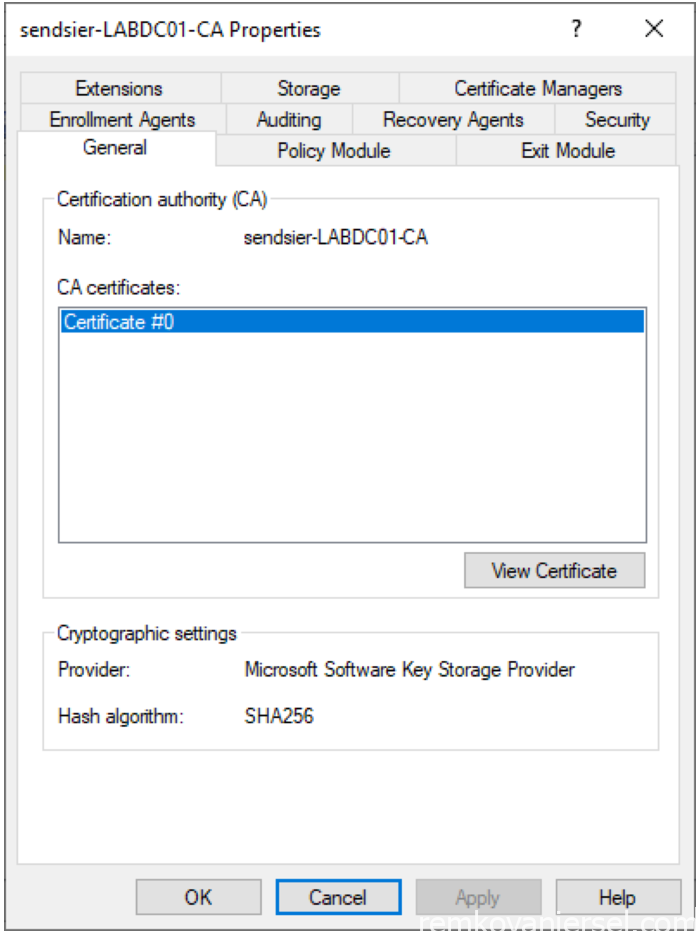
- Click on [View certificate]
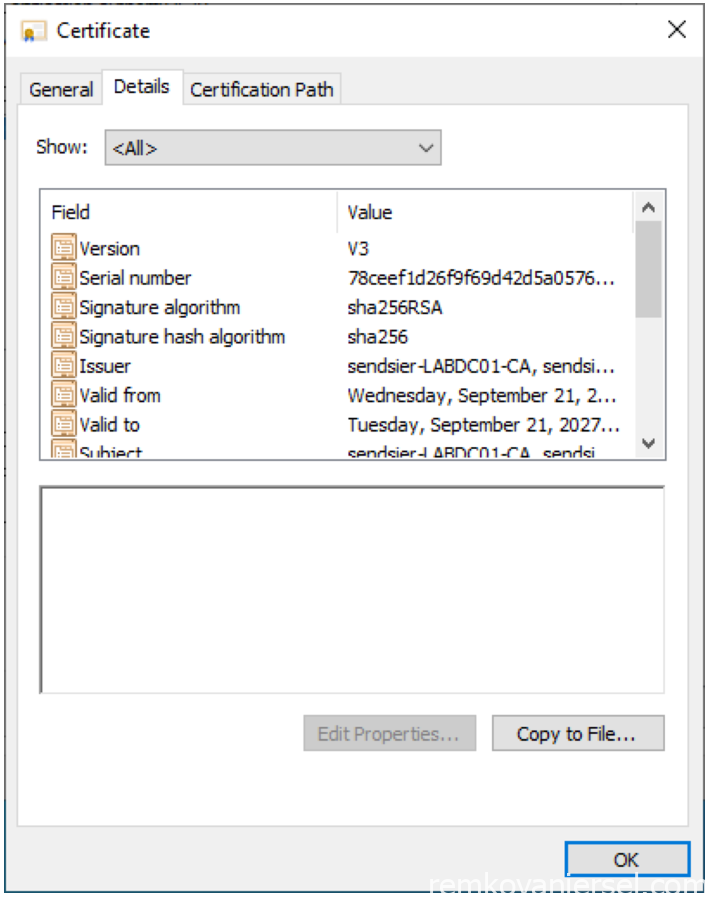
- Go to Details
- select Copy to File…
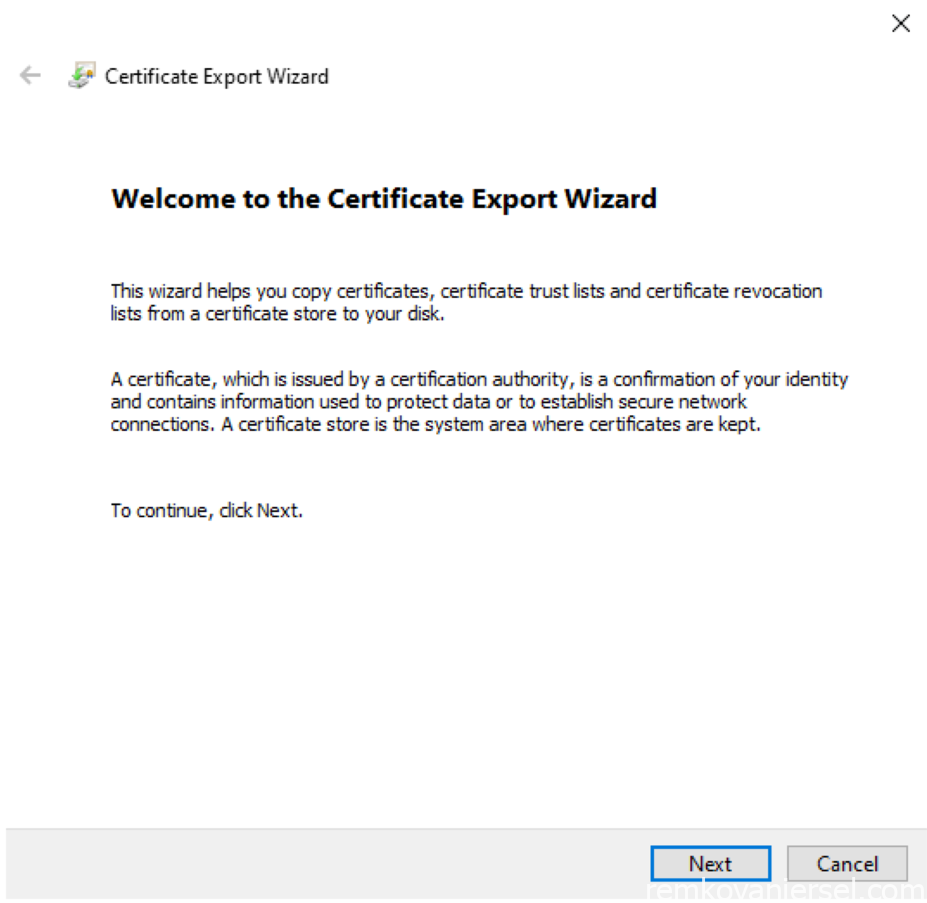
- Next (leave as DER)
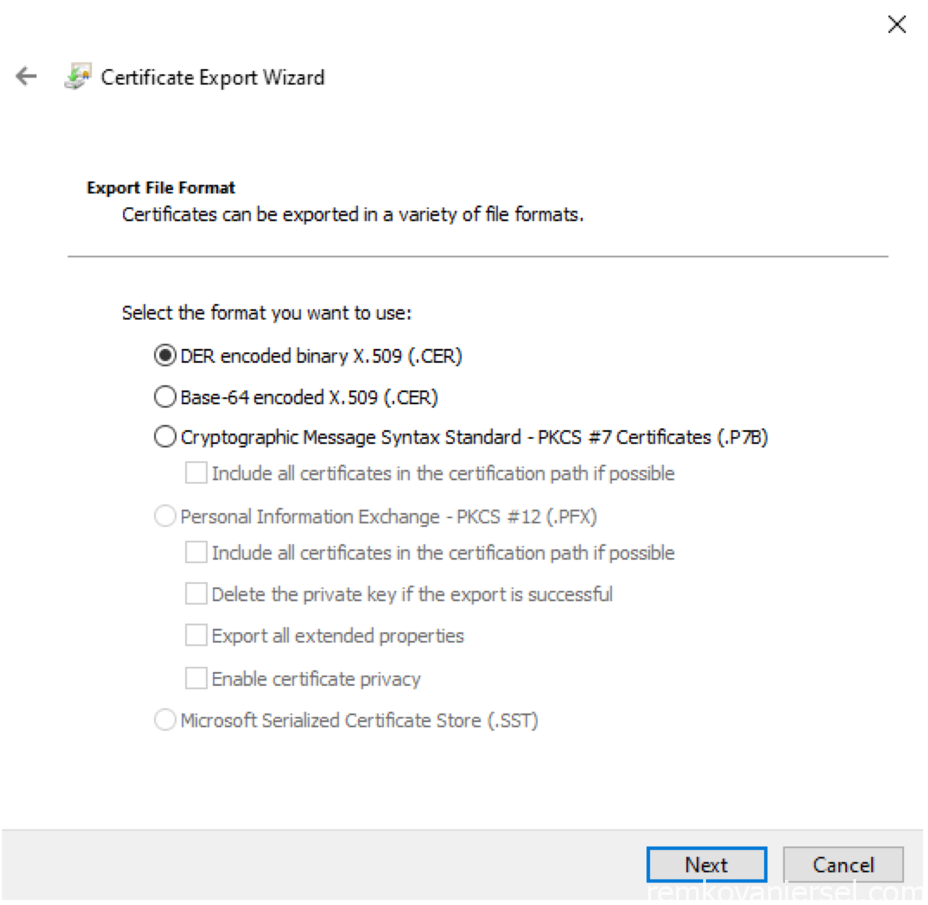
- Next
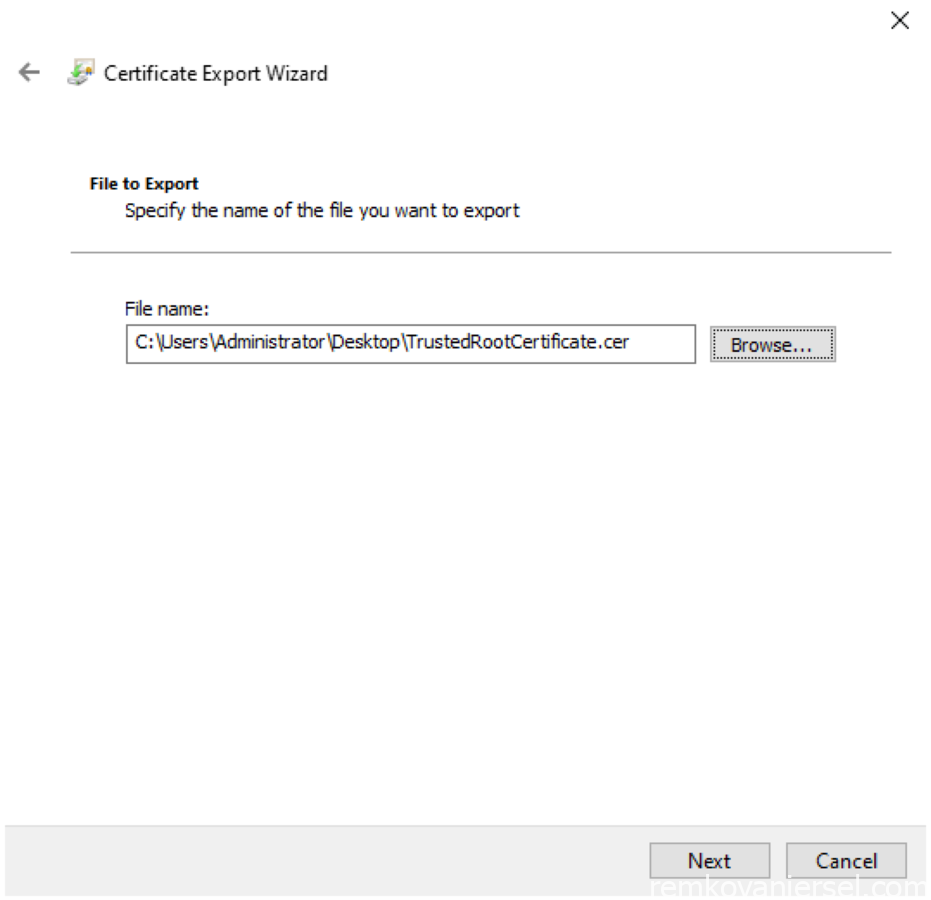
(On the MECM server create the E:\Dowloads\Certificates directory and copy this file) - Click OK and Finish

MECM CMG Web server certificate template
We need to create a CMG certificate template which we can request on the MECM server and is going to be used for the CMG.
- Start the Certification Authority app via the start menu on the CA server
- Go to Certificate templates > Manage
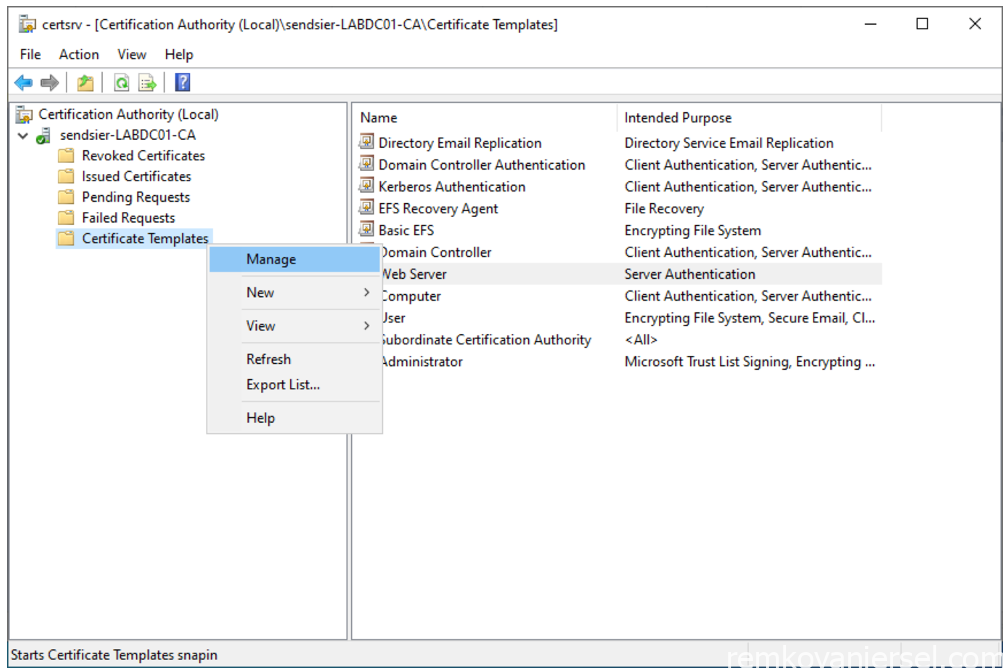
- Select the “Web Server” template and via right mouse click select Duplicate Template
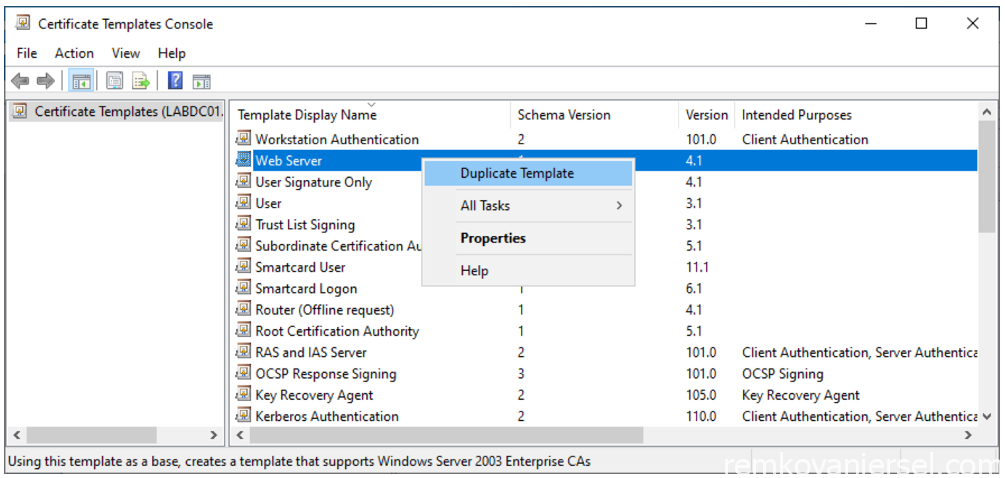
- Keep Windows Server 2003
- Click on [General] and name the display name “MECM CMG Certificate”
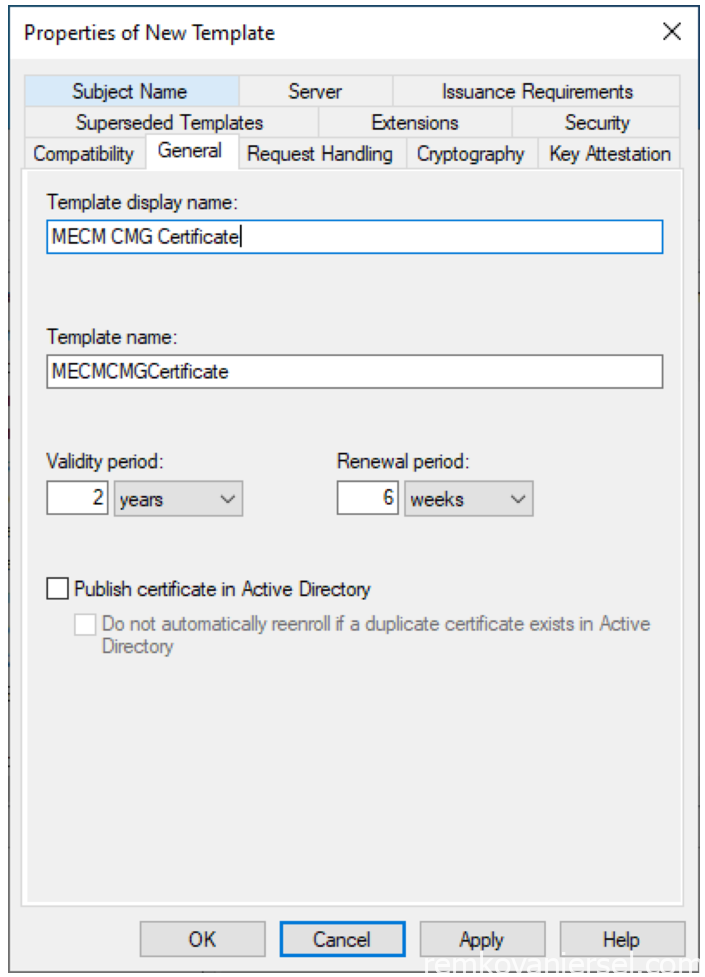
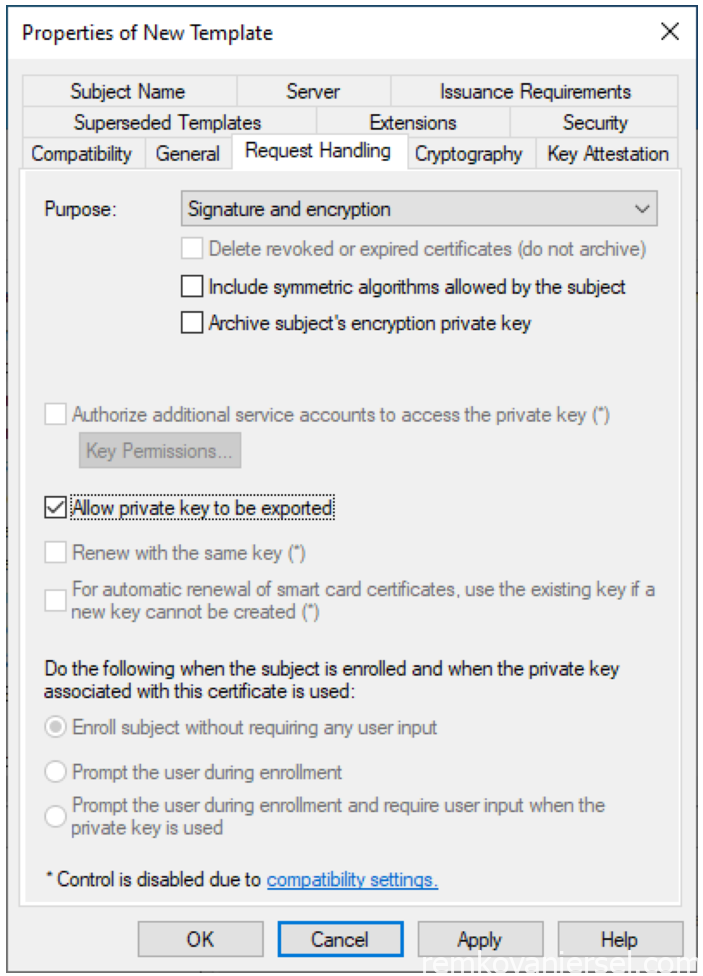
- Click on [Request Handling] and select “Allow private key to be exported”
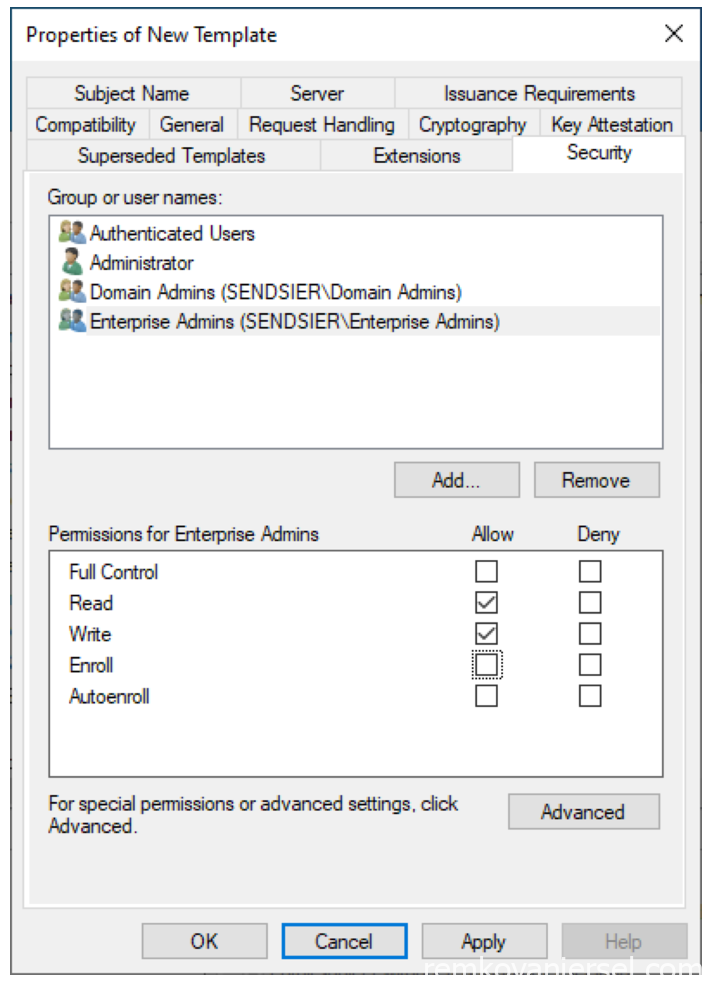
- Click on [Security] and remove the Enroll permission (uncheck) for Enterprise Admins
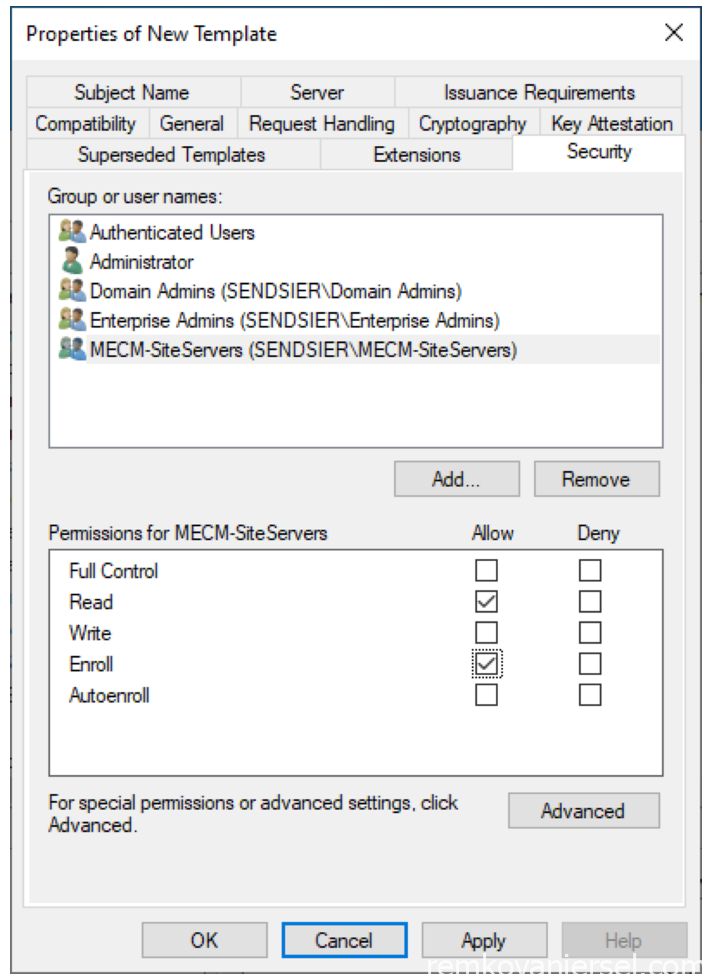
- Add the “MECM-Servers” group and select Read and Enroll permissions
- Click OK and OK. After this the MECM CMG Certificate template is created
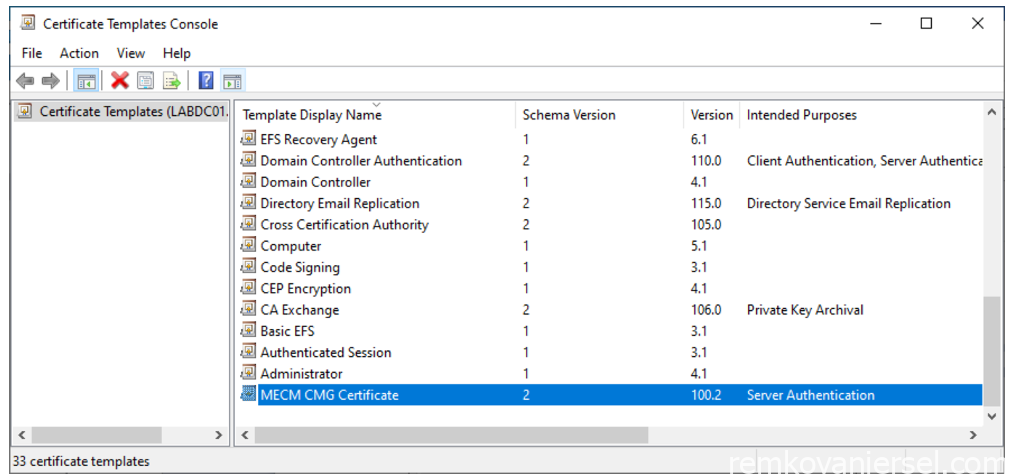
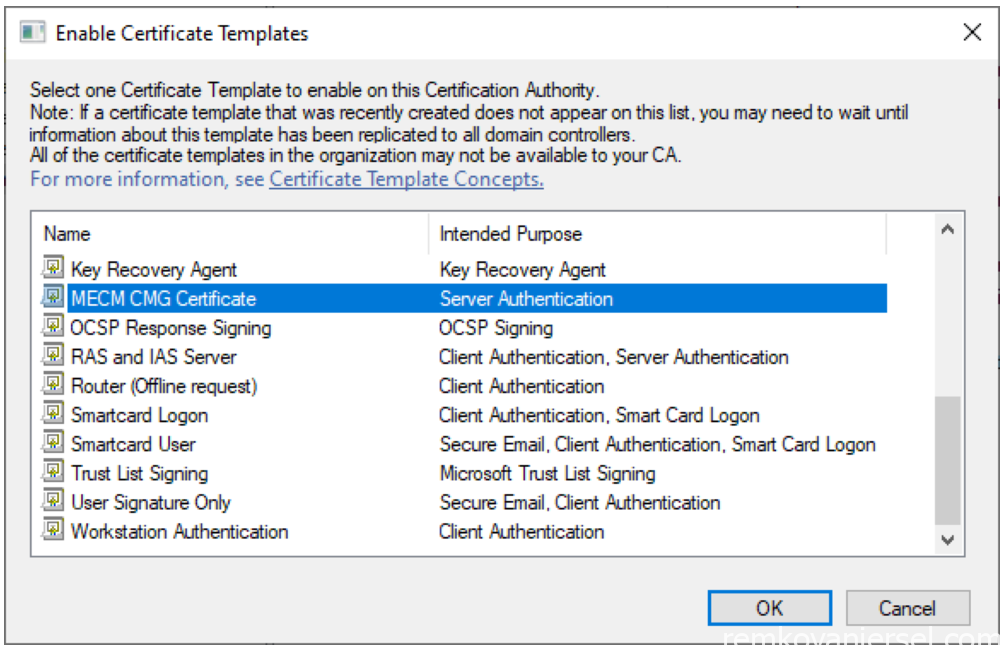
Now we must enable this new template
- Start the Certification Authority Management console (certsrv.mmc)
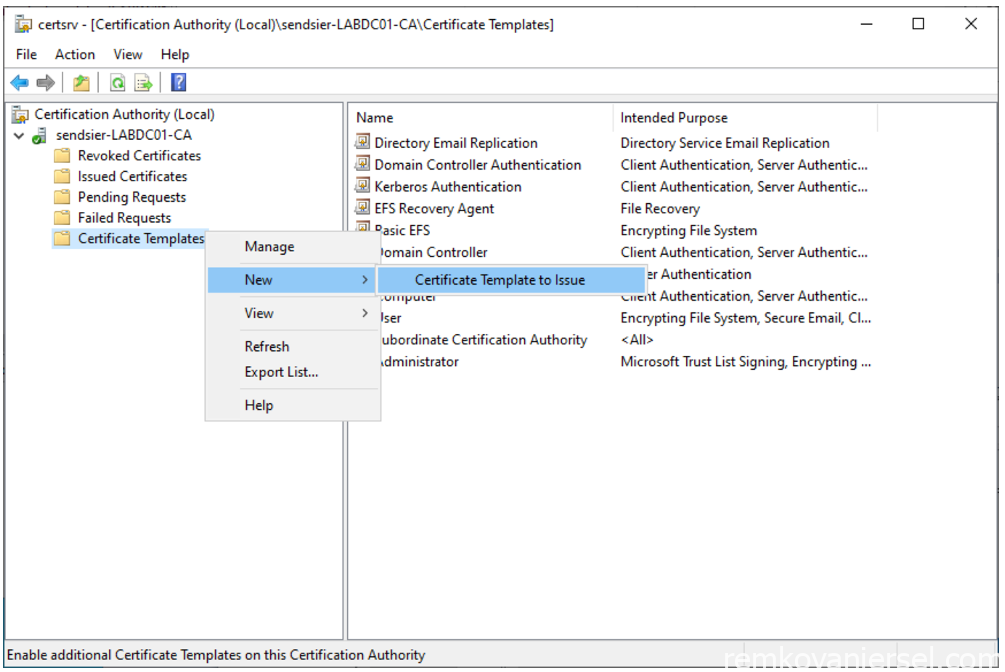
- Select the “MECM CMG Certificate” to enable it
Determine MECM CMG Web server FQDN
First we need to determine a unique FQDN name for the CMG before we are able to issue and use the CMG Web server certificate.
First Microsoft used to use the .cloudapp.net domain, unfortunately since the VM Scale set for CMG the region is in the domain name ( .{region}.cloudapp.azure.com).
So first determine in which region your CMG will be located, in my example I used the UK South Azure region.
Now you know in which region you want to host your CMG, you need to check if this name is still available:
rviersel@MacBook ~ % nslookup nameavailable.uksouth.cloudapp.azure.com
Server:		84.116.46.22
Address:	84.116.46.22#53

** server can't find nameavailable.uksouth.cloudapp.azure.com: NXDOMAIN

rviersel@MacBook ~ % nslookup sendsiercmg.uksouth.cloudapp.azure.com
Server:		84.116.46.22
Address:	84.116.46.22#53

Non-authoritative answer:
Name:	sendsiercmg.uksouth.cloudapp.azure.com
Address: 51.143.232.101

rviersel@MacBook ~ %
As you can see (as example) the FQDN “nameavailable.uksouth.cloudapp.azure.com” is still available as the nslookup command could not find any associated IP address with that record.
As example, if the FQDN would already have been taken by somebody else, it will return a associated IP address (sendsier.uksouth.cloudapp.azure.com which I used for this MECM guide).
MECM CMG Web server certificate
Now that you have confirmed the FQDN for the CMG is still available we can issue a CMG web server certificate.
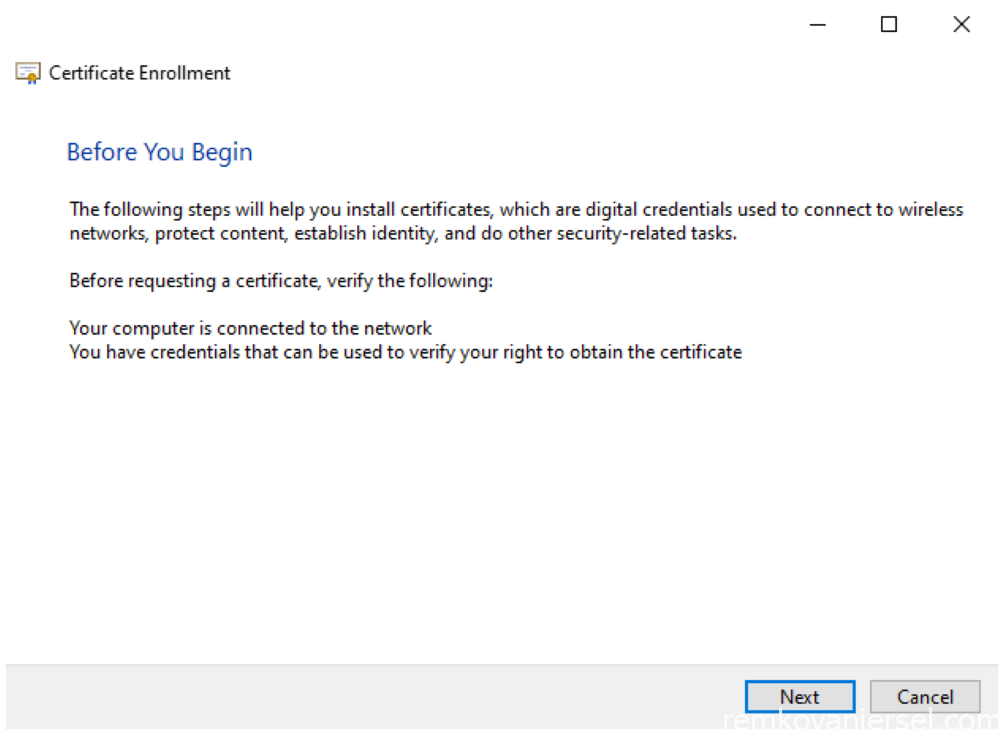
- Switch to the MECM Server to request the certificate, start the Management Console (mmc)
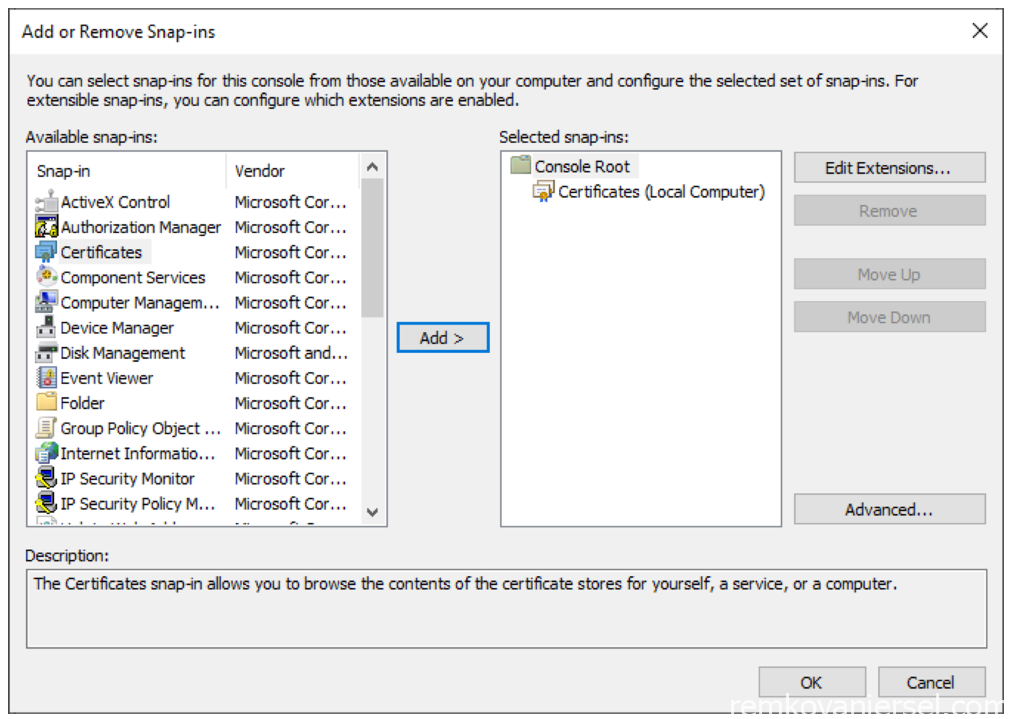
Via the menu choose File > Add/Remove Snap-in…
Click on Certificates and click Add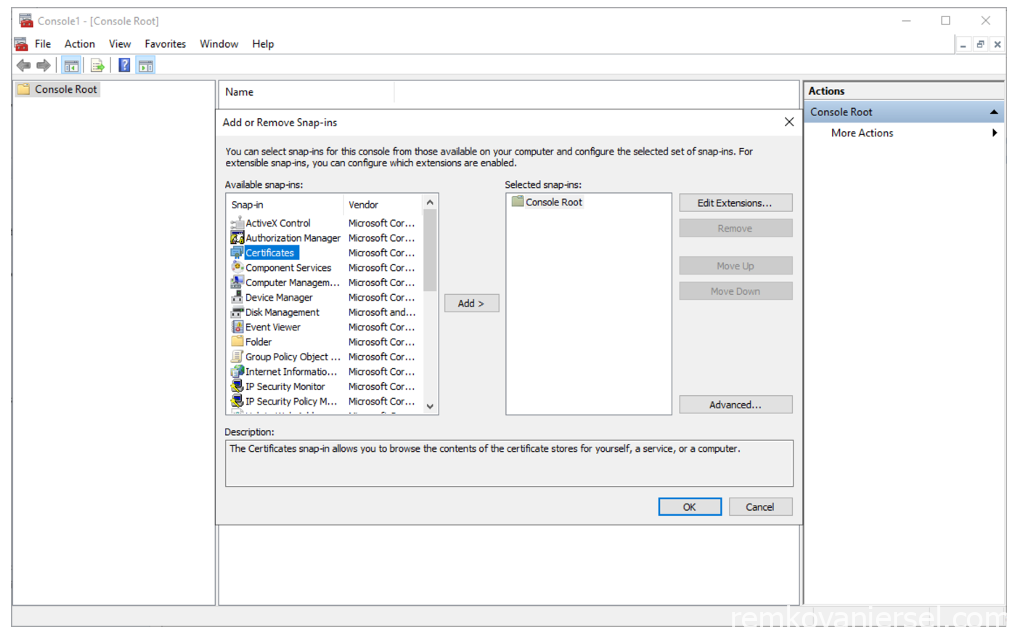
- Select Computer account
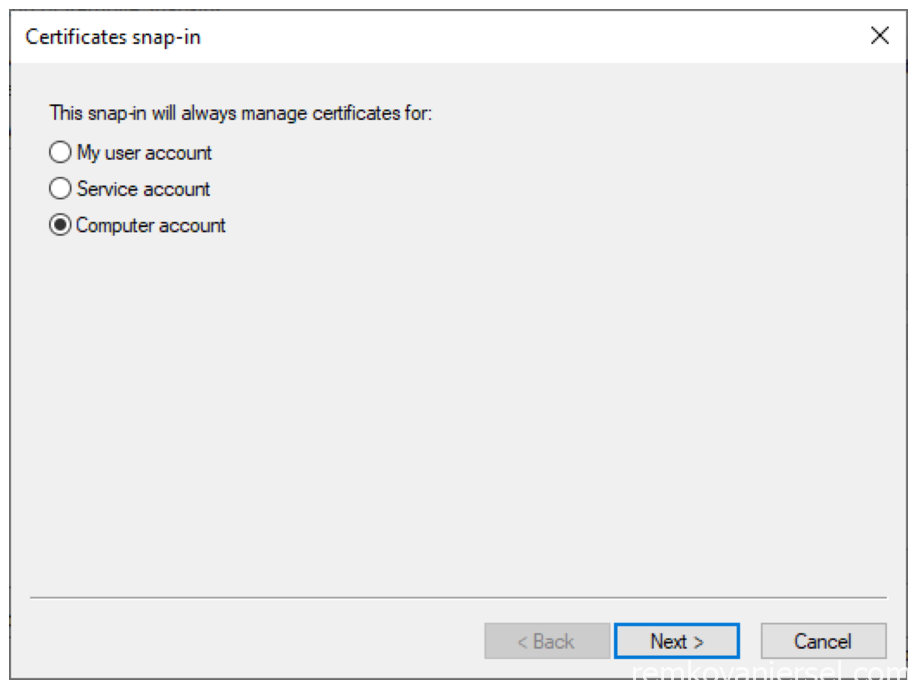
- Finish
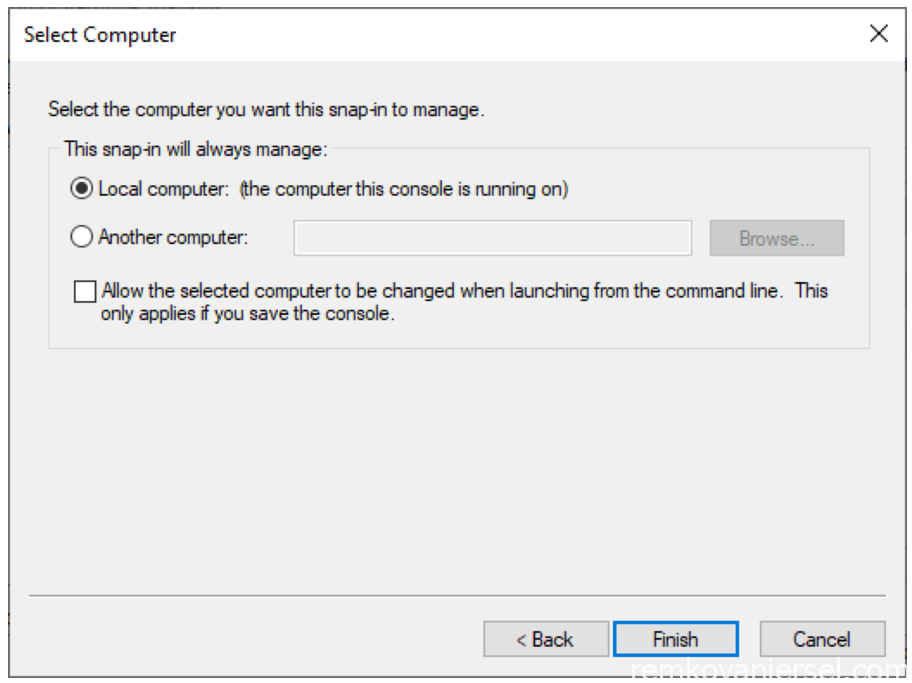
- OK
- Expand Personal > Certificates

- Right mouse click on Certificates folder and under the All Tasks select “Request New Certificate…”
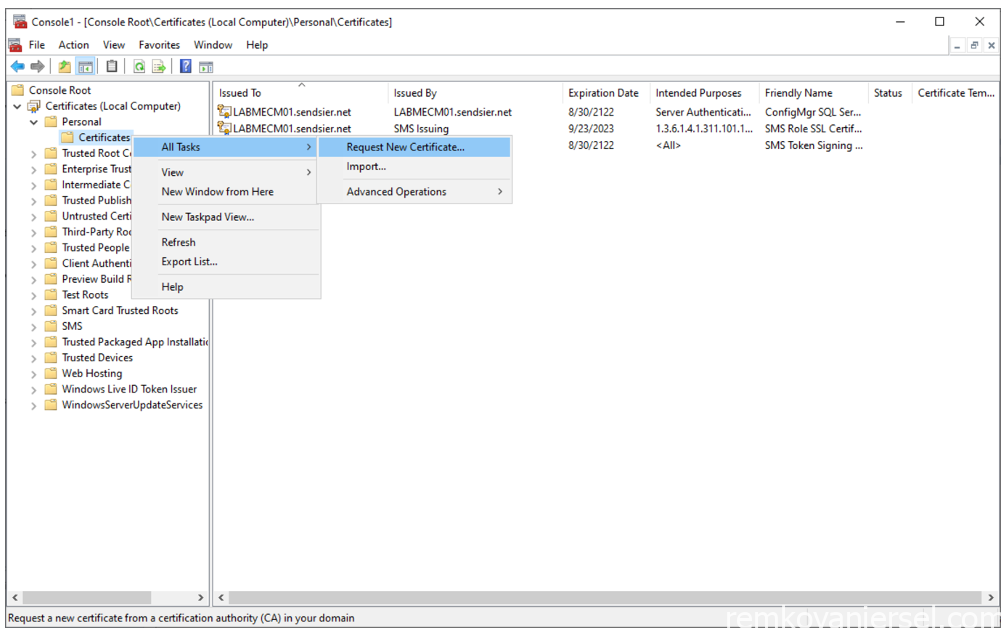
- Next
- Next
- Click on the blue link “More information is required to enroll for this certificate”

- s
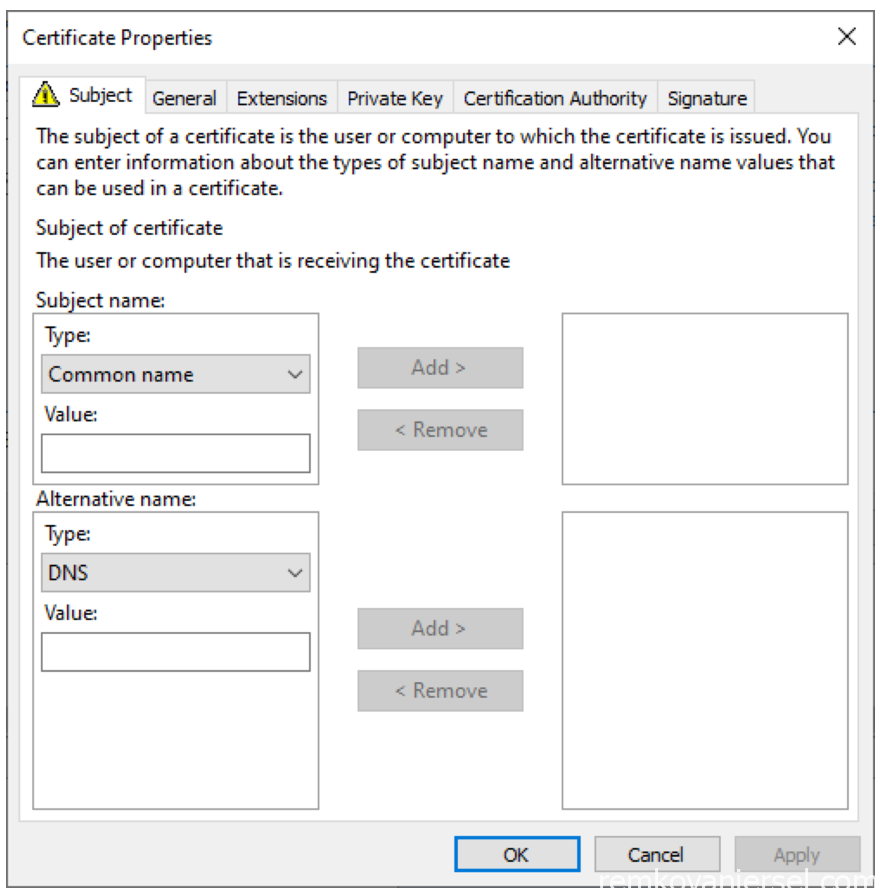
- Provide the following information
Subject name:
Type: select [Common name]
Value: {hostname}.{region}.cloudapp.azure.com (eg: sendsiercmg.uksouth.cloudapp.azure.com)
Alternate name:
Type: select [DNS]
Value: {hostname}.{region}.cloudapp.azure.com (eg: sendsiercmg.uksouth.cloudapp.azure.com)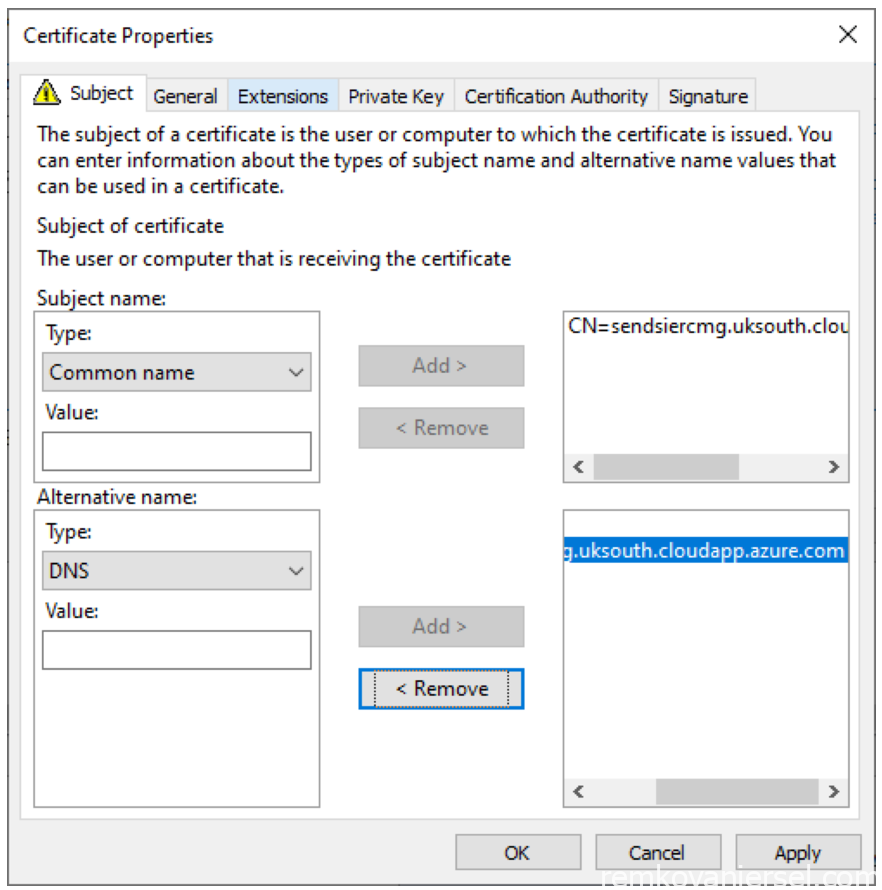
- Select [General]
Friendly name: MECM CMG Certificate
Description: MECM CMG Certificate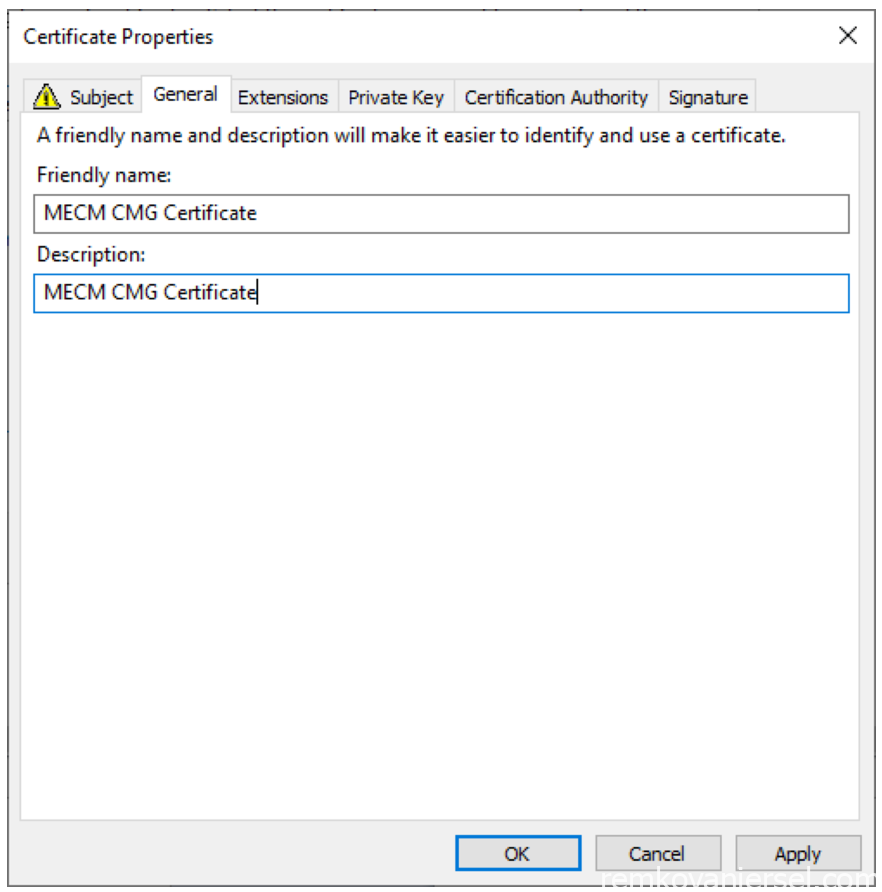
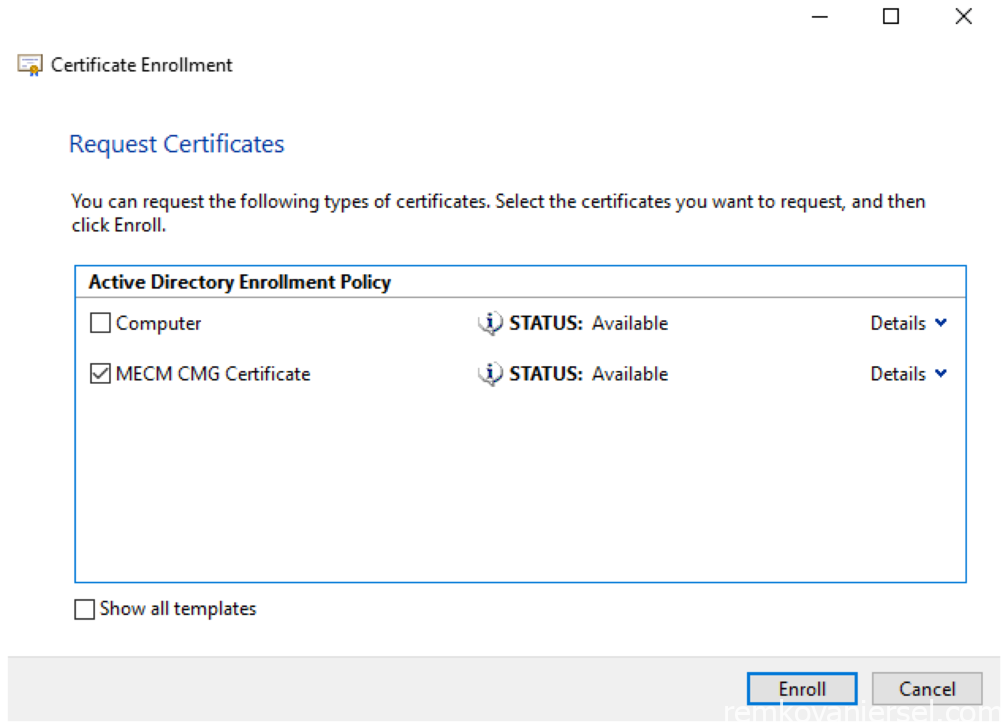
- Now enroll (issue) this certificate, click on Enroll
- Finish
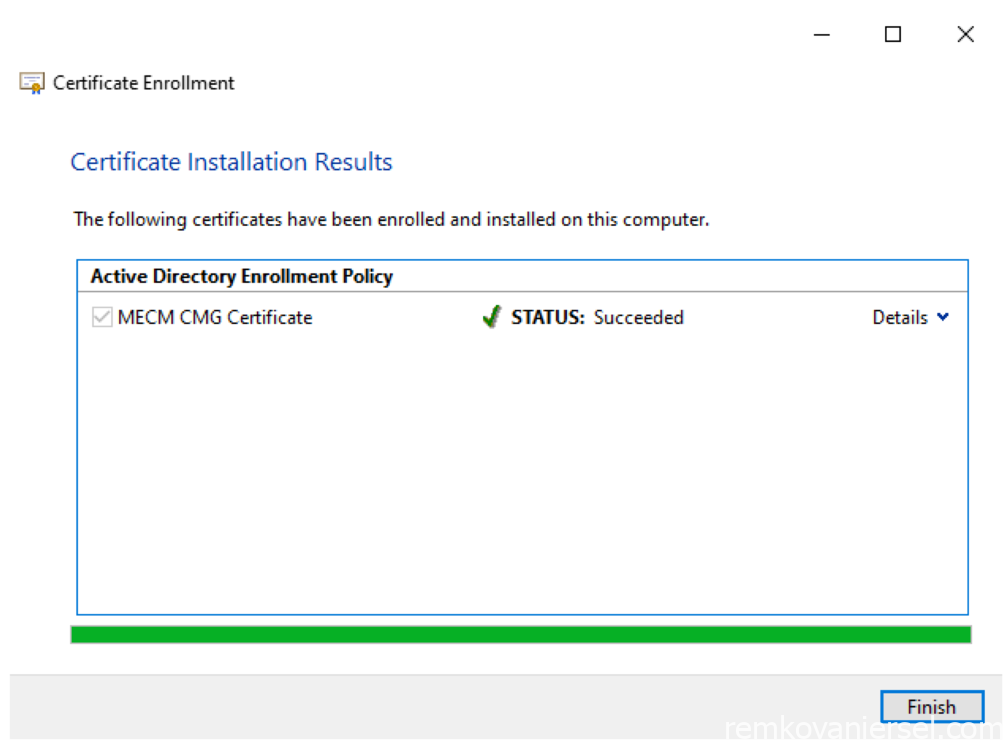
- As you can see the certificate is now issued, but we need to export this as a PFX certificate file to be imported when creating the CMG from the MECM console.
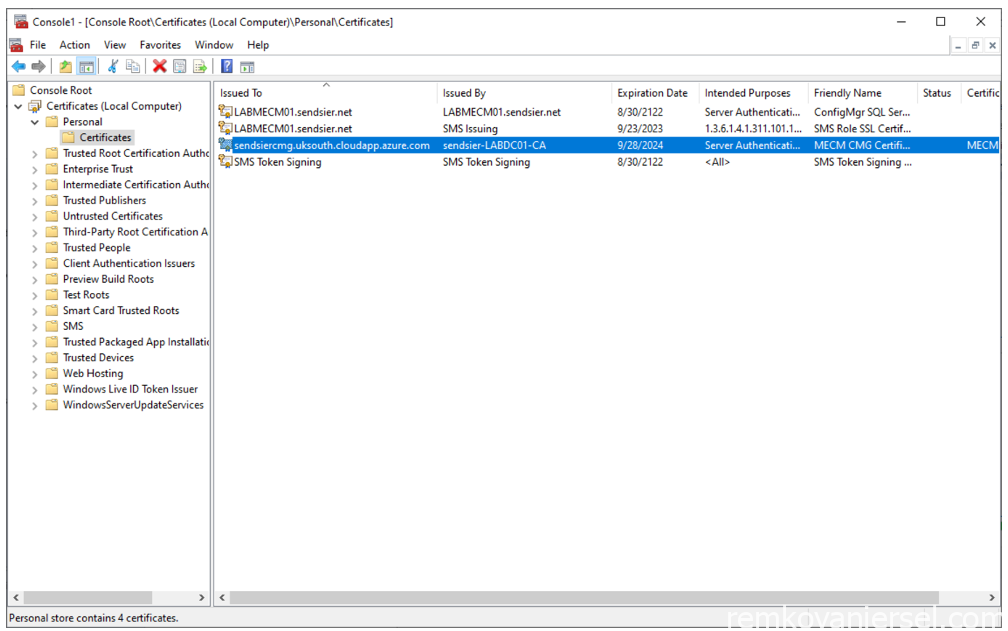
- Export as PFX
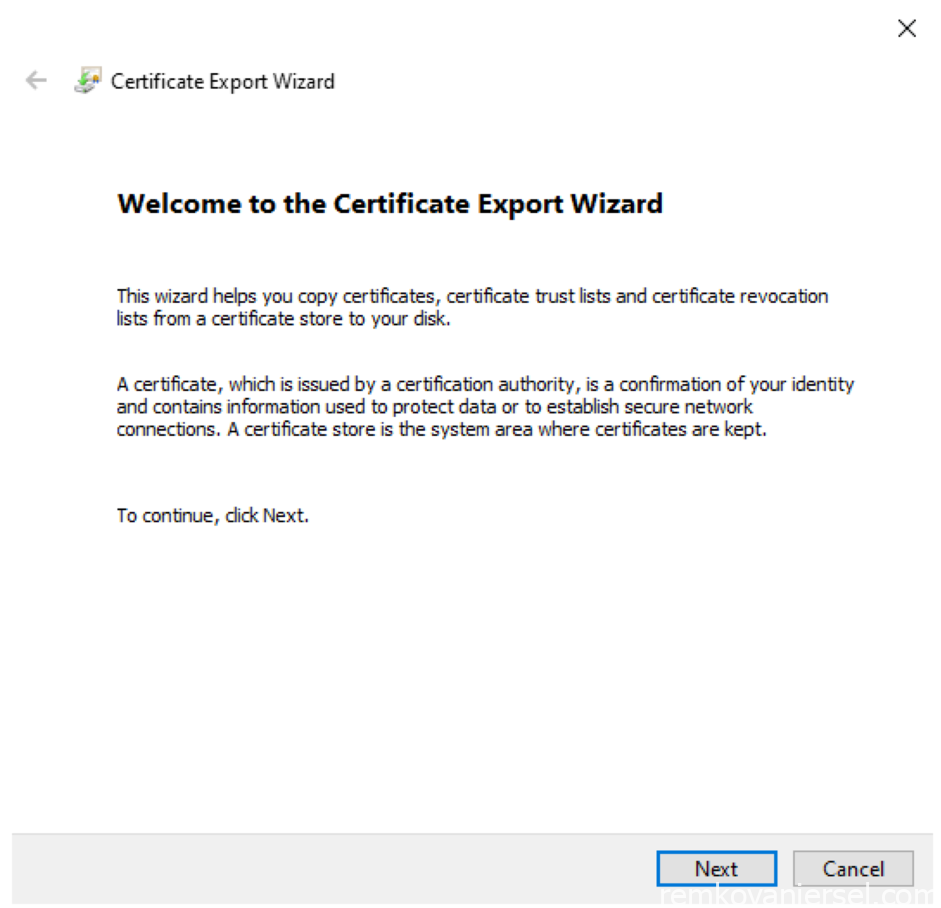
Right mouse click on the certificate and under All Tasks select Export…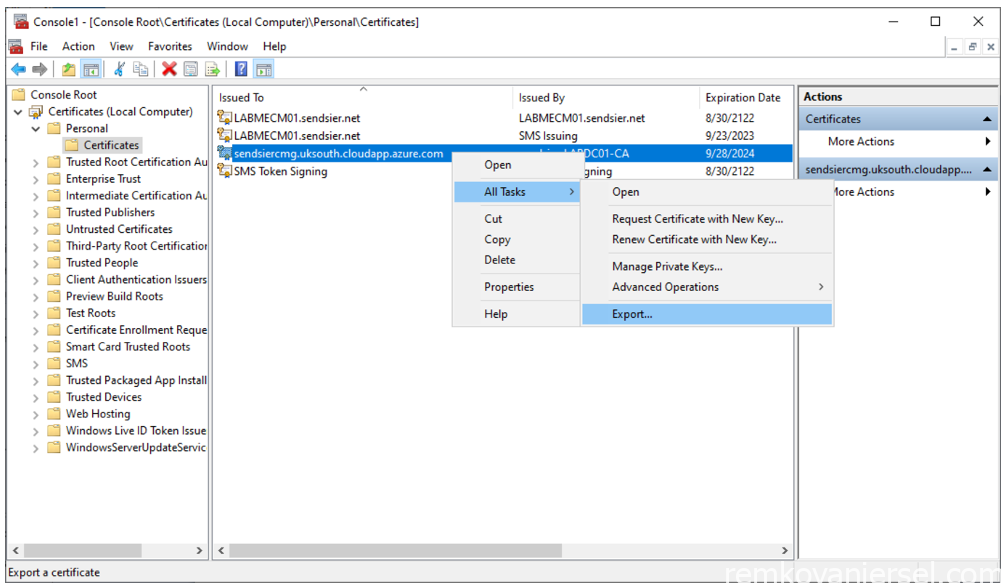
- Next
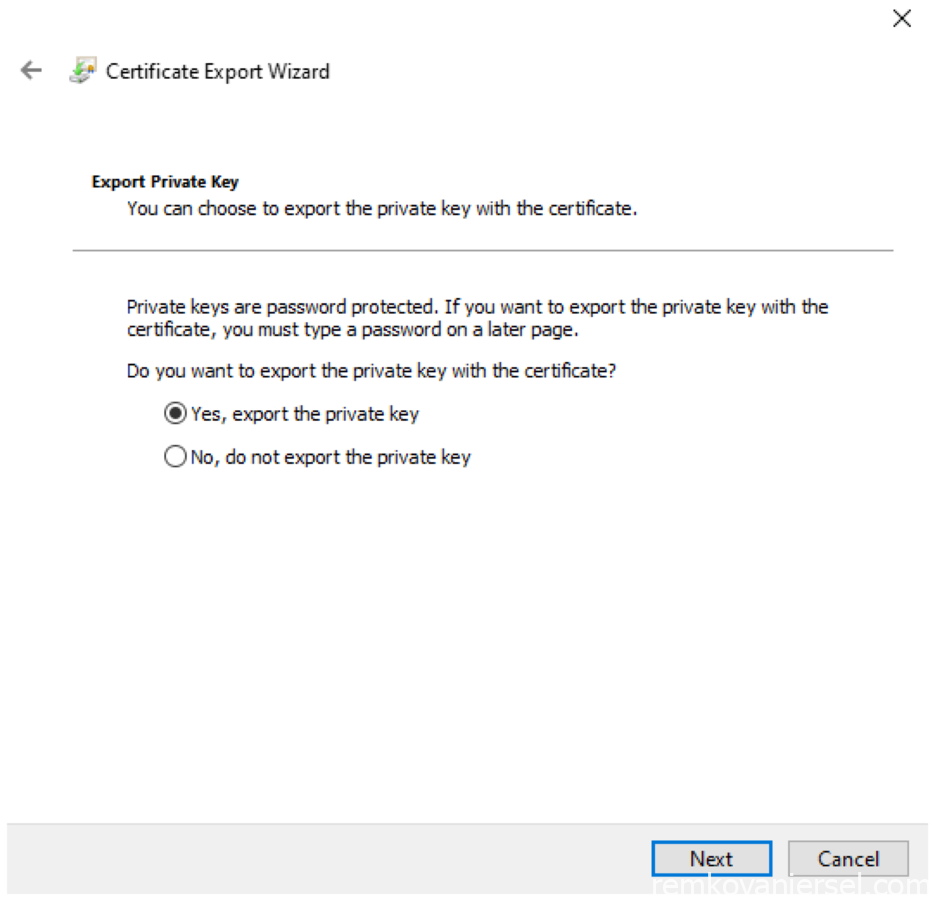
- Select “Yes, export the private key”, Next
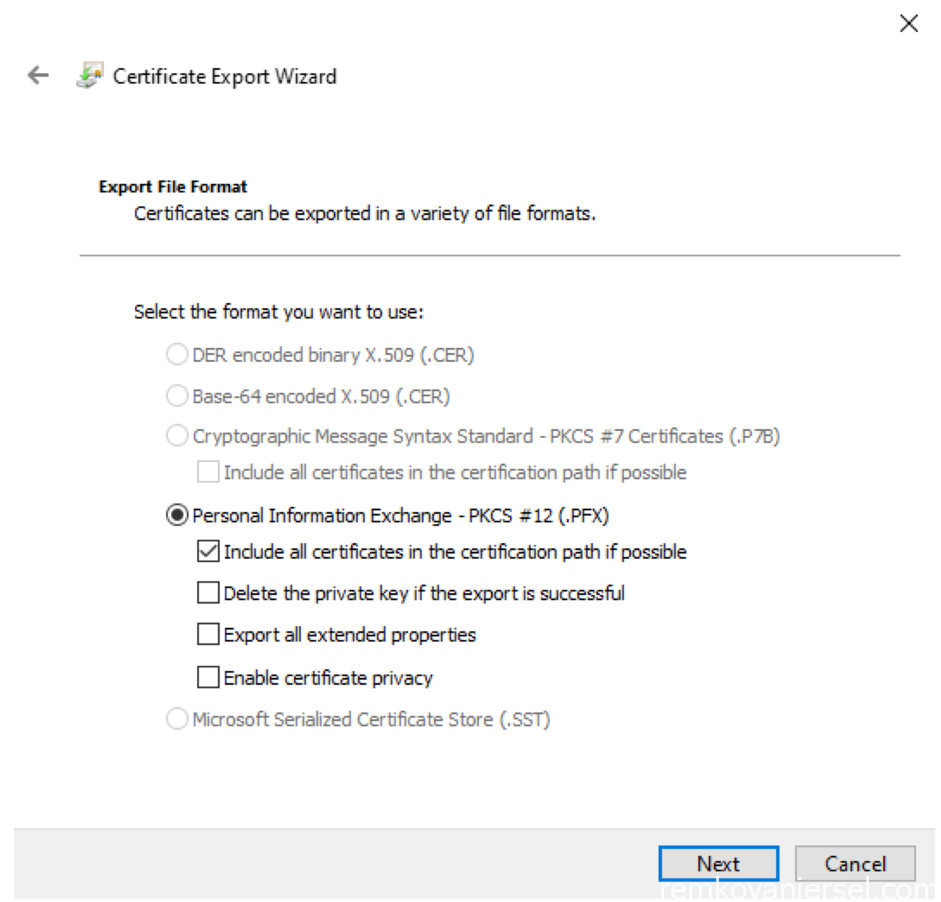
- Change to PFX and select “Include all certificates in the certification path if possible” and deselect “Enable certificate privacy”,Next
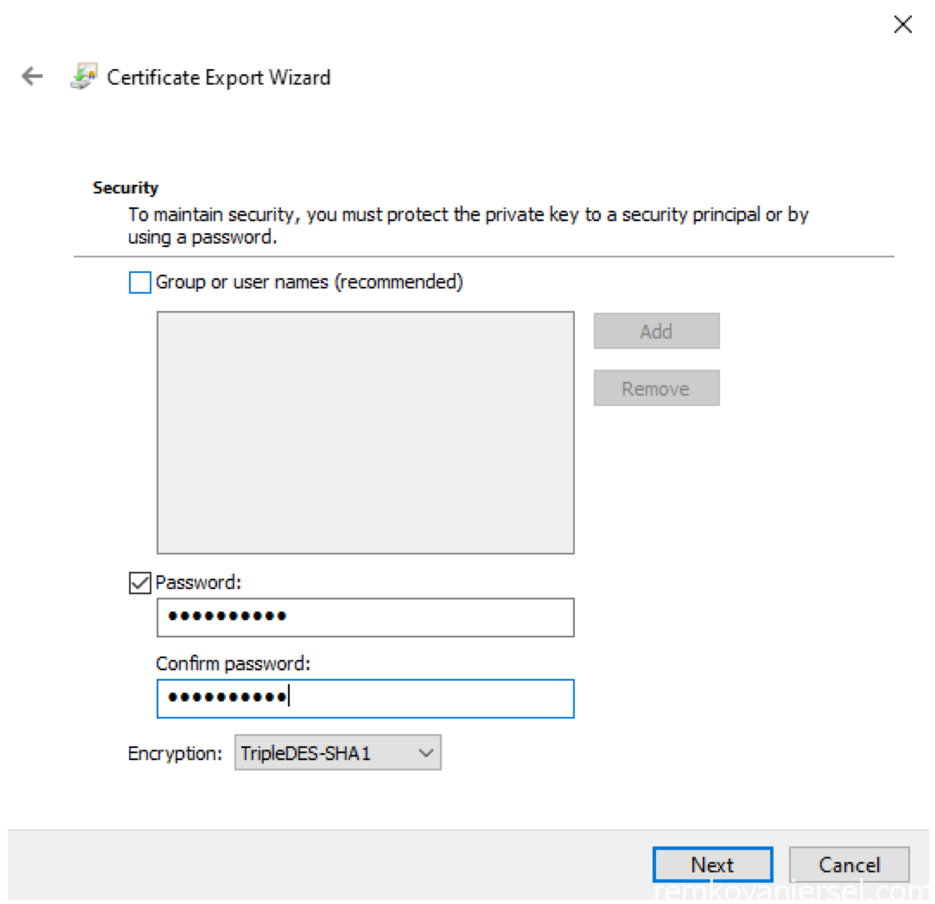
- Select Password and provide a secure strong password (and save it to your password manager!), Next
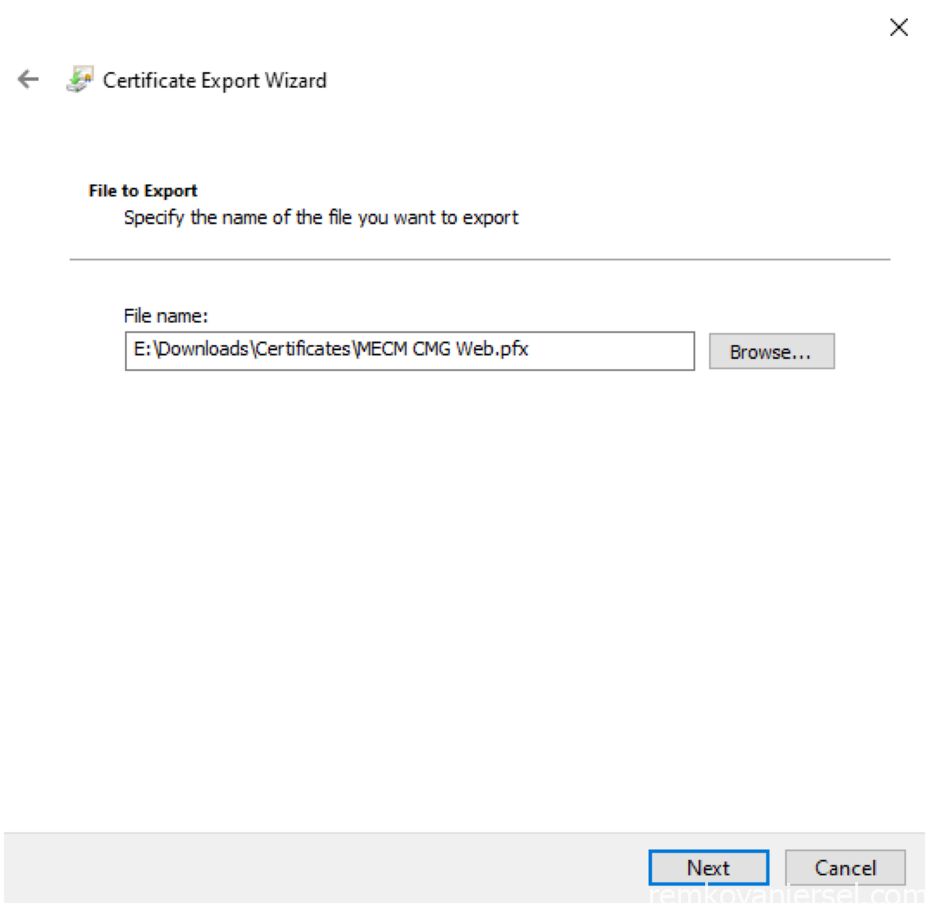
- Save it to “E:\Downloads\Certificates\MECM CMG Web.pfx”
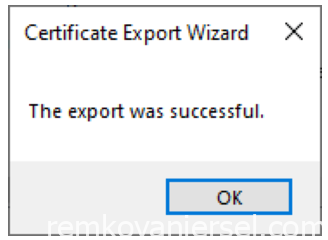
- Finish
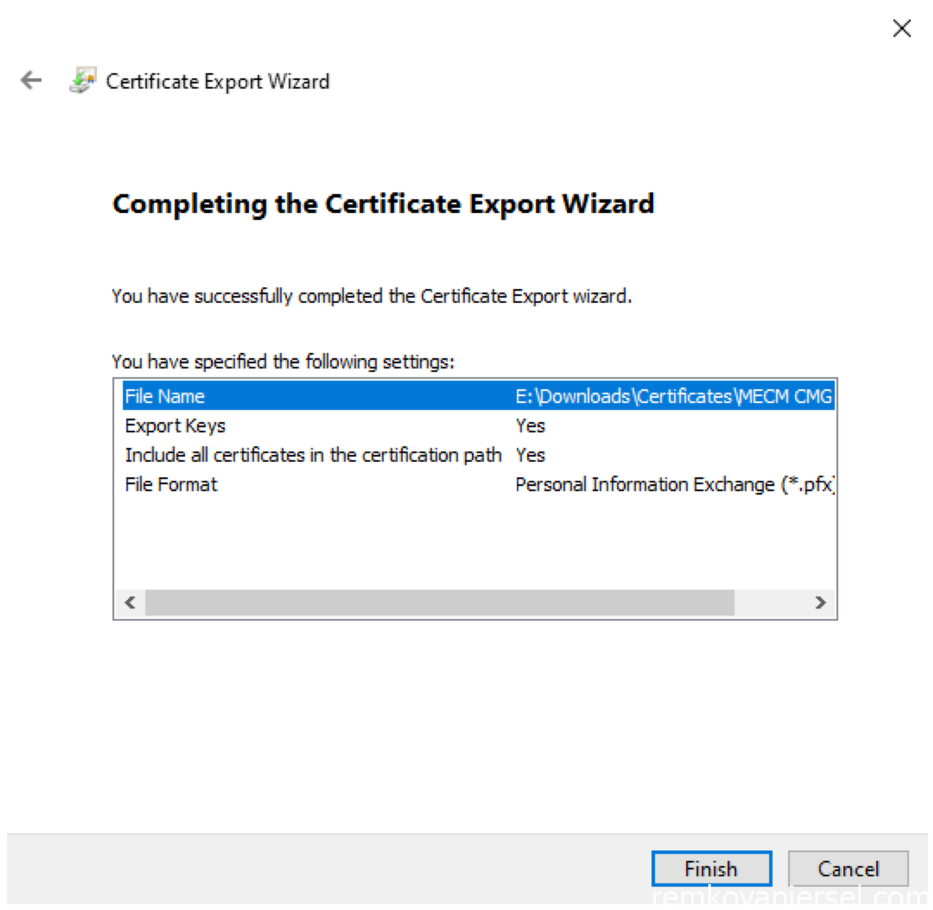
- OK
- See previous article if you missed it! Part 1 : Installation of MECM 2207 with CMG
- Continue to Part 3: Installation of Cloud Management Gateway (CMG)