Table of Contents
Introduction
This article will describe a full installation from scratch for Microsoft Endpoint Configuration Manager 2207 for a co-managed environment via a Cloud Management Gateway for Modern Workplace devices.
More information can always be found on the MECM Microsoft learn site:
https://learn.microsoft.com/en-us/mem/configmgr/core/
High Level Solution Overview
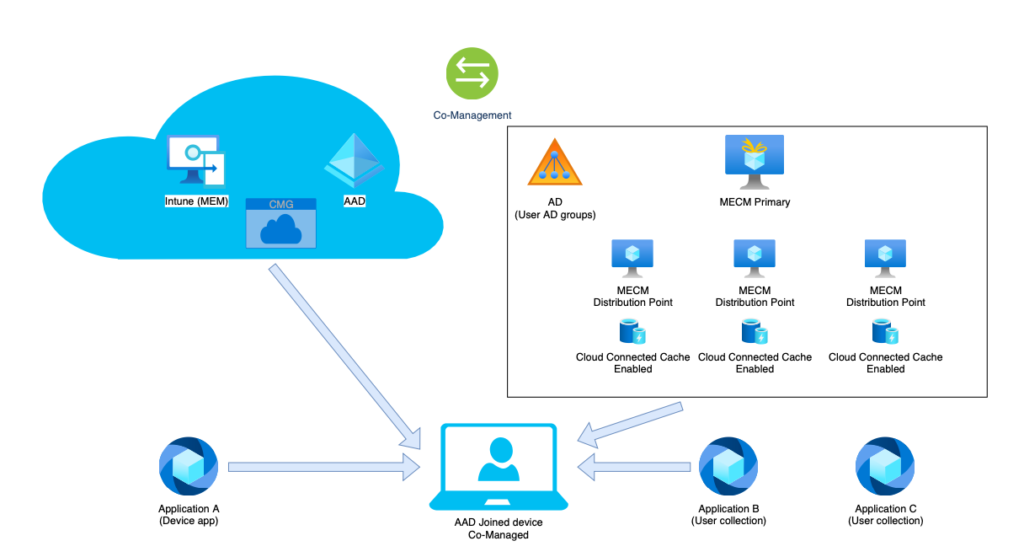
The High Level Solution provides the following:
- Device enrolled via Intune and AAD joined only
- Mandatory applications for (all) devices installed via Intune via the ESP
- (Optional) applications installed by the user via Company Portal via MECM co-management integration, only when entitled via “legacy” AD application group memberships
- On sites with low bandwidth internet connectivity a local MECM DP is installed, with Cloud Connected Cache functionality enable to speed up the Autopilot device enrollments
- Cloud Managed Gateway (CMG) to provide MECM services to the devices on the internet without VPN connectivity
MECM Installation series
| The installation and configuration of a full MECM setup is a complex hence time consuming activity. I have slides these steps in multiple blog articles to create a better overview |
- Part 1 : Installation of MECM 2207 with CMG (this article)
- Part 2 : Installation of a Root Authority for MECM with CMG
- Part 3: Installation of Cloud Management Gateway (CMG) – yet to be posted (stay tuned 📻)
Requirements
- Active Directory domain
- Active Direction Certificate Authority
- Azure tenant to create the Cloud Managed Gateway (CMG)
MECM Primary Site Server installation
Server requirements
VM Size
On Azure:
- DS4 v2
On-prem:
- vCPU: 4
- RAM: 8 GB
Disks
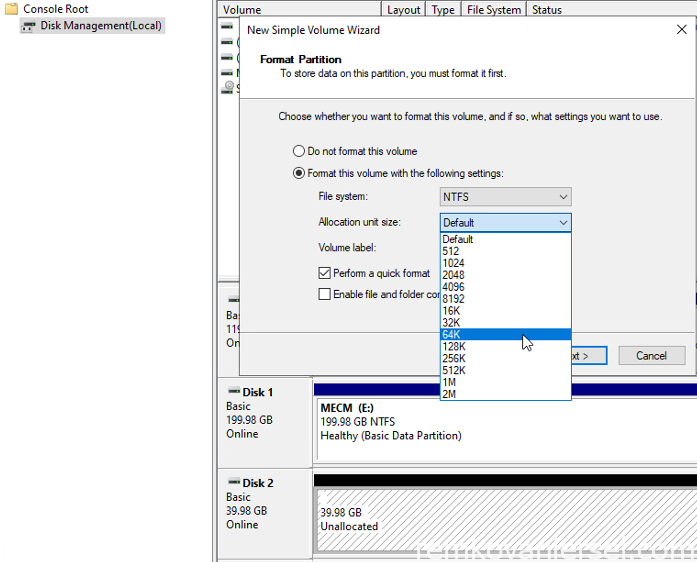
Disks IOs are the most important aspect of SCCM performance.
I recommend configuring the disks following SQL Best practice.
Split the load on a different drive. When formatting SQL drives, the cluster size (block size) in NTFS must be 64KB instead of the default 4K.
| Letter | Content | Size | Type | Cluster Size |
| C:\ | Windows | 100 GB | N/A | |
| D:\ | Azure Temporary storage | ~ GB (N/A) | N/A | |
| E:\ | MECM | 200 GB (P15) | Premium SSD LRS | N/A |
| F:\ | SQL Database | 40 GB (P15) | 64K | |
| G:\ | SQL TempDB | 40 GB (P15) | 64K | |
| H:\ | SQL Transactions LogsSQL TempDB Logs | 40 GB (P15) | 64K | |
| Z:\ | CD-ROM |
After you created the Virtual Machines with the required disk, initialize these with the correct required allocation unit size
Software
We will need the following Operating System:
- Windows 2022 Standard
- Domain joined
- Windows Activated
- Fully patched
- VM Tools installed
We will need the following software and tools.
Do not install this yet, but download the sources first to E:\Downloads\{Name of Product with version}\
- Preferred: Download “Microsoft Endpoint ConfigMgr (current branch)” from the Microsoft license center / Action Pack, or
Download MECM 2203 (Evaluation 180 days) - Preferred: Download SQL Server 2019 Standard Edition from the Microsoft license center / Action Pack, or
Download SQL Server 2019 (Evaluation 180 days)
(Standard Edition is sufficient to support all clients (limitation on Standard Edition is only for a CAS)
Download SQL Server Management Studio 18.10 - Download SQL Server 2019 Reporting Services
- Download latest cumulative update (at the time of writing CU 17)
- Download Windows 10 ADK version 2004
Do not forget to also download the WinPE add-on
MECM Prerequisites
Root Certificate Authority
See my upcoming next blog post about the installation and configuration of a Root Certificate Authority.
Active Directory Schema Extension
Since our setup has both internet and intranet client (on premises client connected to the MECM Site Server and Distribution Point via MECM boundaries on the LAN, we need to extend the Active Directory schema to support Configuration Manager.
- On the MECM server, extract E:\Downloads\MECM CB 2203\MEM_Configmgr_2203.exe to E:\Downloads\MECM CB 2203\extract\
- Login on the Schema Master Domain Controller server with an account which is member of the Schema Admins group
- Copy the whole X64 directory from the MECM server (E:\Downloads\MECM CB 2203\extract\SMSSETUP\BIN\X64)
- Change directory to E:\Downloads\MECM CB 2203\extract\SMSSETUP\BIN\X64
- Start a Powershell prompt (Run as Administrator)
- Run .\extadsch.exe
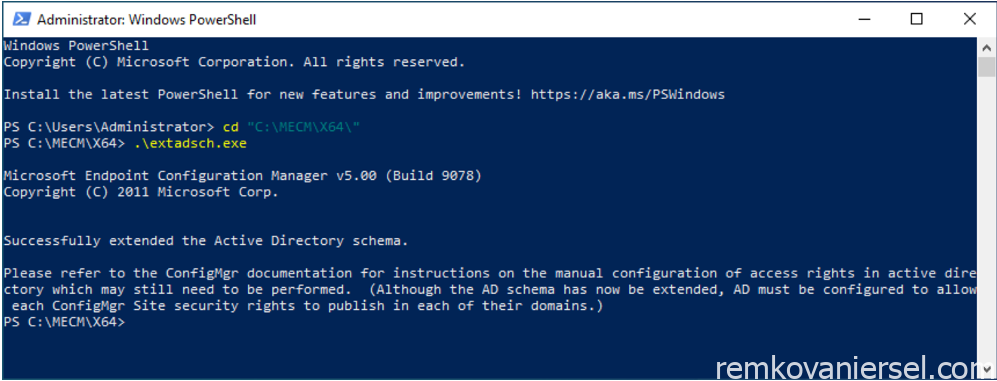
Note: If you get a 8224 or 8202 error code, make sure all your domain controllers are successfully replicated with each other (use dcdiag for troubleshooting this)
Active Directory System Management Container
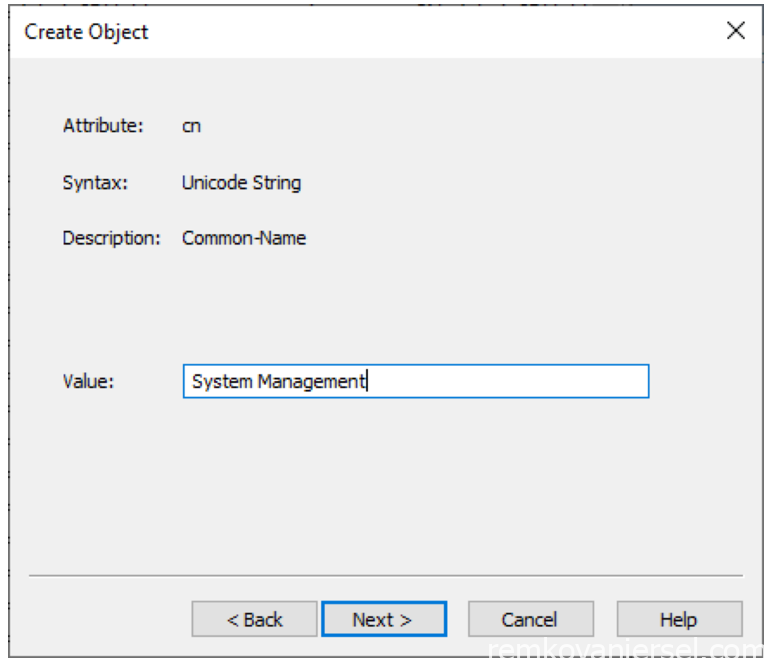
After you extend the schema, create a container named System Management in Active Directory Domain Services.
Create this container once in each domain that has a Configuration site that will publish data to Active Directory. For each container, you need to grant permissions to the computer account of each site server that will publish data to that domain.
- Start ADSIEdit
- Connect to default naming context
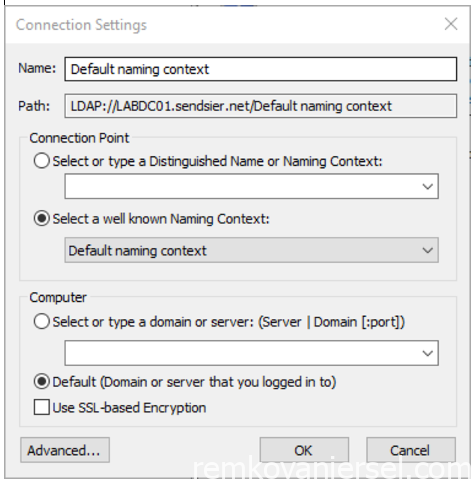
- Expand the fully qualified domain name, and expand the distinguished name.
Right-click CN=System, choose New, and then select Object.
In the Create Object windows, select Container and then select Next.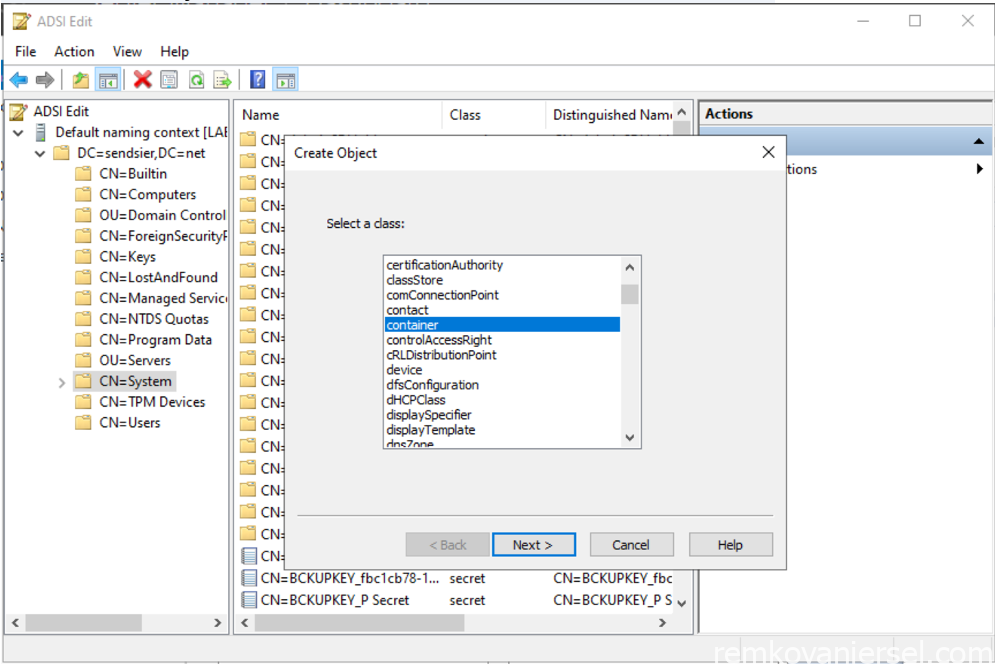
- Select Properties on the new created Container and select the security tab
Add the computer account of the MECM server and Check Full Control checkbox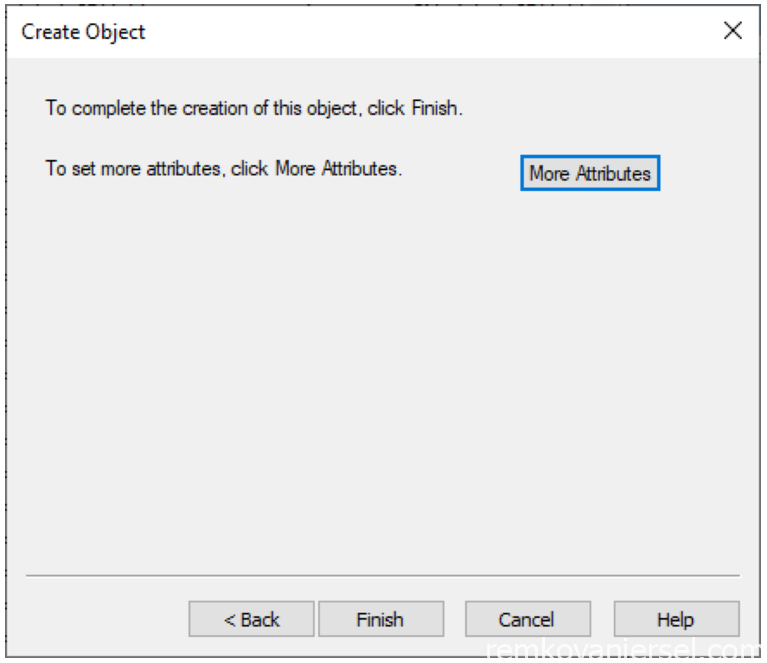
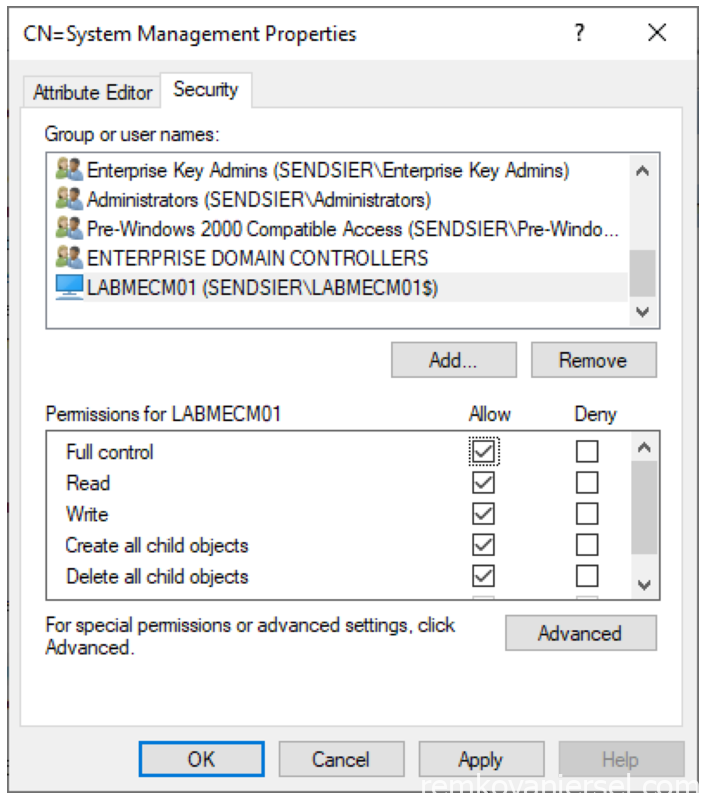
- Select Advanced, select the computer account object of the MECM server, and select Edit
In the Apply onto list, select This object and all descendant objects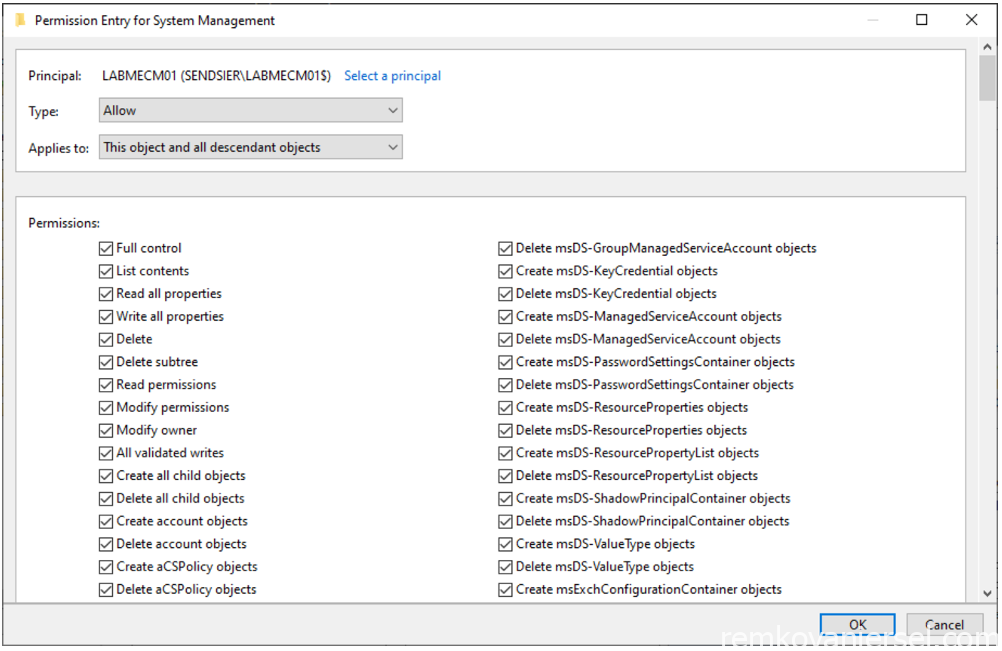
Active Directory MECM Accounts and Groups
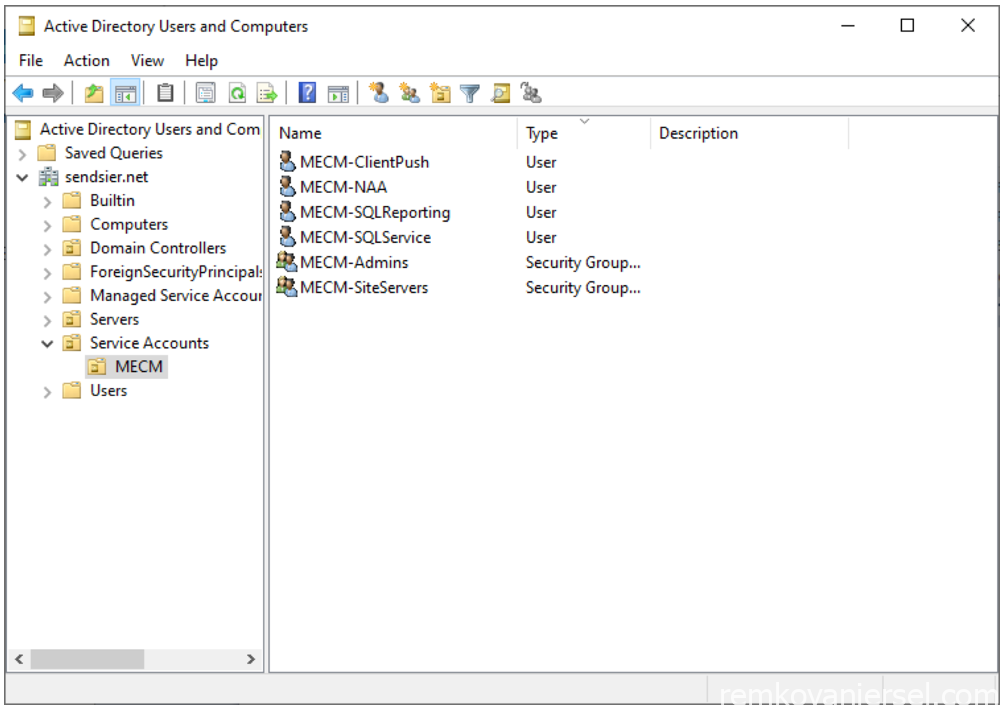
Create the following accounts and groups:
| Description | Object type | Name | Member |
| SQL Server account | AD user | MECM-SQLService | |
| SQL Reporting Service account | AD user | MECM-SQLReporting | |
| MECM Network Access account | AD user | MECM-NAA | |
| MECM Client Push Install account | AD user | MECM-ClientPush | |
| MECM Admin group | AD group | MECM-Admins | Your own AD Users object(s) |
| MECM Site Servers group | AD group | MECM-SiteServers | MECM Server AD computer object |
Note: For all the user accounts set the password to never expired and user cannot change password
Local MECM Administrator account
Add the AD computer object for the MECM server and the MECM-Admins AD group to the BUILTIN\Administrators group of the MECM server

Note: Since MECM server needs to be member of the builtin Administrator group it cannot be (safely) installed on a Domain Controller
Network configuration
Make sure the MECM server has a fixed IP and it can reach the internet, this to download updates and connect to CMG
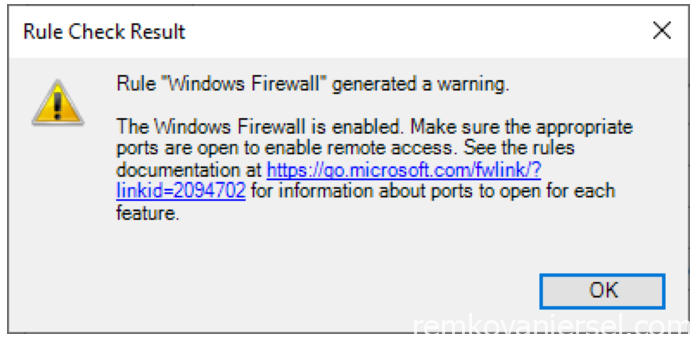
Windows Advanced Firewall configuration
We need to make additional firewall rules for MECM.
(Option) ports can be found here: https://learn.microsoft.com/en-us/mem/configmgr/core/plan-design/hierarchy/ports
To make this earlier, copy/paste this script, save it as MECMFW.cmd and run it as Administrator in a command prompt on the MECM server.
@echo ========= SQL Server Ports ===================
@echo Enabling SQLServer default instance port 1433
netsh advfirewall firewall add rule name="SQL Server" dir=in action=allow protocol=TCP localport=1433
@echo Enabling Dedicated Admin Connection port 1434
netsh advfirewall firewall add rule name="SQL Admin Connection" dir=in action=allow protocol=TCP localport=1434
@echo Enabling conventional SQL Server Service Broker port 4022
netsh advfirewall firewall add rule name="SQL Service Broker" dir=in action=allow protocol=TCP localport=4022
@echo Enabling Transact-SQL Debugger/RPC port 135
netsh advfirewall firewall add rule name="SQL Debugger/RPC" dir=in action=allow protocol=TCP localport=135
@echo ========= Analysis Services Ports ==============
@echo Enabling SSAS Default Instance port 2383
netsh advfirewall firewall add rule name="Analysis Services" dir=in action=allow protocol=TCP localport=2383
@echo Enabling SQL Server Browser Service port 2382
netsh advfirewall firewall add rule name="SQL Browser" dir=in action=allow protocol=TCP localport=2382
@echo ========= Misc Applications ==============
@echo Enabling HTTP port 80
netsh advfirewall firewall add rule name="HTTP" dir=in action=allow protocol=TCP localport=80
@echo Enabling SSL port 443
netsh advfirewall firewall add rule name="SSL" dir=in action=allow protocol=TCP localport=443
@echo Enabling port for SQL Server Browser Service's 'Browse' Button
netsh advfirewall firewall add rule name="SQL Browser" dir=in action=allow protocol=TCP localport=1434
@echo Allowing Ping command
netsh advfirewall firewall add rule name="ICMP Allow incoming V4 echo request" protocol=icmpv4:8,any dir=in action=allow
Exclude MECM content from drives
We want to make sure dedicated drives on the MECM Server, except the drive we explicitly want to put MECM content on, are getting MECM content.
On every drive, except for E:\, place a file in the root named “no_sms_on_drive.sms”
Page file size
Adjust the Virtual Memory Paging file size to optimize SQL performance.
Under Settings > About > Advanced system settings > [Advanced] > Performance [Settings] > [Advanced] > Virtual memory [Change]:
Uncheck “Automatic manage paging file size for all drives”
For the C:\ select Custom size as minimum the installed memory and for the maximum size 3X the installed memory and click [Set]
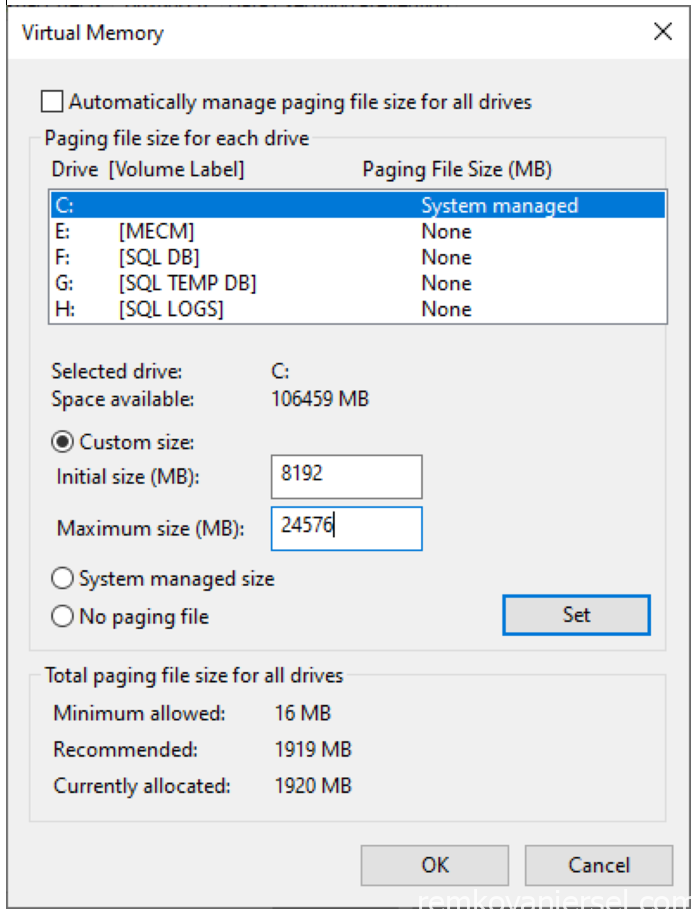
Reboot the server
Windows Updates
Now that we are done with all pre-requisites make sure the MECM server is fully patched by running Windows Updates for the last time
MECM Installation
Windows Features
MECM is depending on certain Windows Features, install these on the MECM server in a Powershell command box via the following script:
# install .NET Framework 3.5
Install-WindowsFeature Net-Framework-Core
# install .NET Framework 4
### .NET 4.6 is already pre-installed on Windows Server 2022
Install-WindowsFeature Web-Asp-Net
Install-WindowsFeature Web-Asp-Net45

# install IIS
Install-WindowsFeature Web-Windows-Auth
Install-WindowsFeature Web-ISAPI-Ext
Install-WindowsFeature Web-Metabase
Install-WindowsFeature Web-WMI

# install BITS Server Extension
Install-WindowsFeature BITS

# install Remote Differential Compression
Install-WindowsFeature RDC

# install IIS/Net options
Install-WindowsFeature NET-HTTP-Activation
Install-WindowsFeature NET-Non-HTTP-Activ
SQL Server 2019 Standard Edition
Some short notice for our setup and for your information:
MECM SQL Database cannot be hosted on Azure SQL (PaaS).
“SCCM and SQL Server communicate constantly. We recommend that the main database and SQL Server be installed on the Primary site server. This is fully debatable and we understand that some organization tries to standardize their SQL distribution. Performance is simply better using a local installation when configured properly”
(Source)
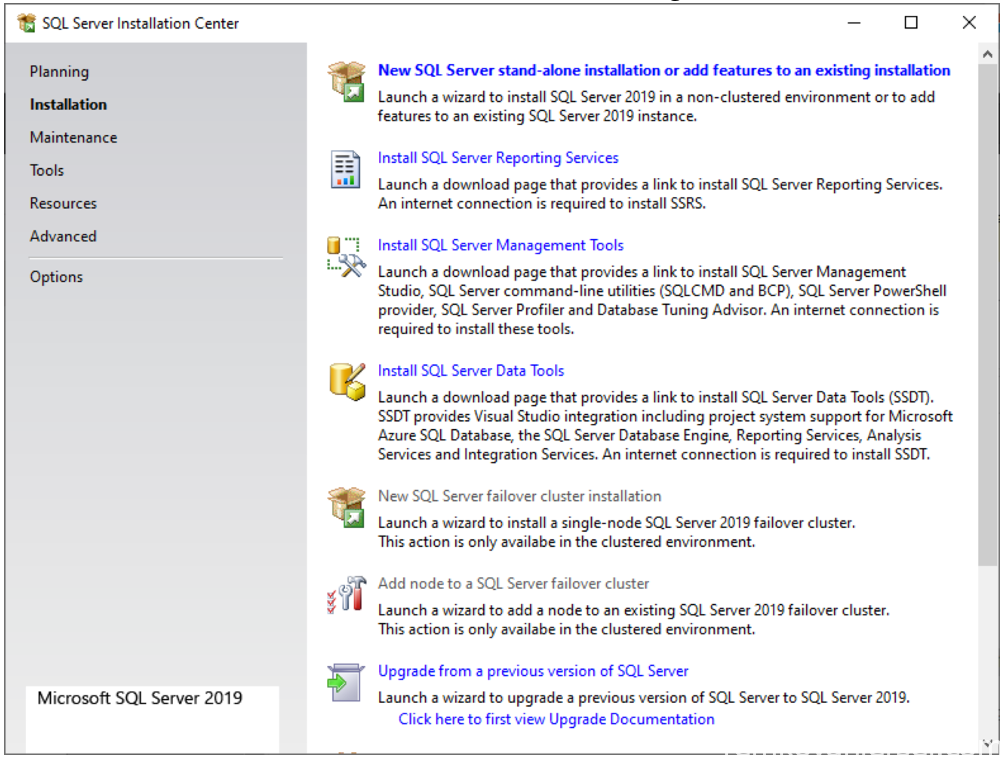
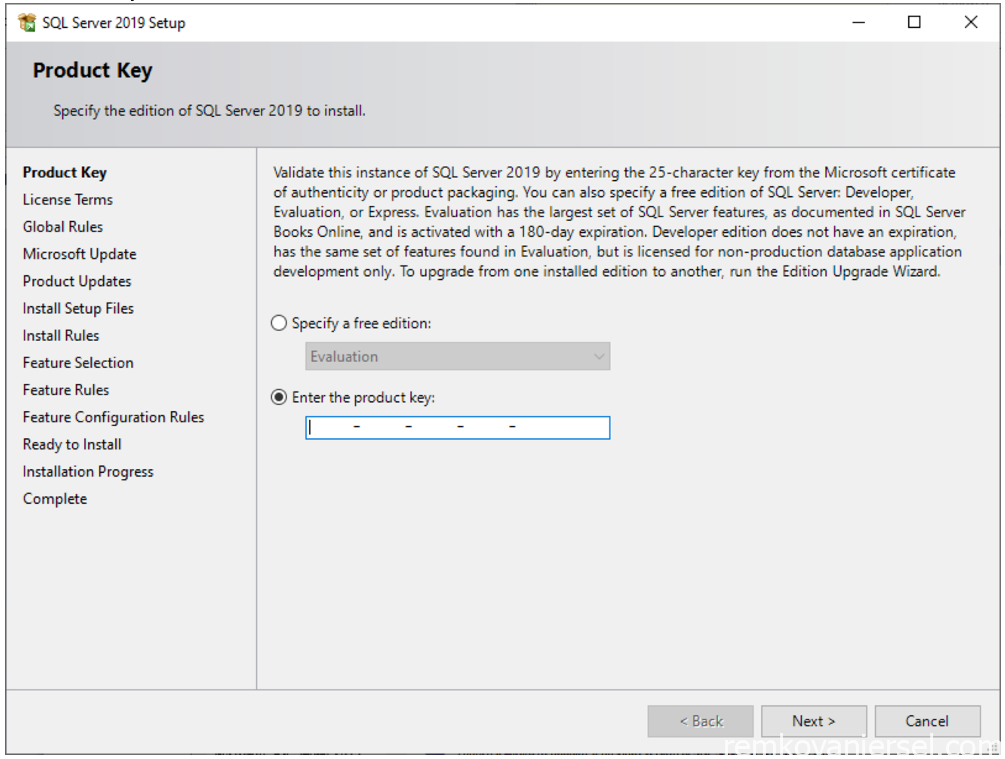
- Run E:\Downloads\SQL 2019\extract\setup.exe and under Installation choose “New SQL Server stand-alone installation or add features to an existing installation
- Product Key
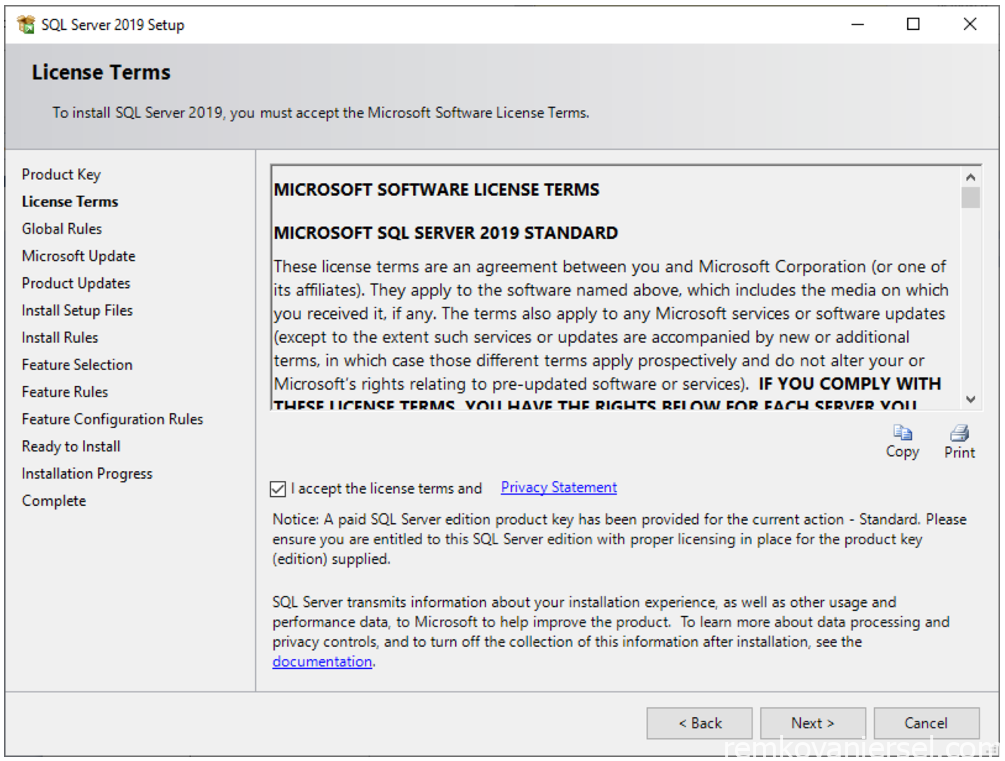
- License
- Global Rules
- Microsoft Update
- Product Updates
- Install Setup Files
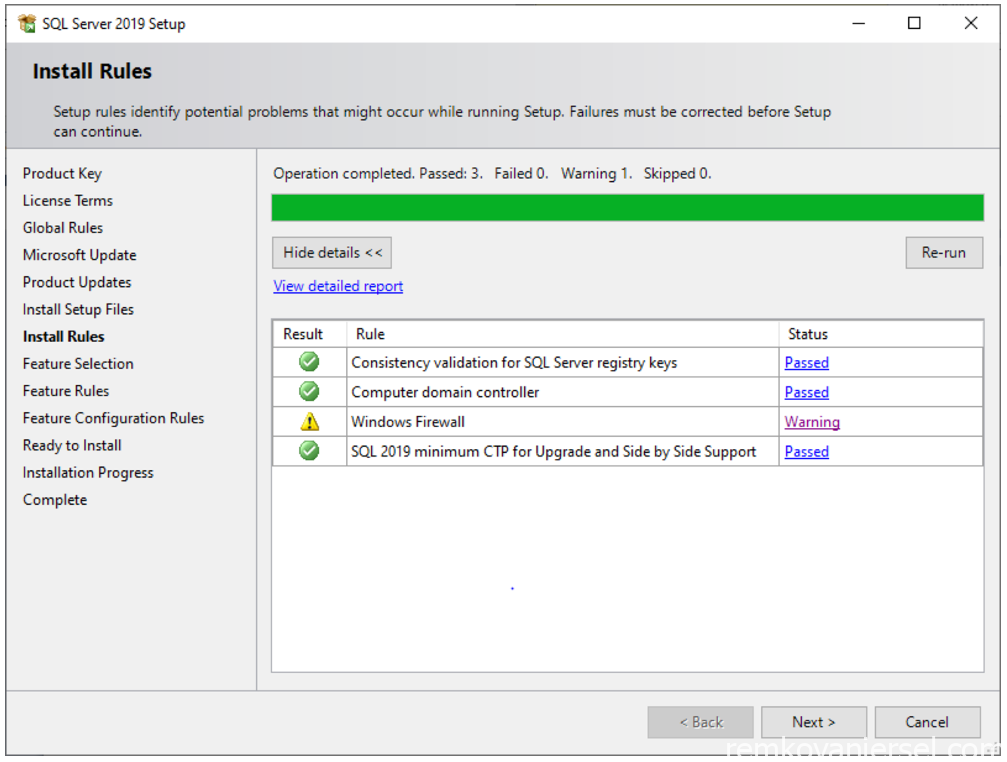
- Install Rules
- Feature Selection
Select Database Engine Services and change all drive letters from C:\ to E:\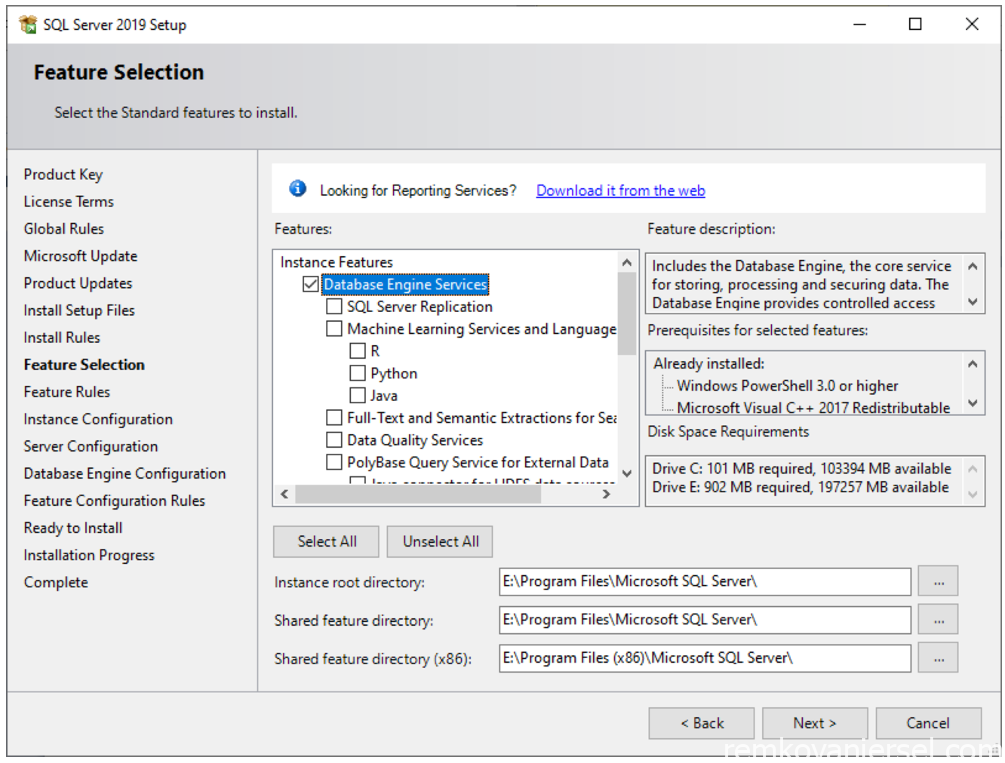
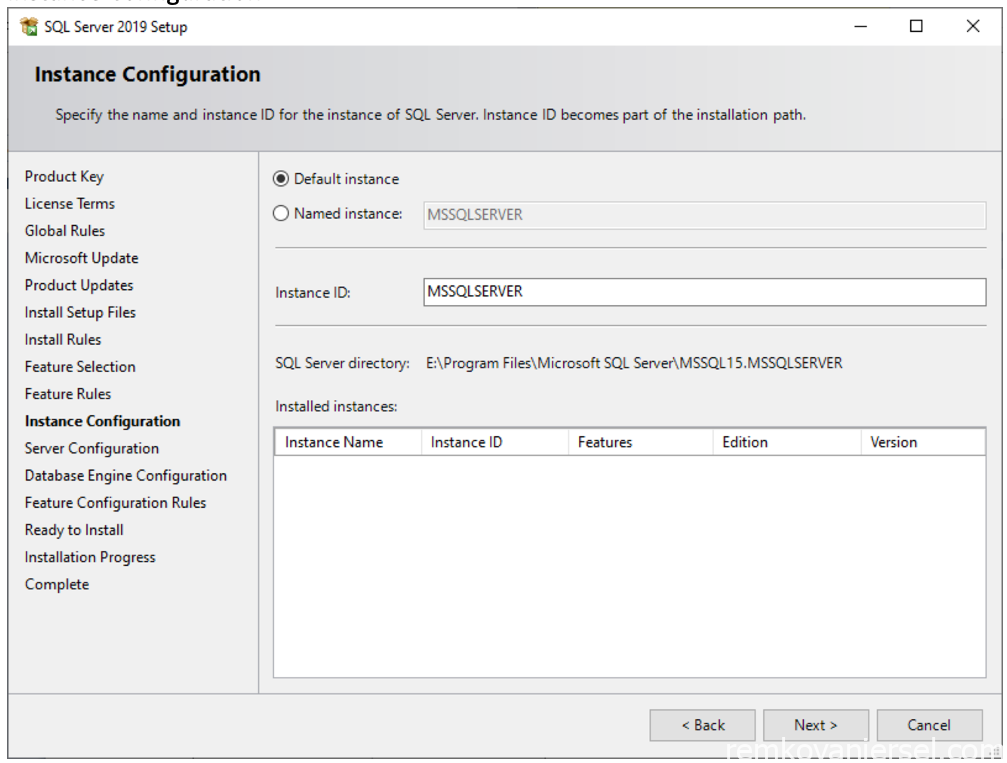
- Instance Configuration
- Server Configuration
Under [Service Accounts]Change Account Name for SQL Server Agent to MECM-SQLService, provide password, and under Startup type change to AutomaticChange Account Name for SQL Server Database Engine to MECM-SQLService, provide password, and under Startup type change to AutomaticLeave SQL Server Browser disabledCheck “Grant Perform Volume Maintenance Task privilege”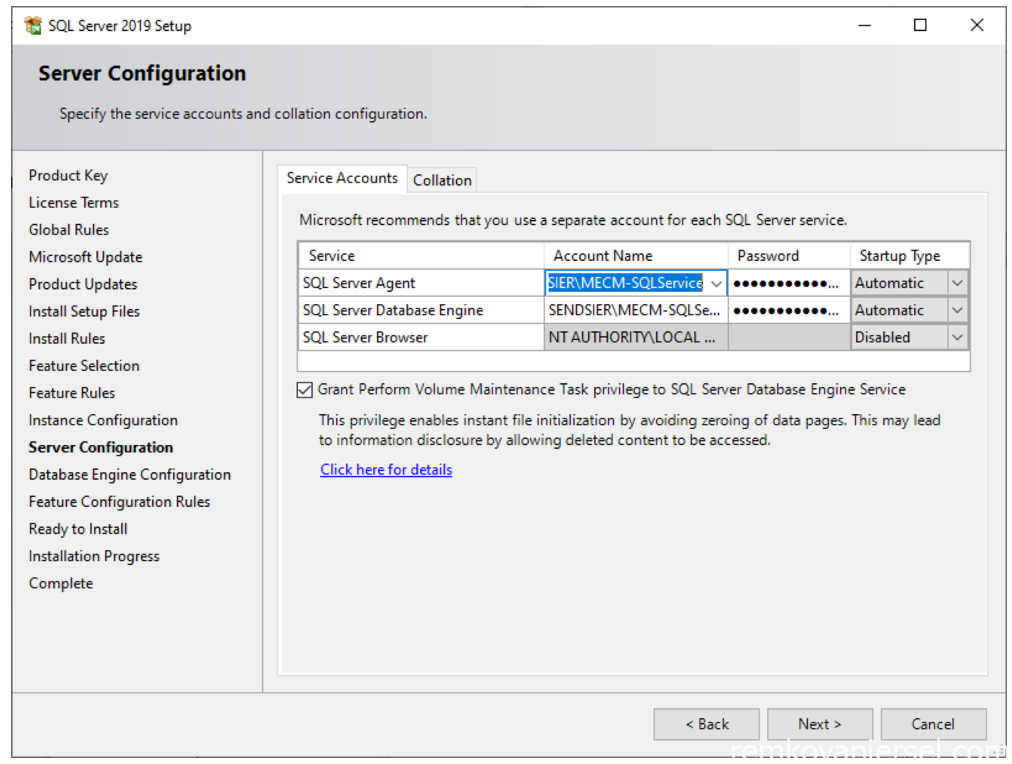
Under [Collation]Make sure it is set to SQL_Latin1_General_CP1_CI_AS (should already be the default)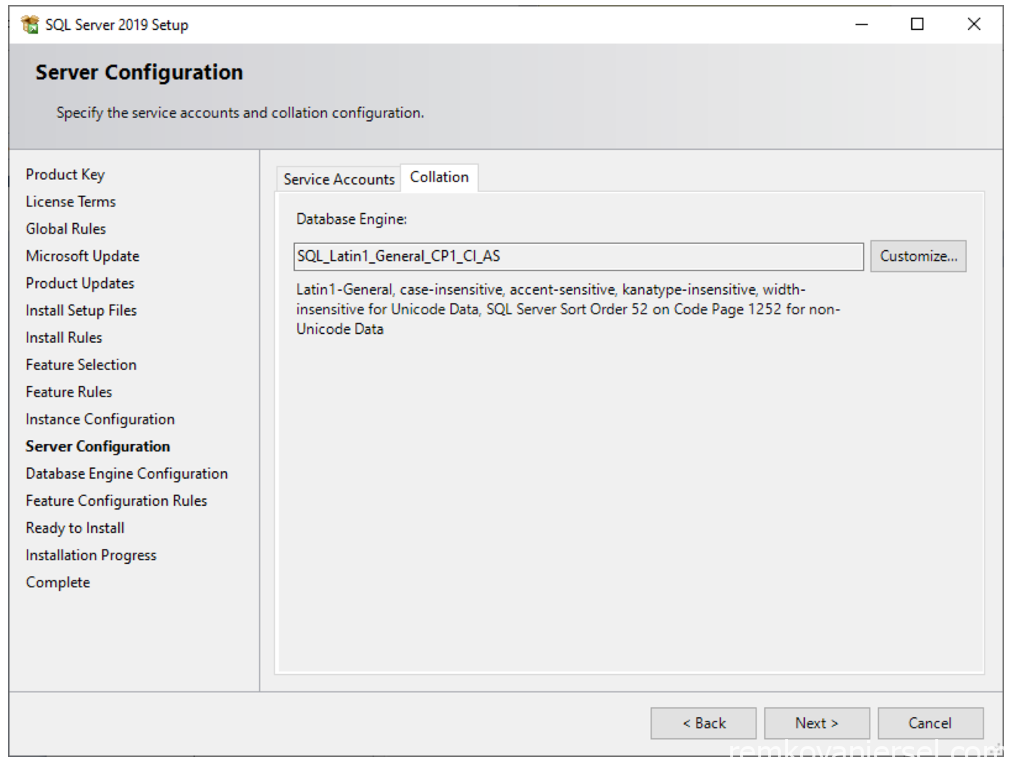
- Database Engine Configuration
Under [Server Configuration]
Leave at Windows authentication mode
Add current user
Add MECM-SQLService
Under [Data Directories]
Change data root drive to E:\Program Files\Microsoft SQL Server\
Change User database directory to F:\SQLDB
Change User log directory to H:\SQLLOG
Change backup directory to E:\SQLBACKUP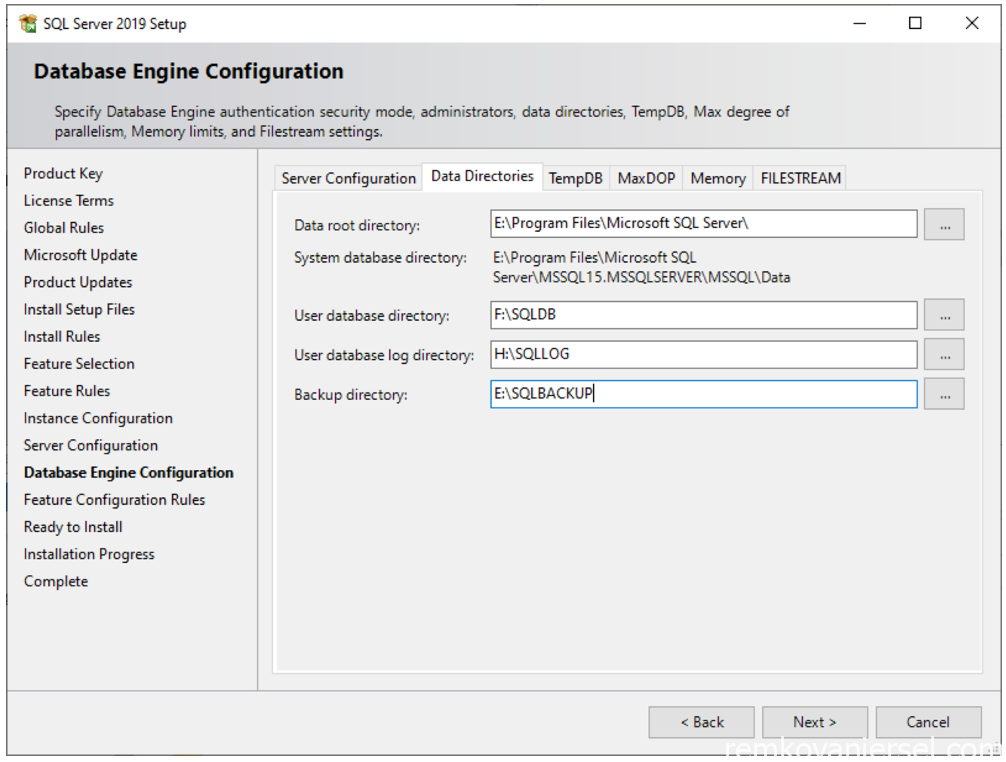
Under [TempDB]
Remove the first entry (E:\Program Files…)
Click on Add, select G:\ select Make New Folder and name this folder “SQLTEMP”, click on ok
Change the Initial size for both the data and log file to 25% of the expected MECM Database size. If you don’t know leave default, you can change this later
next, and accept the warning if you changed the values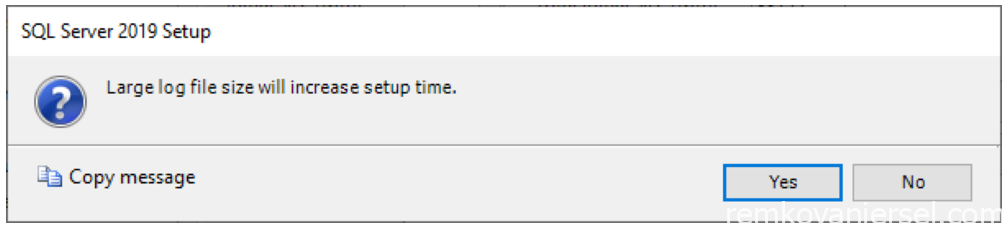
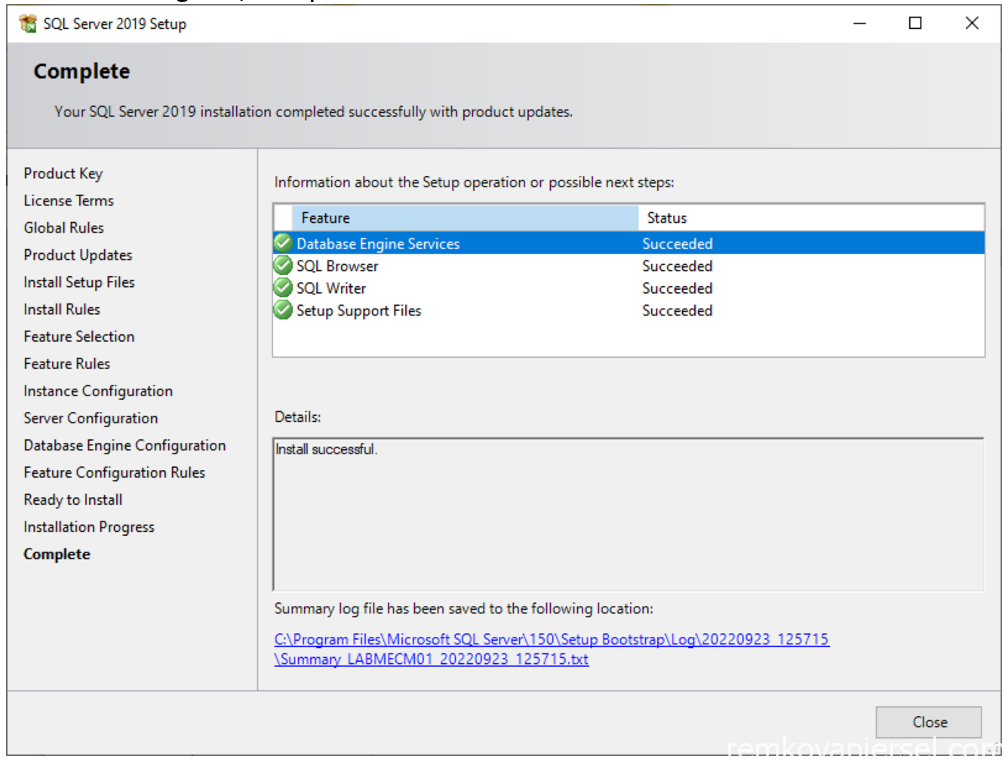
- Ready to install
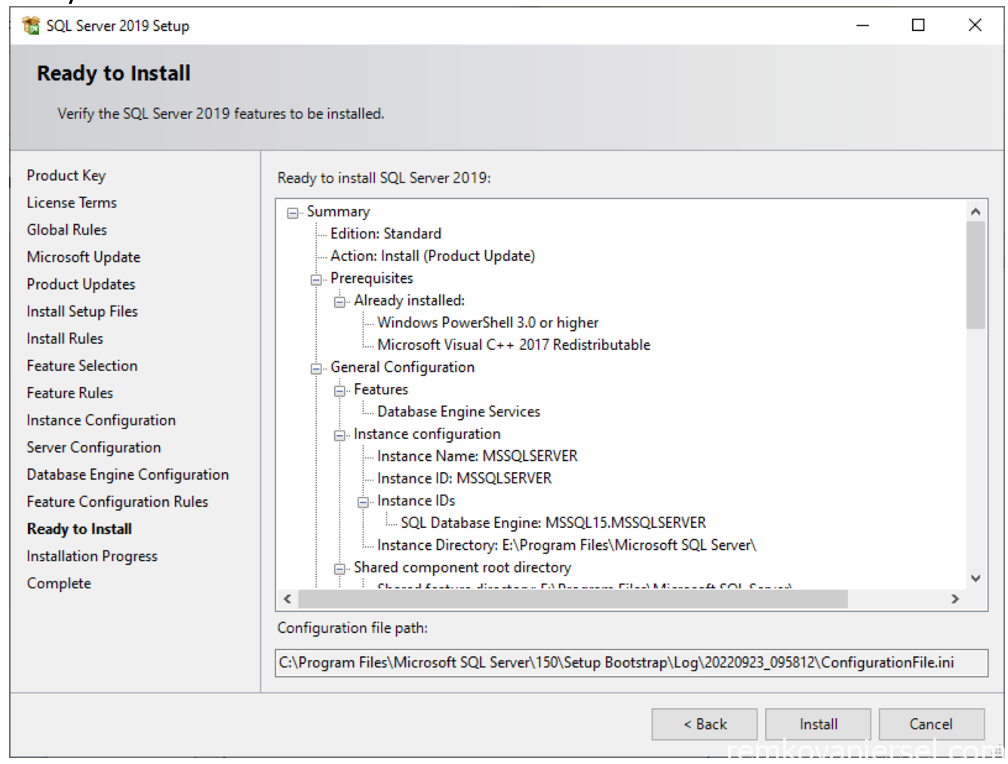
- Installation Progress / Complete
SQL Server Management Studio
This software is used to manage your SQL environment, add security, view tables and run SQL queries etc
- Run E:\Downloads\SQL Management Studio 18.12.1\SSMS-Setup-ENU.exe
- Change drive letter C:\ to E:\ and click on Install
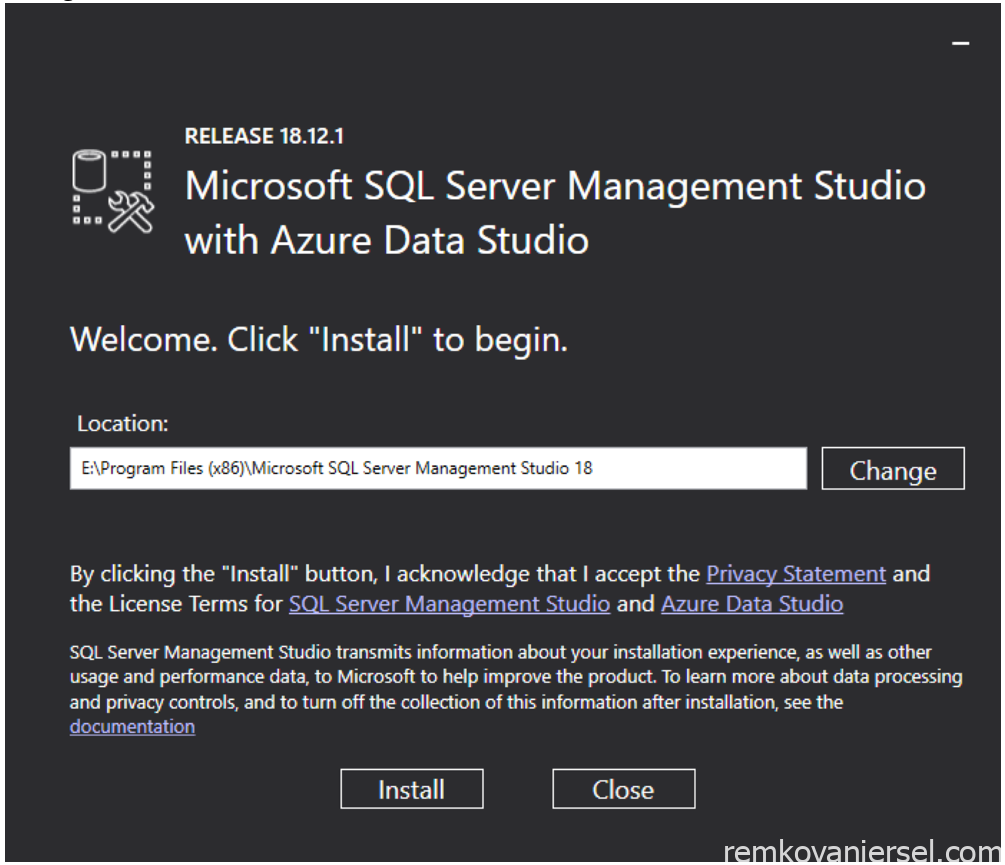
- Close the installation wizard when it is installed
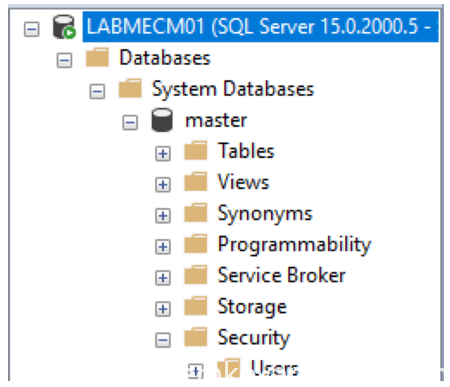
- Launch Microsoft SQL Server Management Studio to verify SQL is up and running
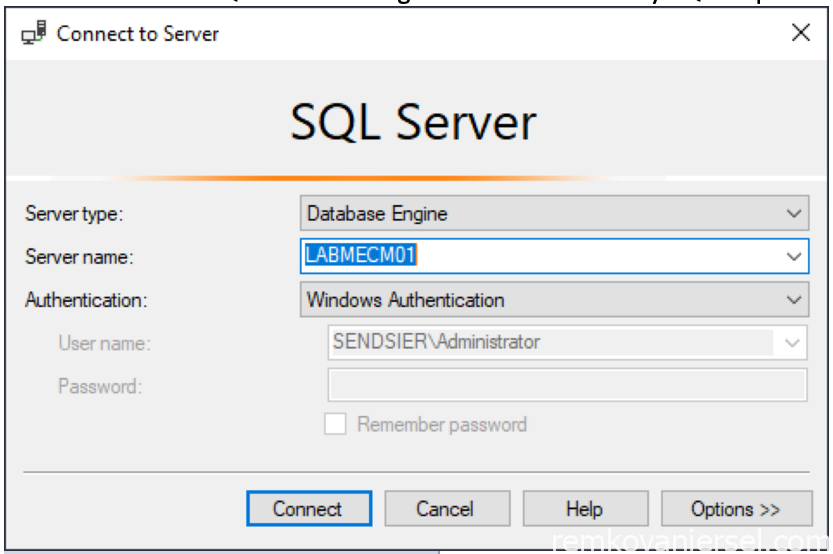
Do not close this window yet
SQL Server process memory allocation
- Right click on the SQL Server node and select properties
- Memory
Set the minimum to 6553 MB and the maximum to 80% of the total installed memory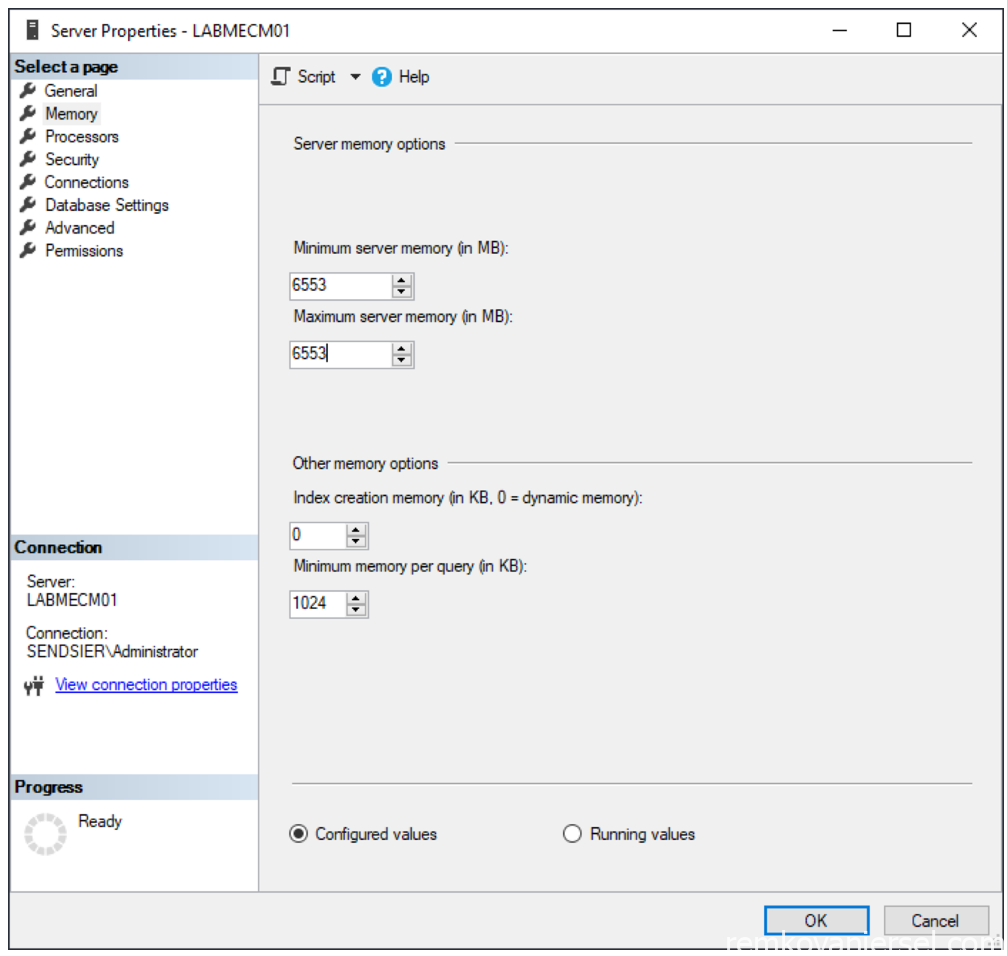
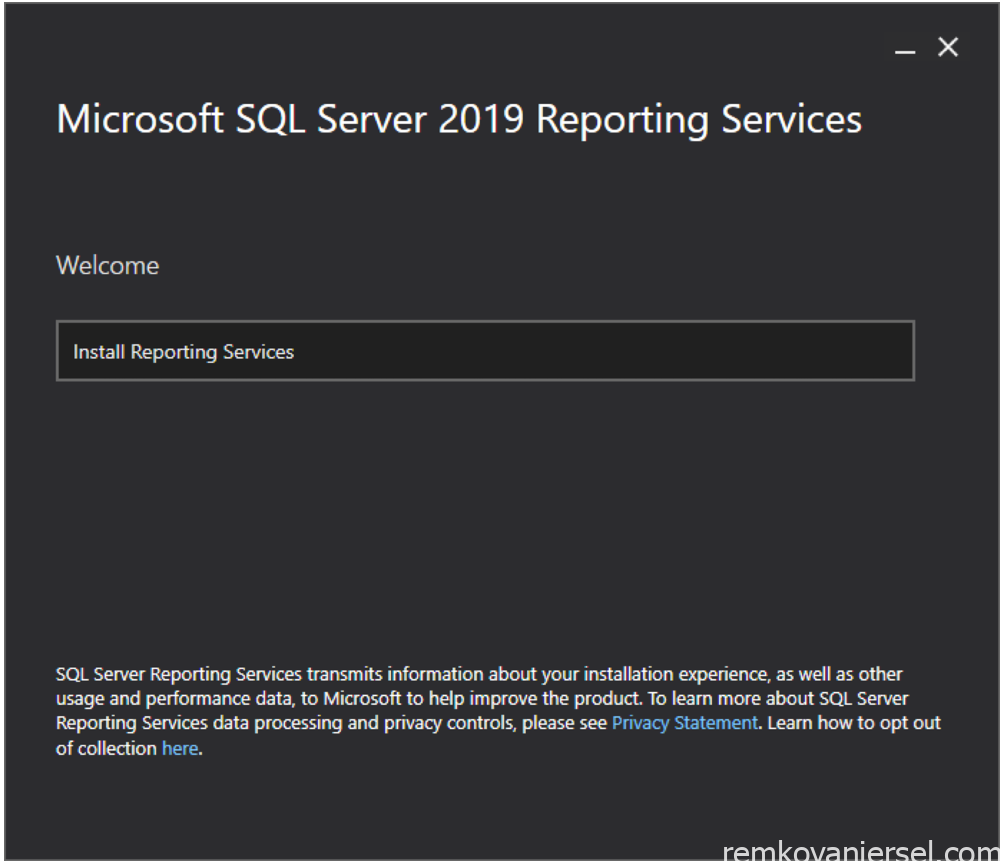
SQL Server Reporting Services
This software is used to generate MECM reports
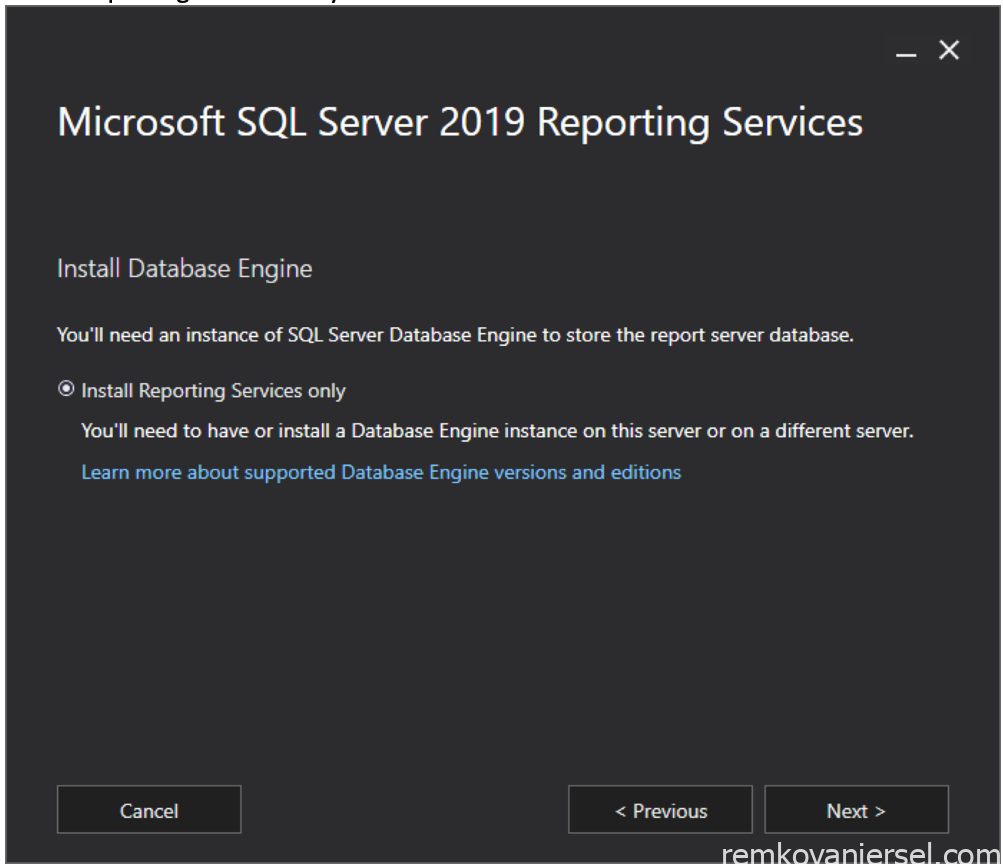
- Run E:\Downloads\SQL Reporting Services 2019\SQLReportingServices.exe
- Install Reporting Services
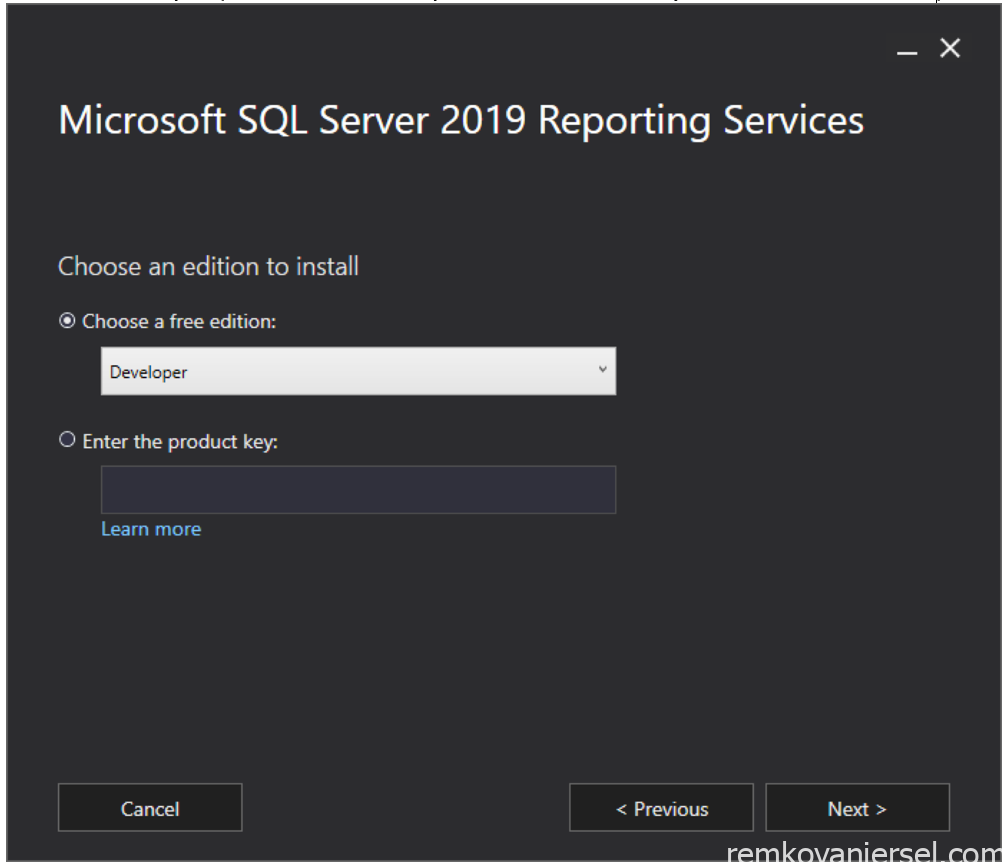
- Choose Developer (could not find the product code from my Microsoft Action Pack)
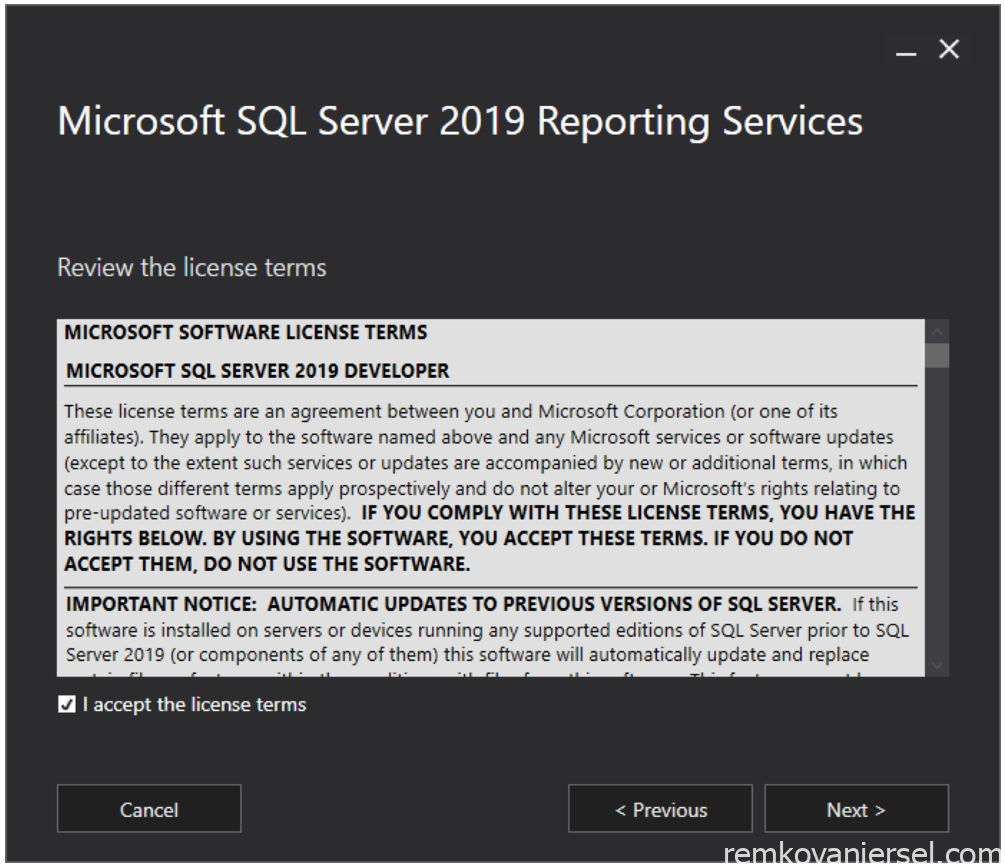
- License Terms
- Install Reporting Services only
- Install locations
Change drive letter C:\ to E:\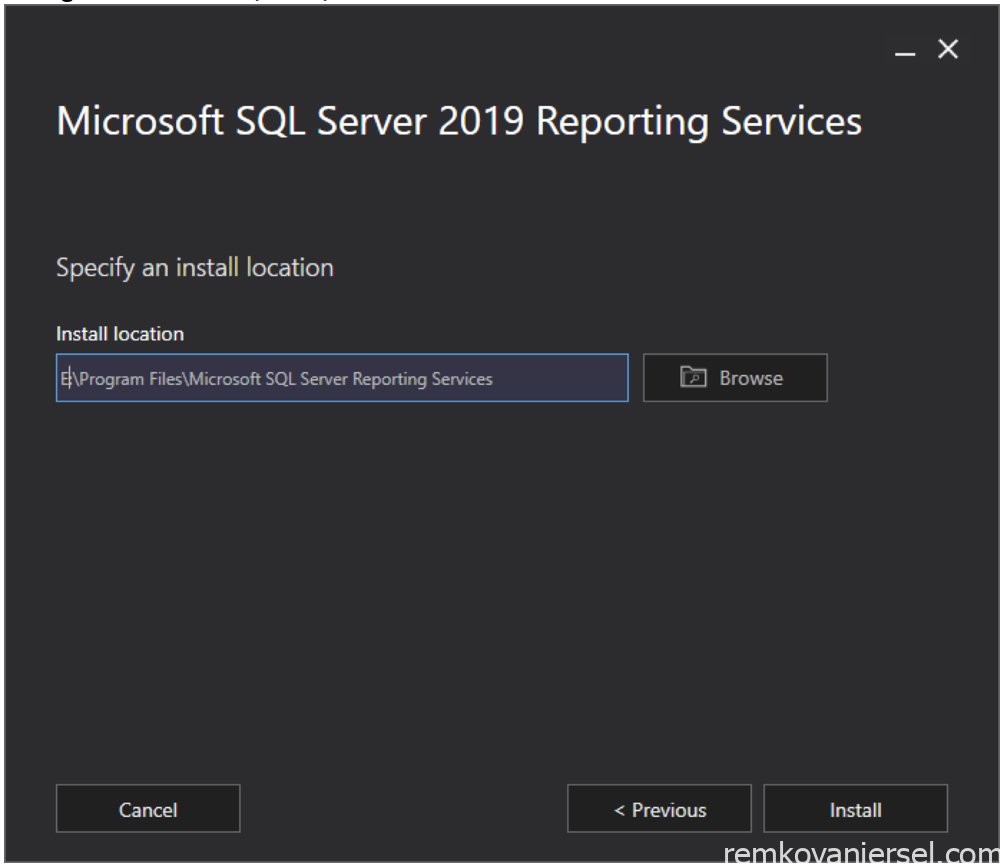
- Close
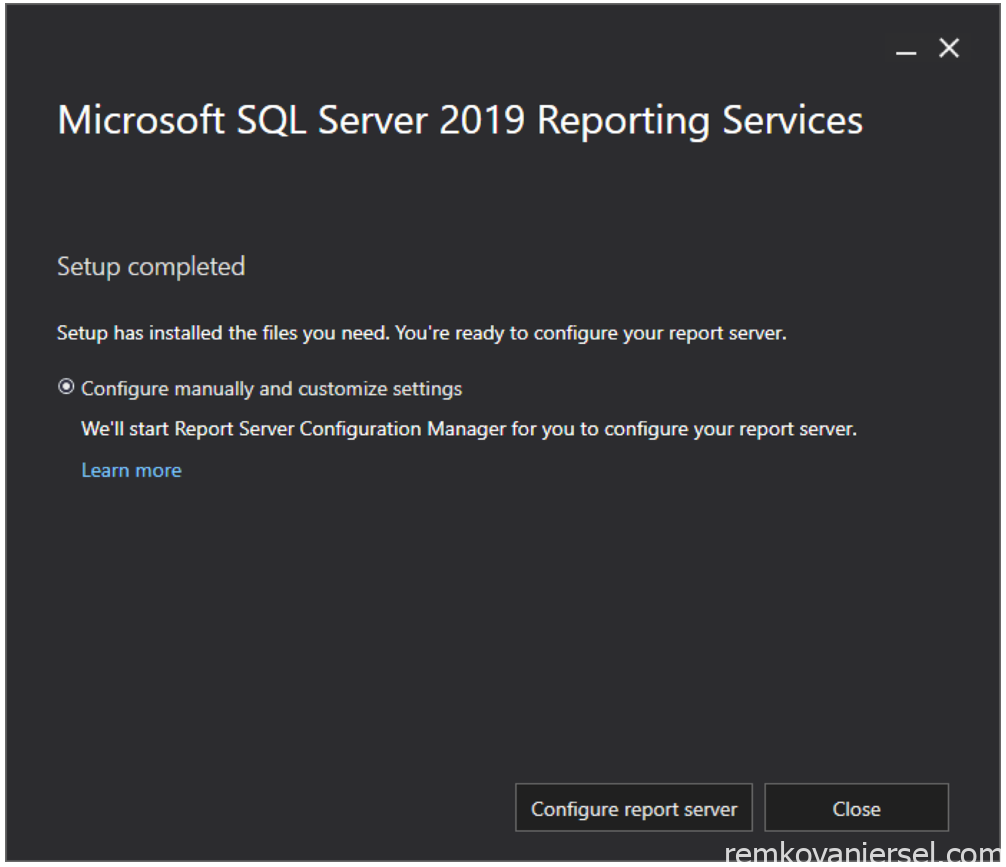
- Reboot
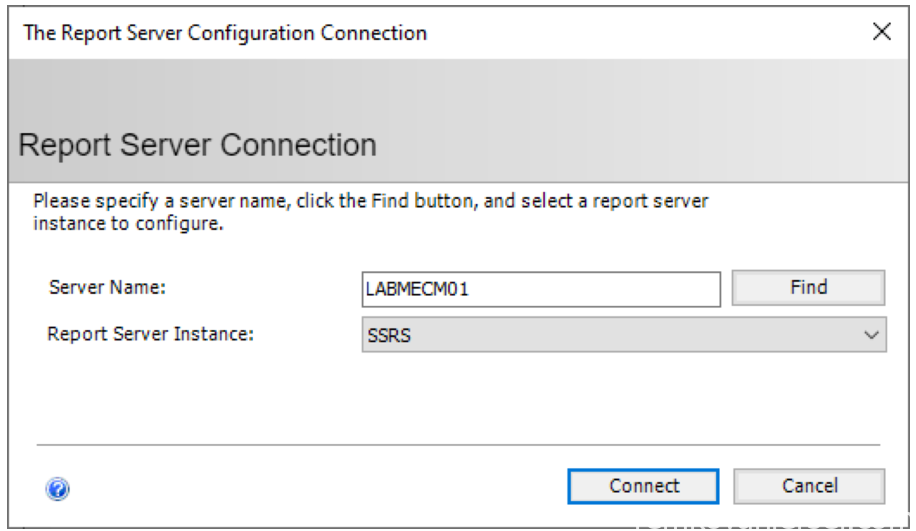
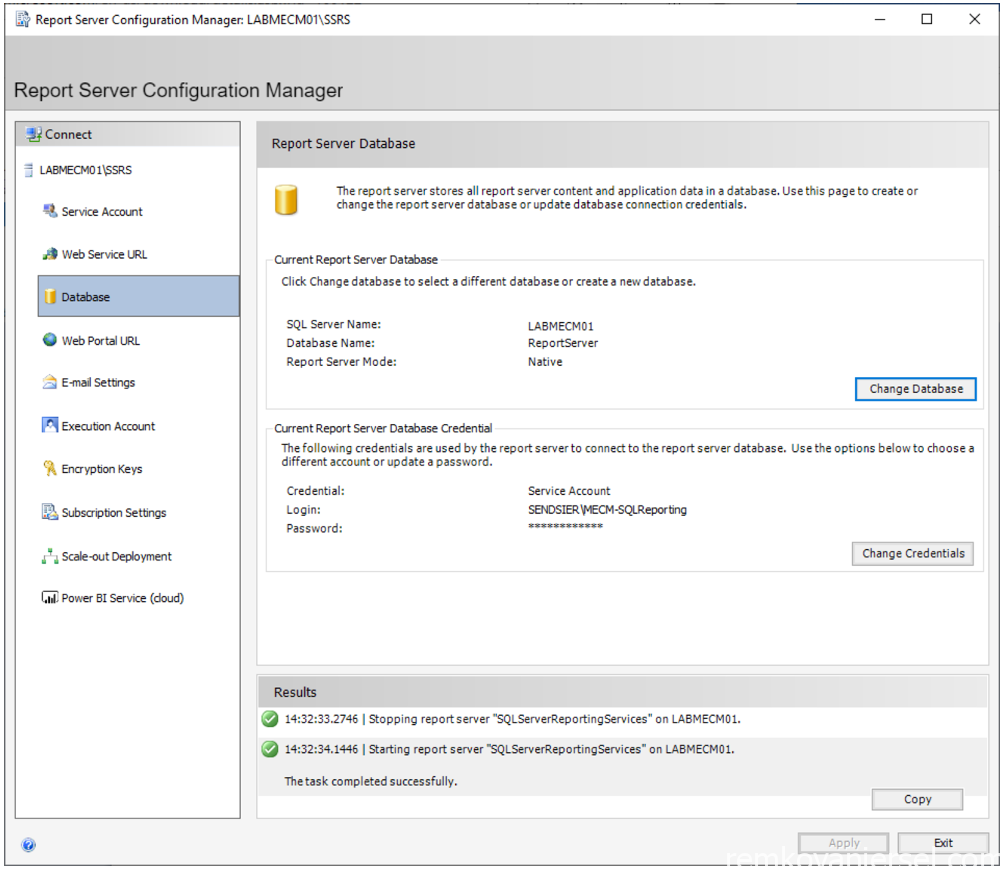
- After the reboot, start Report Server Configuration Manager via the start menu
- Connect
- Service Account
Change to MECM-SQLReporting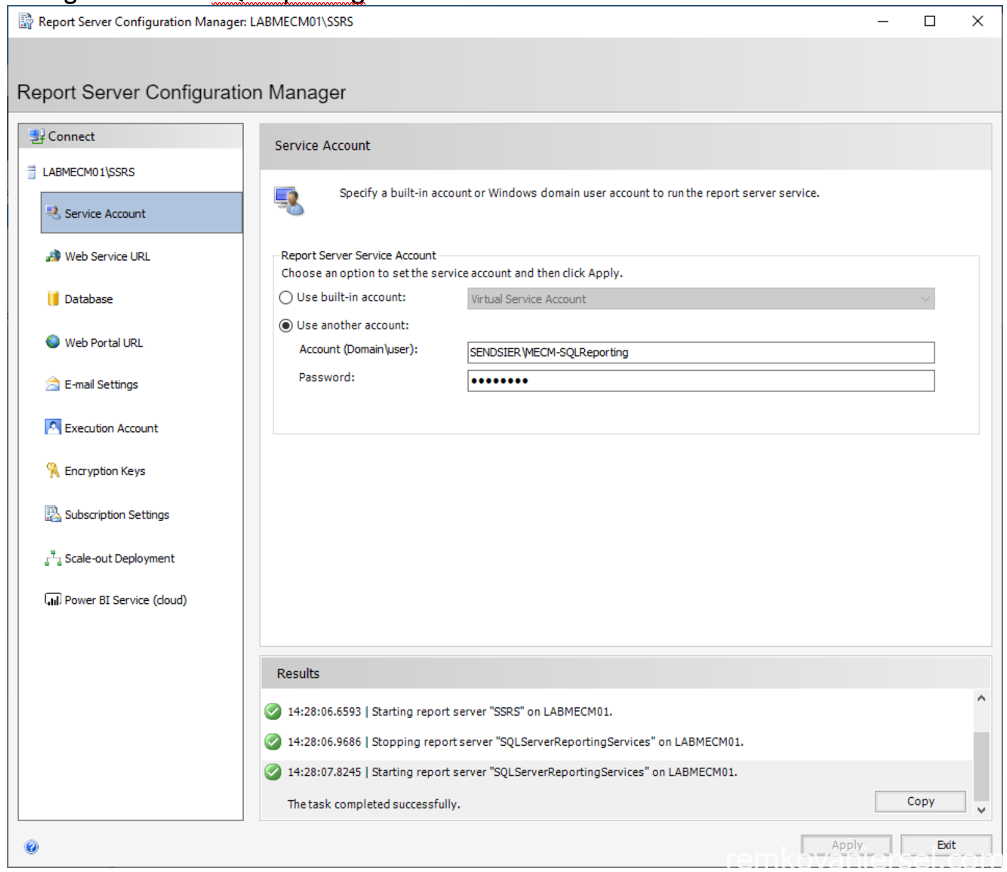
- Web Service URL
Click Apply
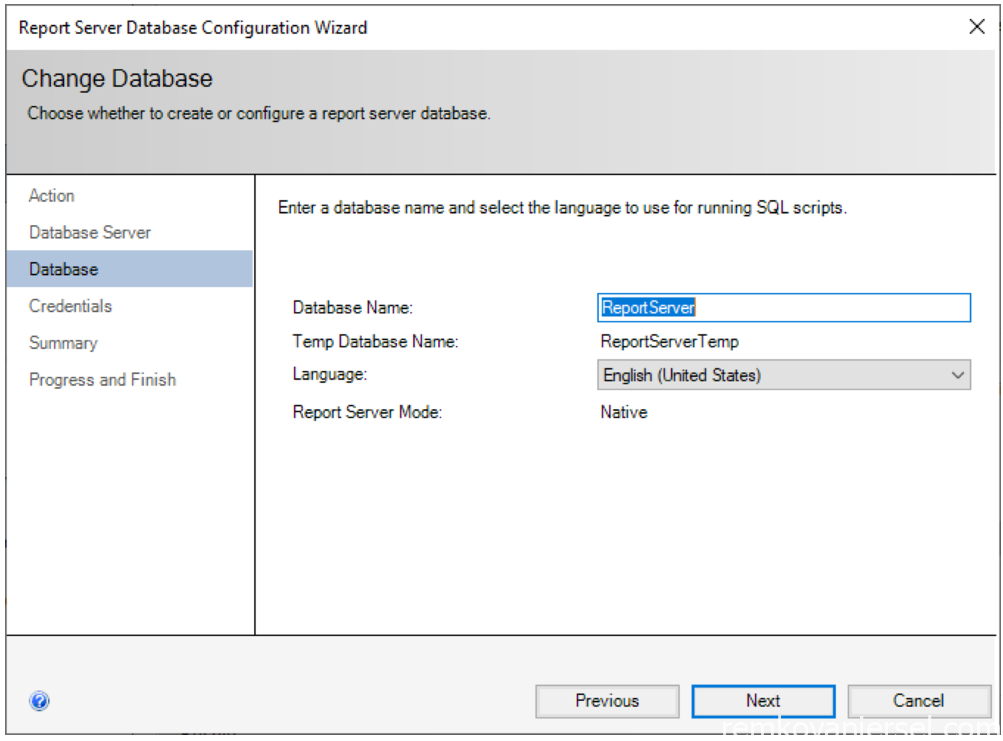
- Database
Click on Change Database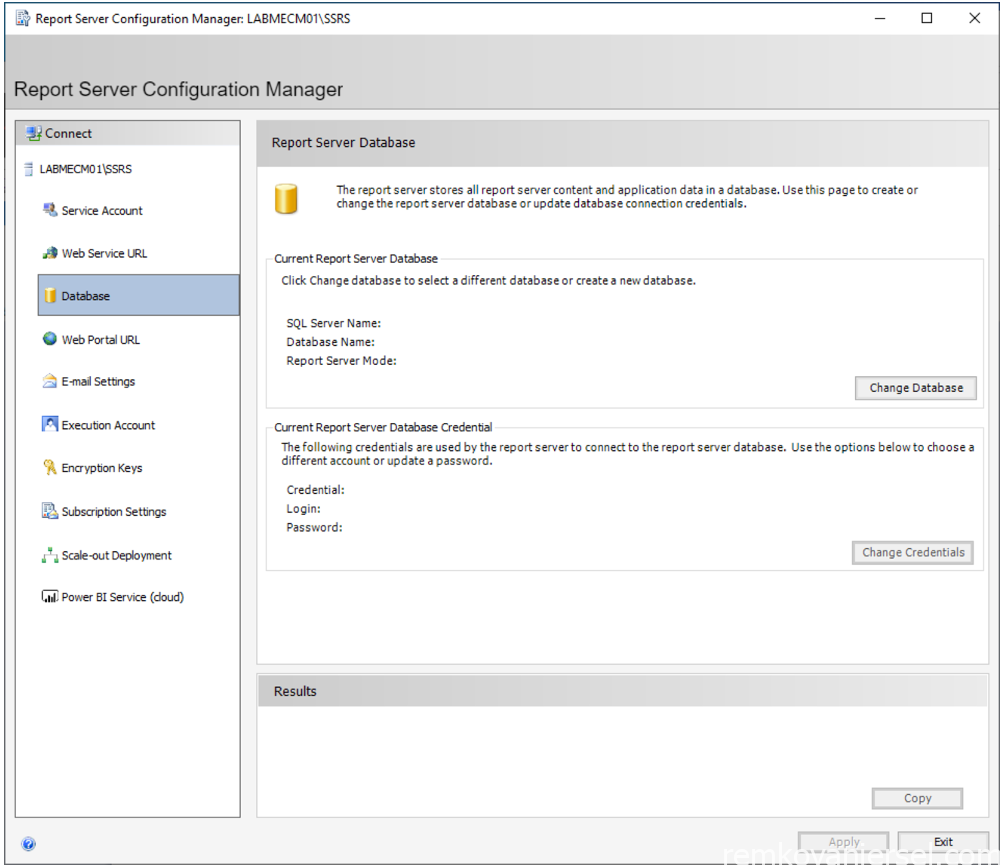
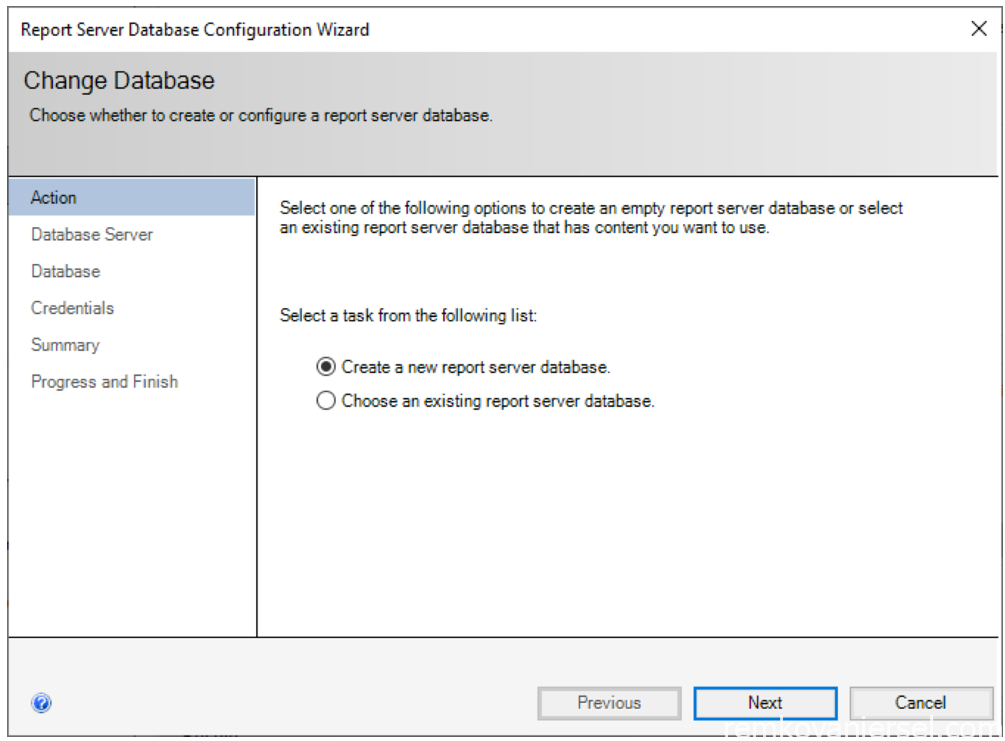
- Create
- Database Server
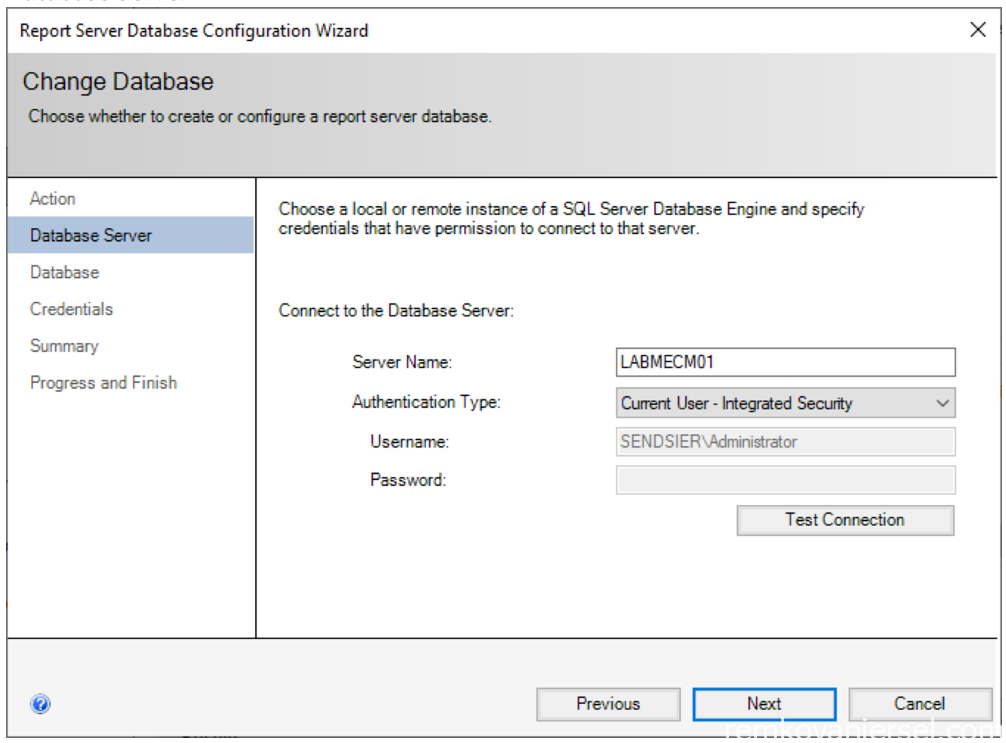
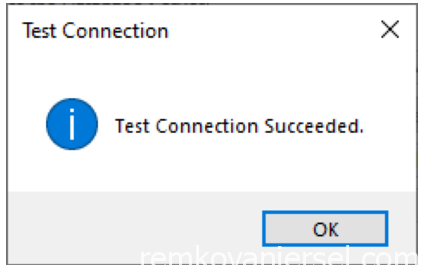
- Test Connection
- Database
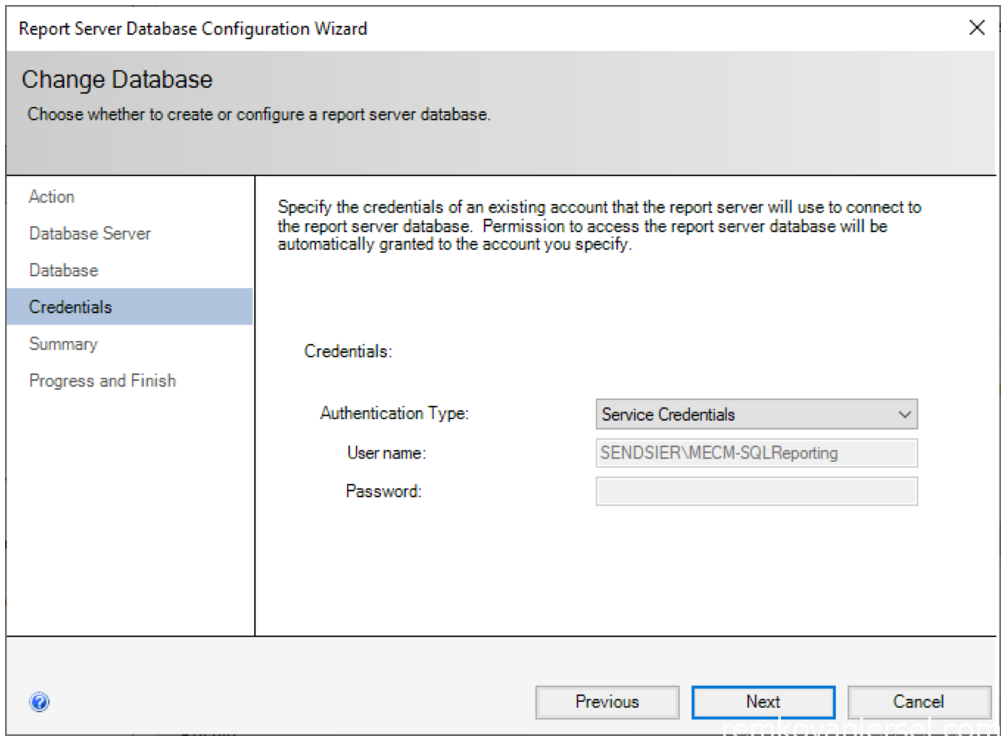
- Credentials
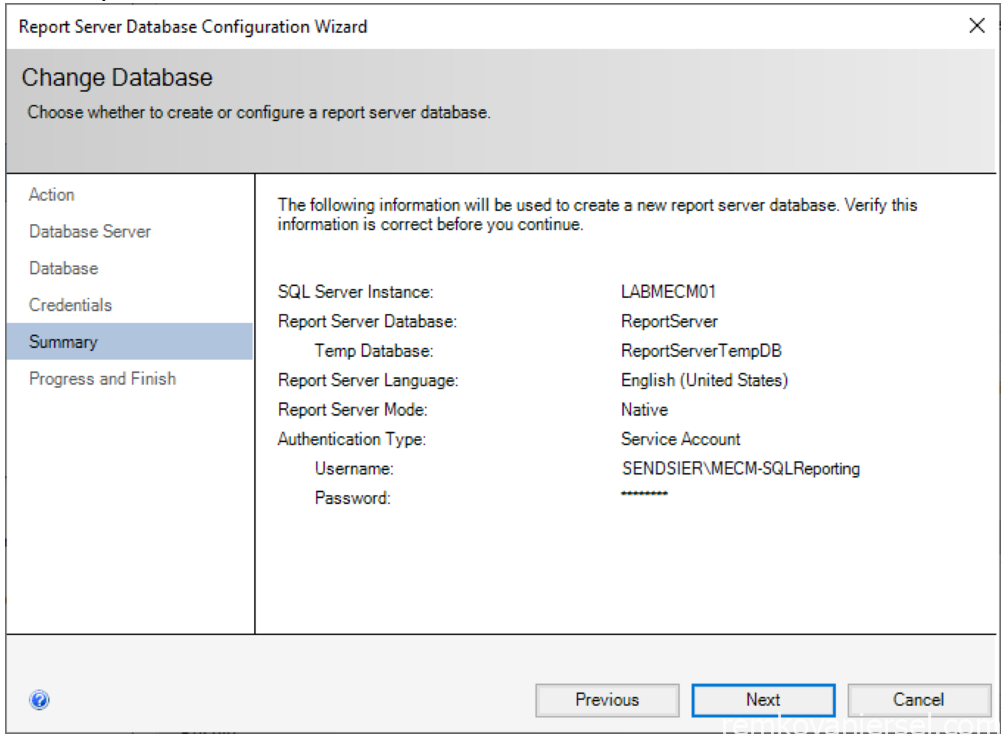
- Summary
- Progress and Finish
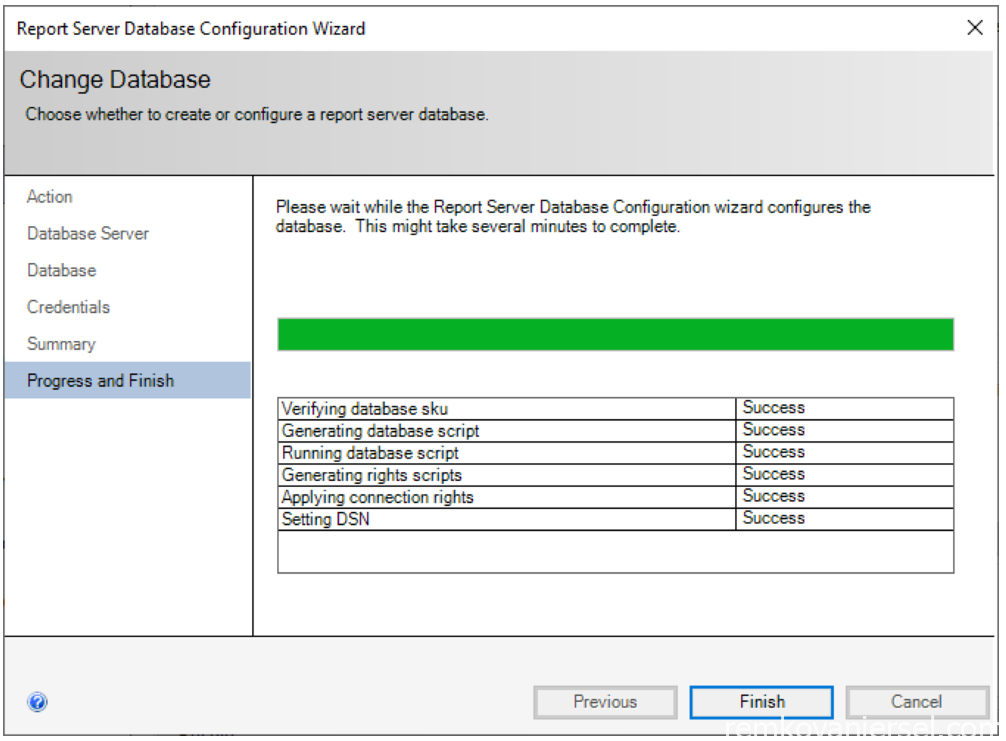
- Exit
SQL Cumulative Update (CU17)
Patch the SQL server to the latest update available from Microsoft (at this time of writing CU17)
- Restart the server
- Run E:\Downloads\SQL 2019 CU17\SQLServer2019-KB5016394-x64.exe
- License Terms
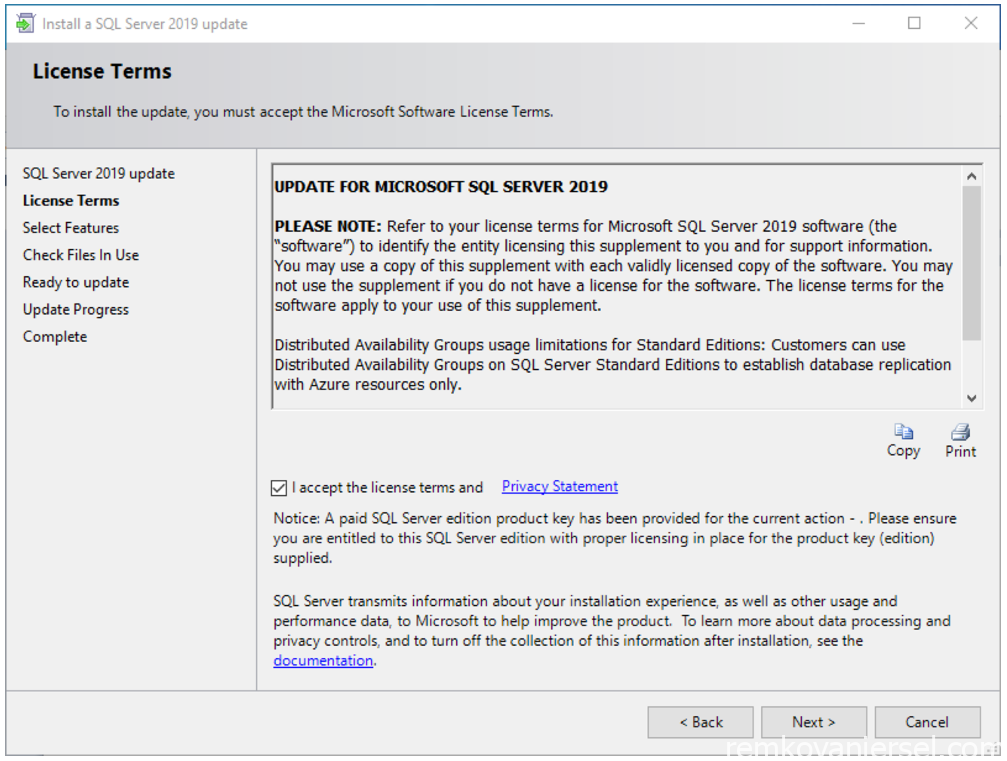
- Select Features
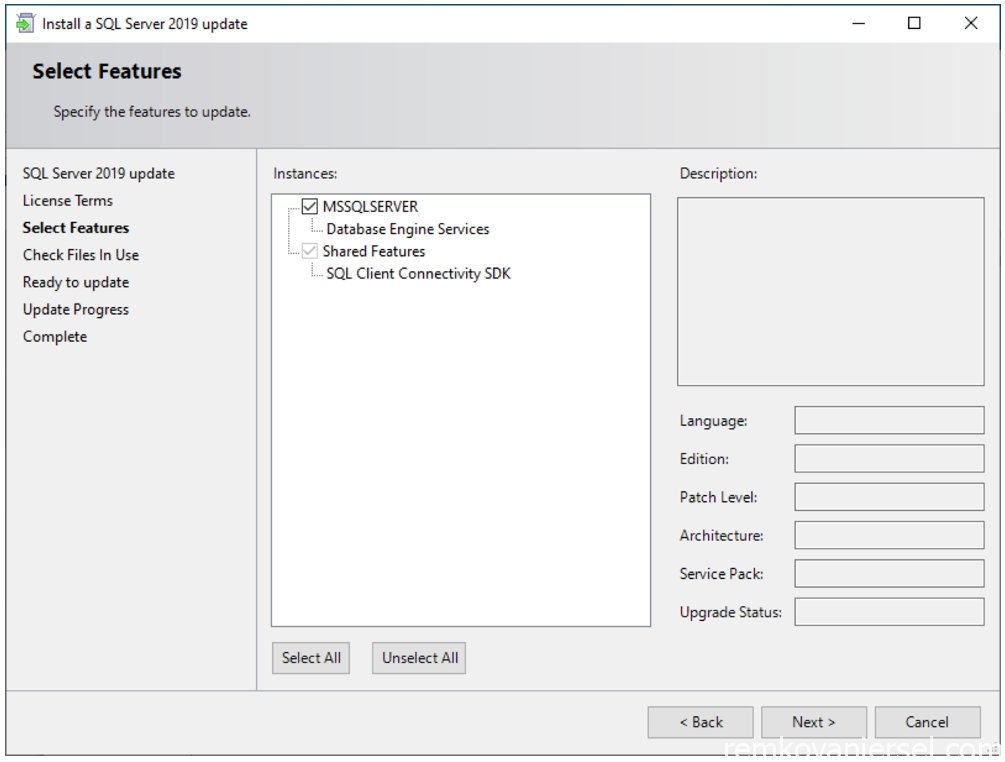
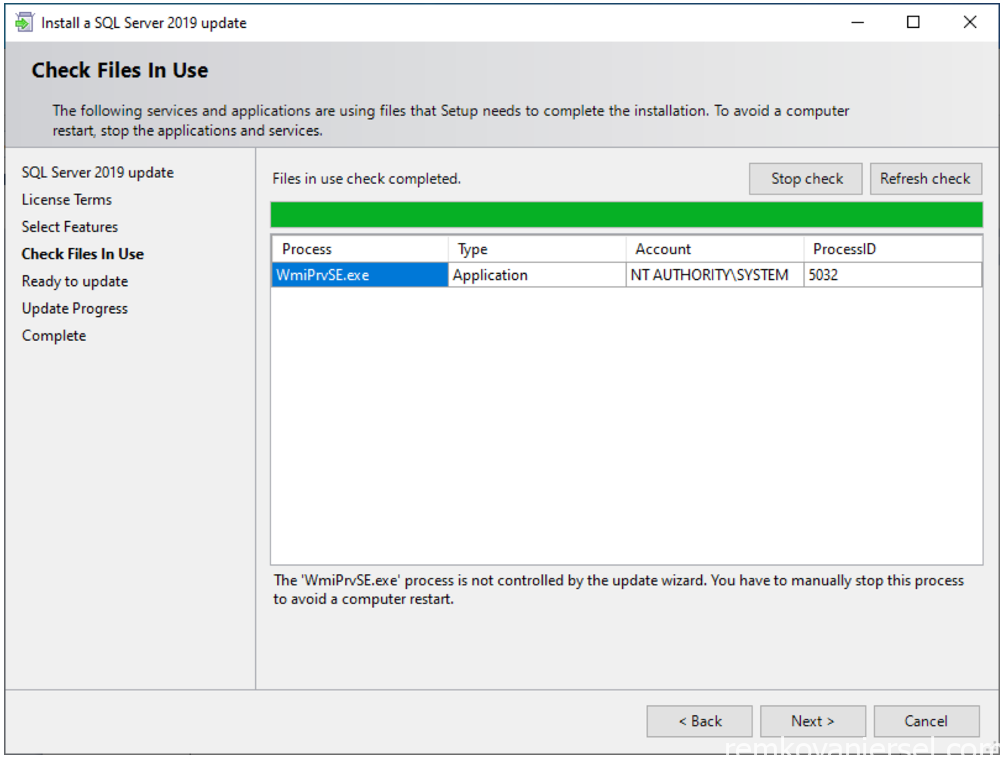
- Check Files In Use
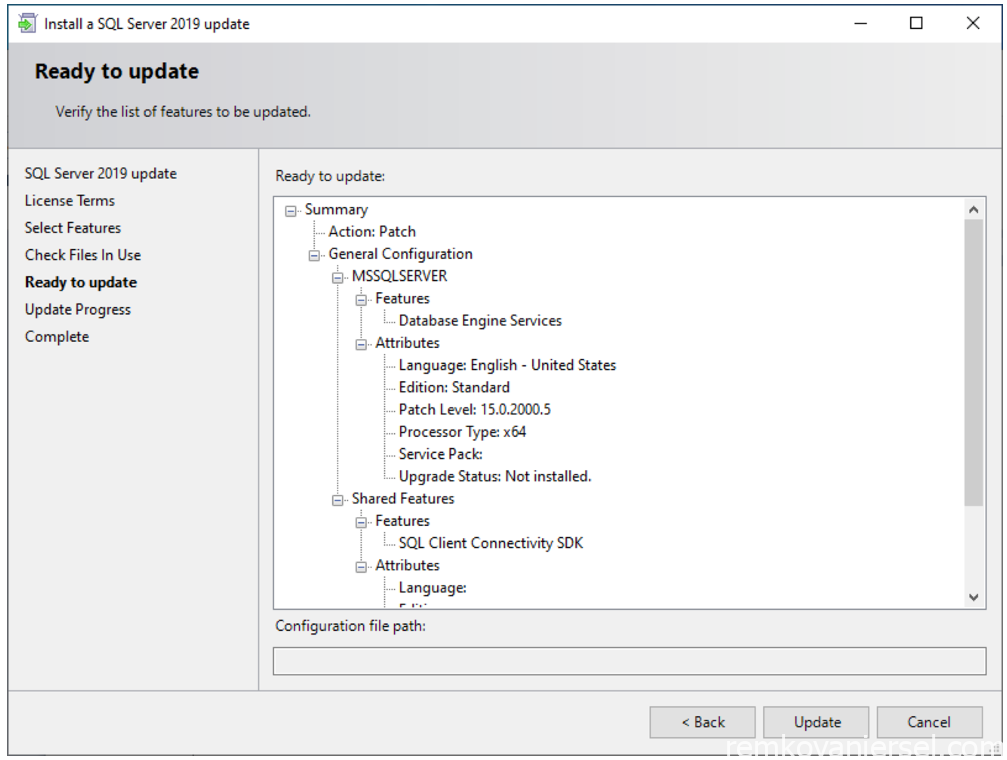
- Ready to update
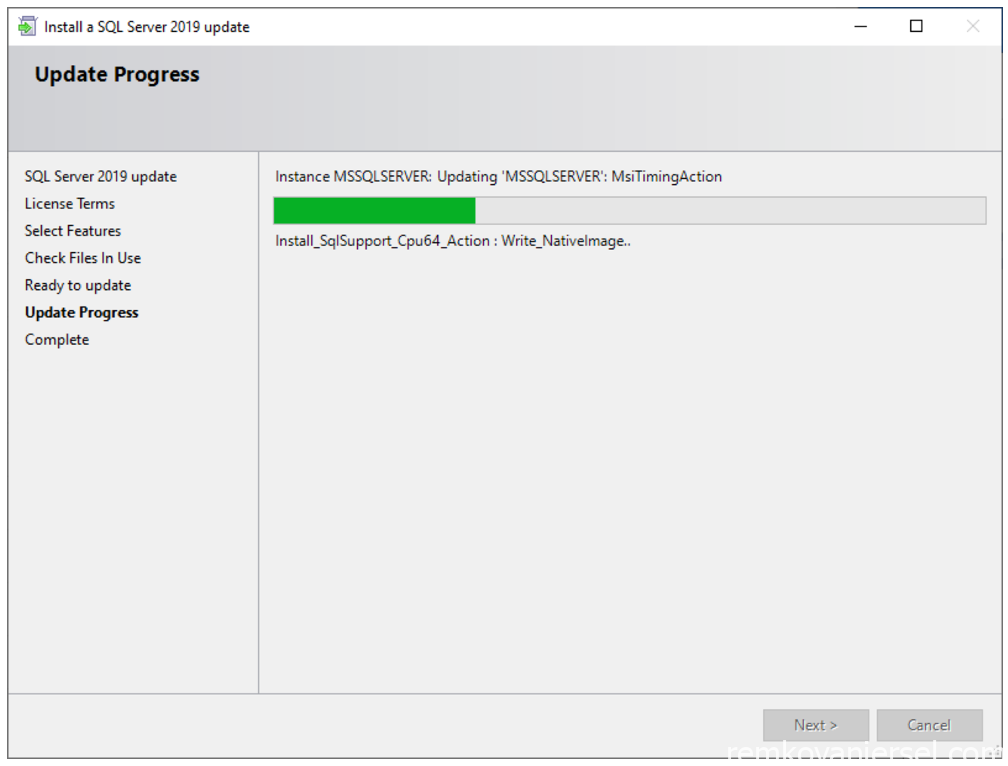
- Update Progress
- Complete
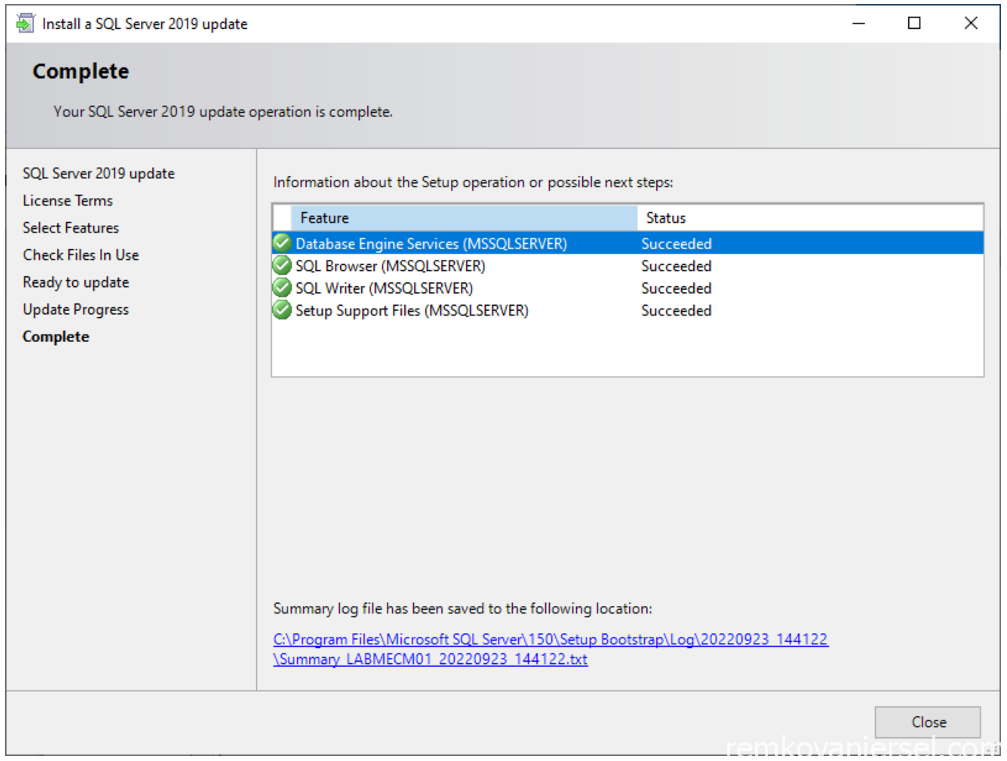
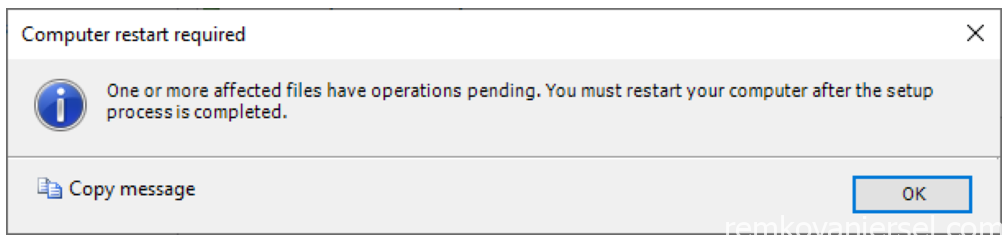
- Reboot server
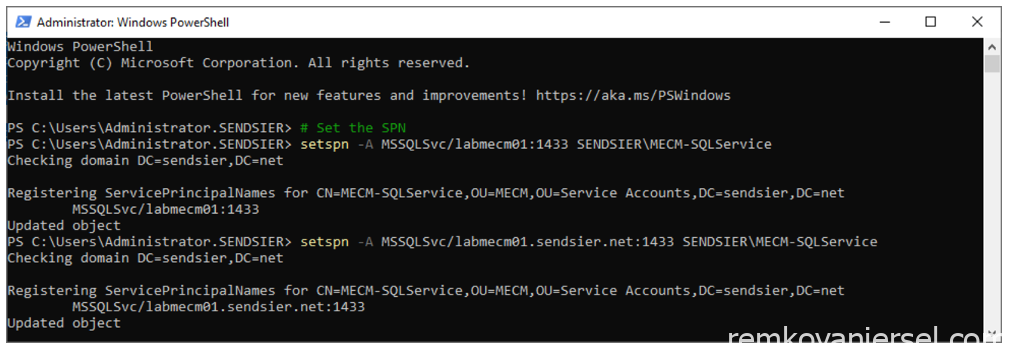
SQL Service Principal Name (SPN)
Since we are using a dedicated service account for the SQL Server we must manually create the required SPN’s.
As a user member of the Domain Admins group, run the following commands:
# Set SPN
setspn -A MSSQLSvc/mecmservername:1433 DOMAINNAME\MECM-SQLService
setspn -A MSSQLSvc/mecmservername.FQDN.net:1433 DOMAINNAME\MECM-SQLService
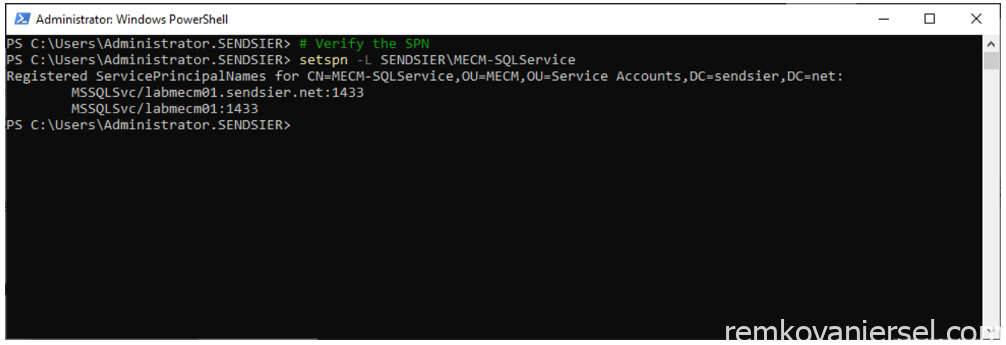
# Verify SPN
setspn –L DOMAINNAME\MECM-SQLService
Windows 10 ADK
ADK is required to install MECM
- Run E:\Downloads\ADK Windows 10 2004\adksetup.exe
Change drive letter C:\ to E:\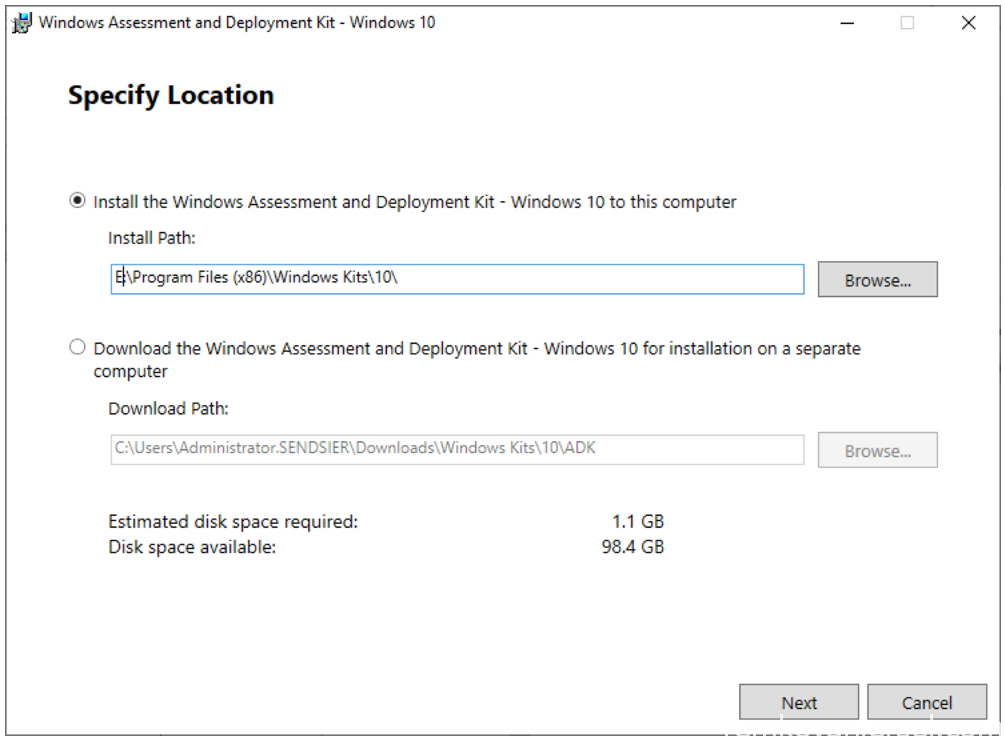
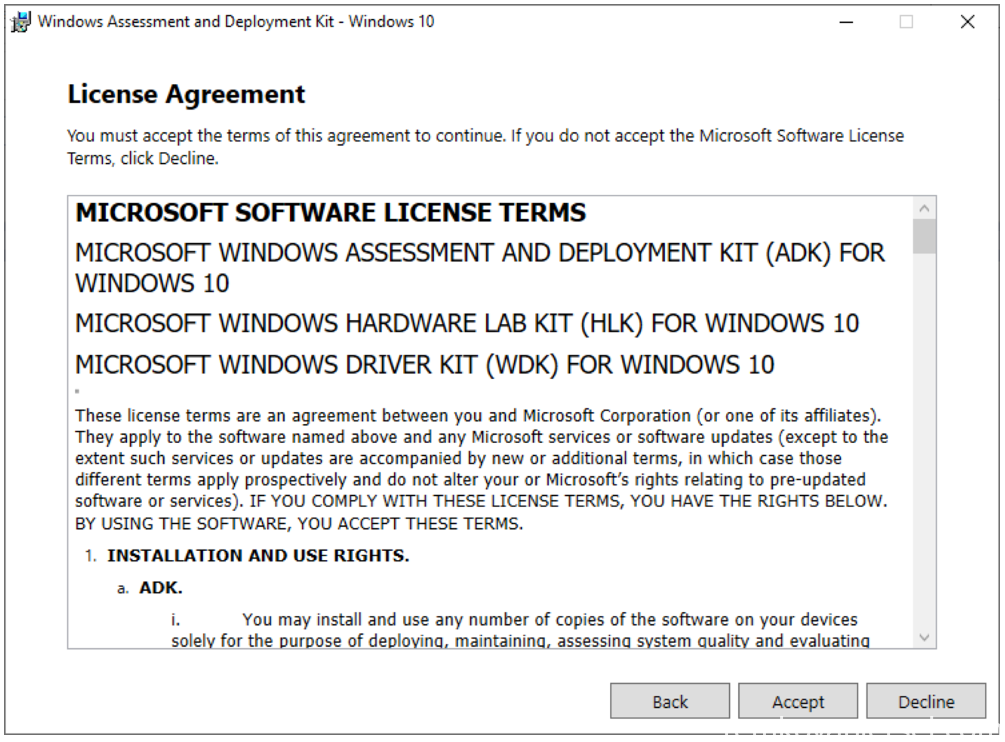
- Privacy
No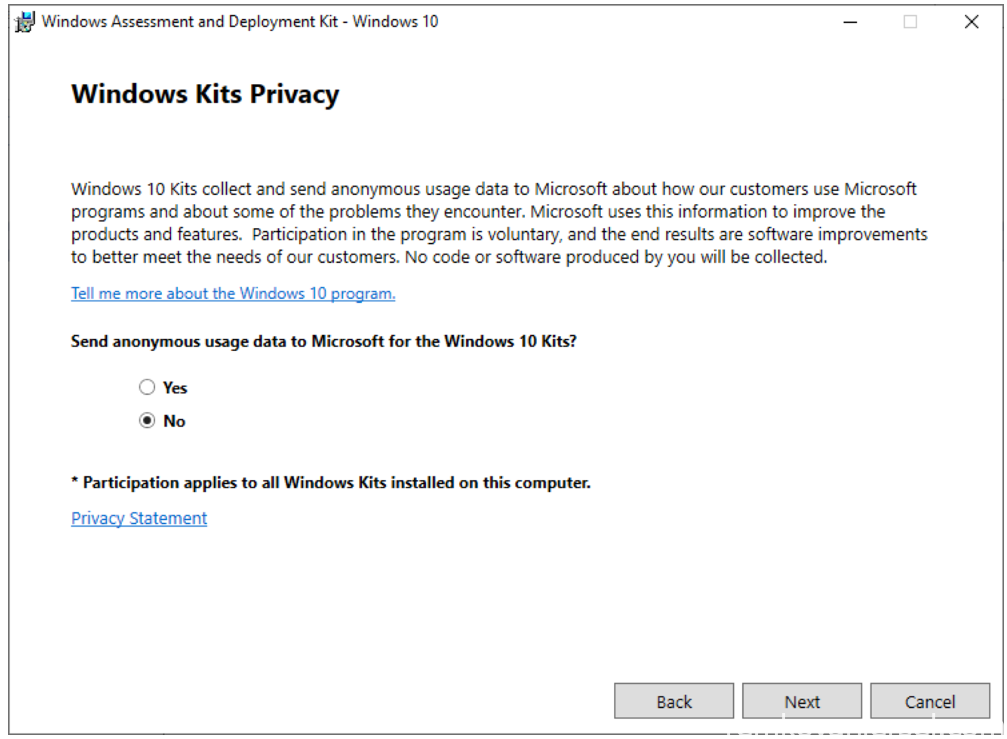
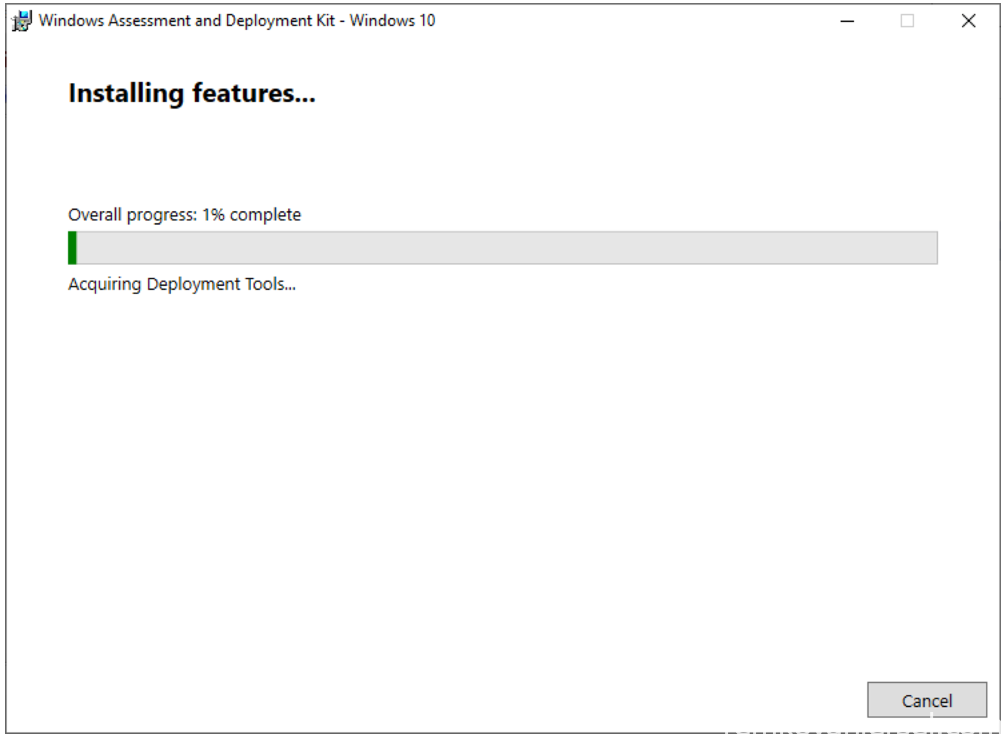
- License
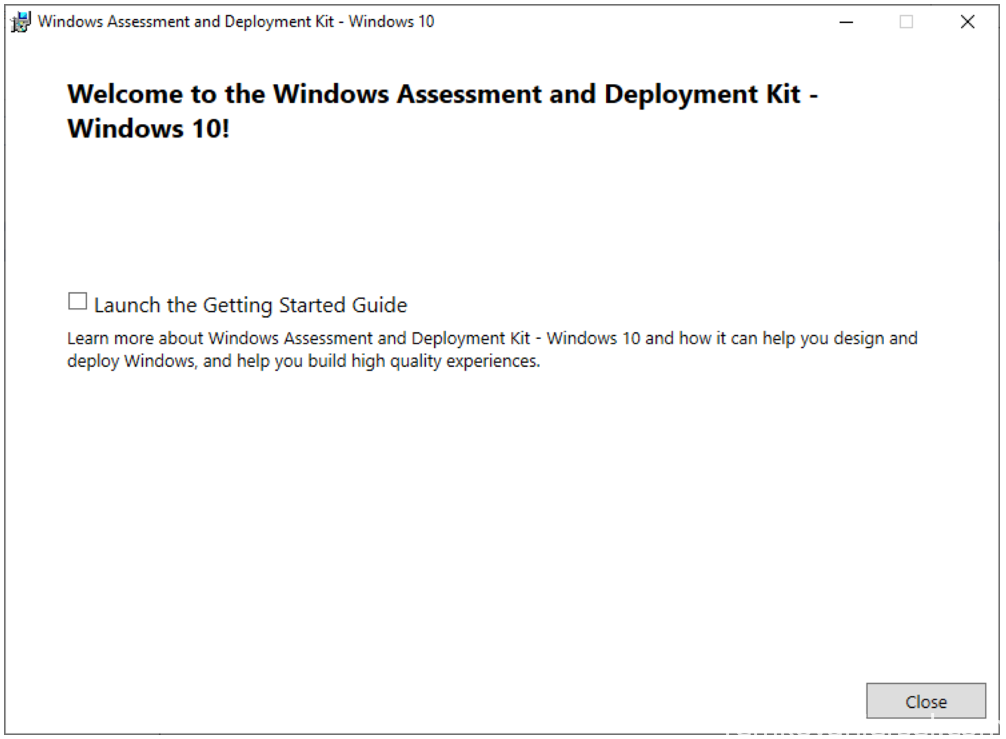
- Installing
- Close
- Now run the Windows PE add-on for the ADK E:\Downloads\ADK Windows 10 2004\adkwinpesetup.exe
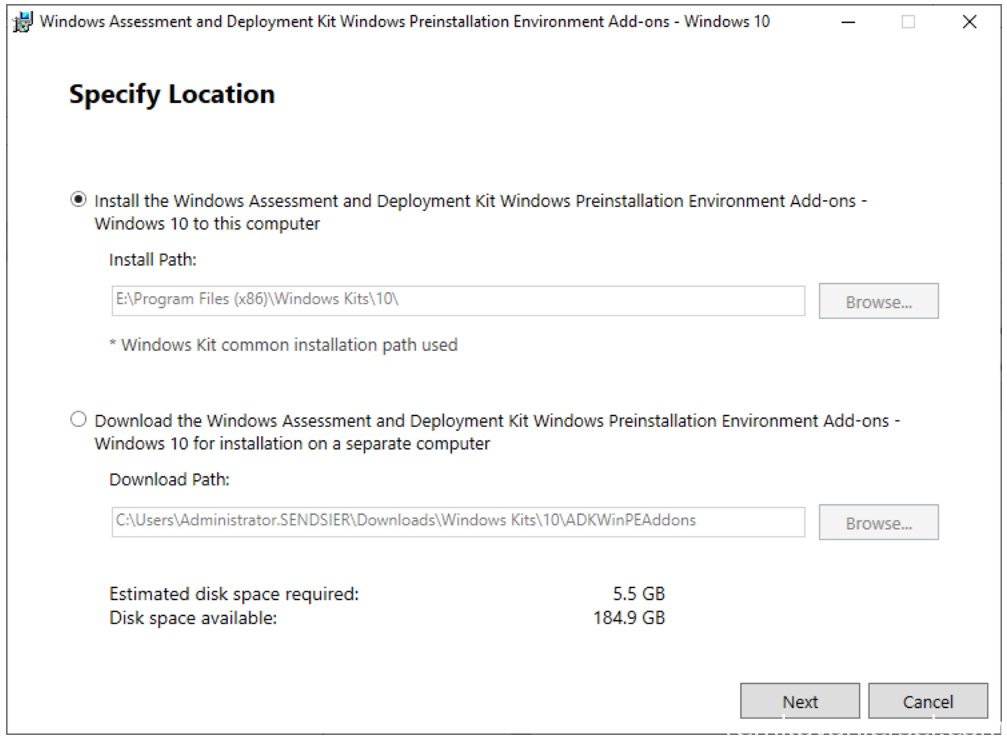
- Privacy
No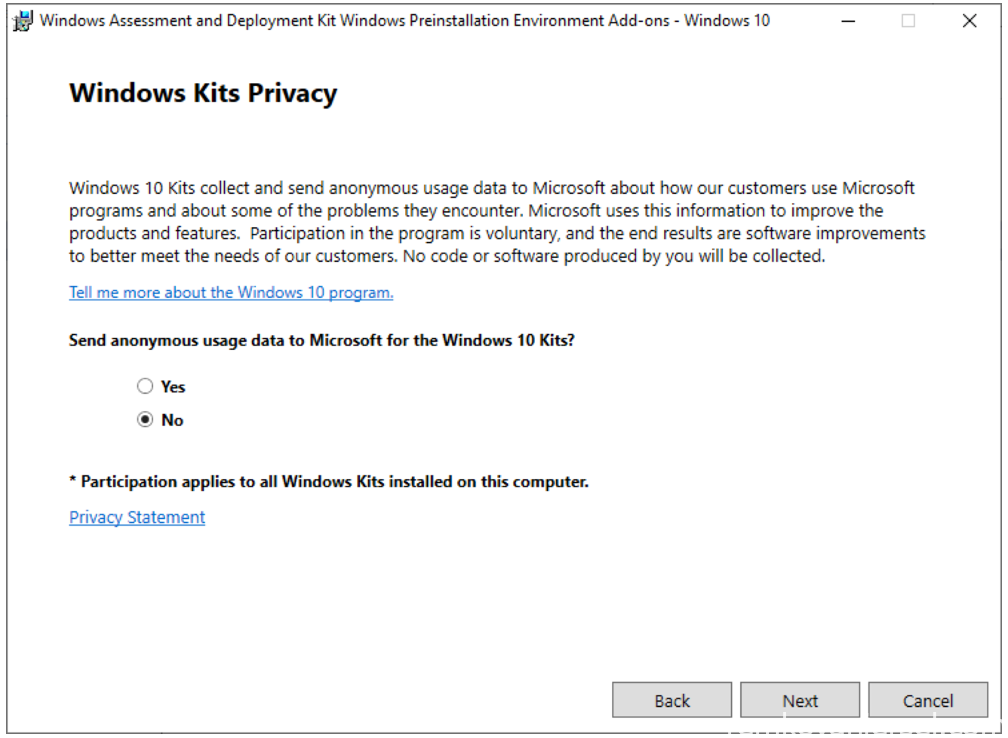
- License
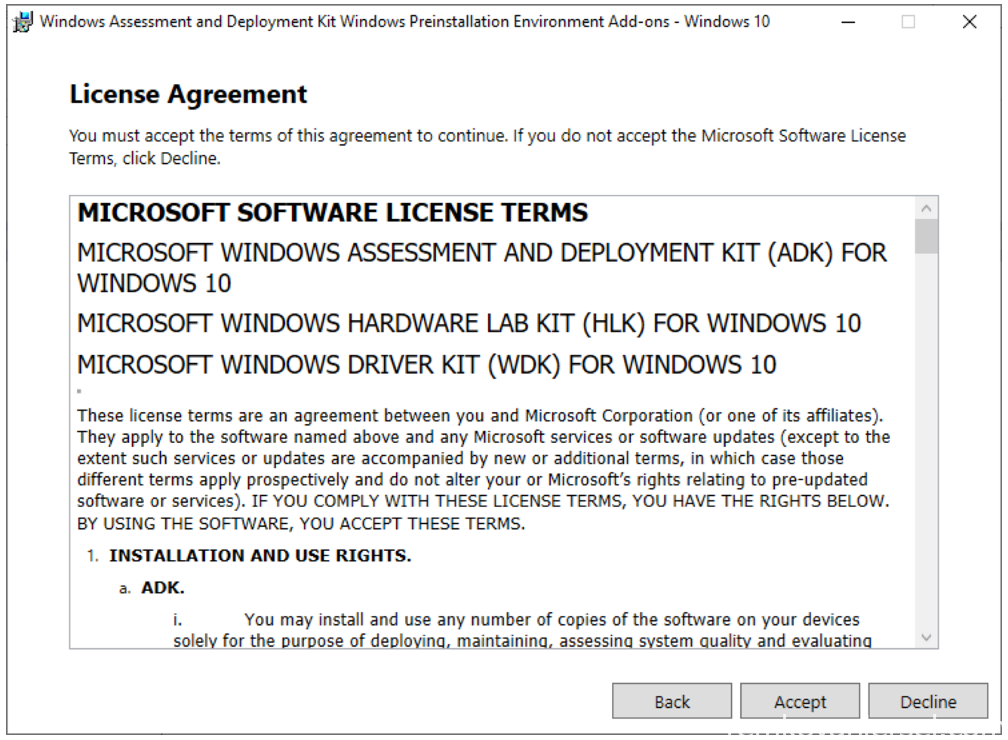
- Install
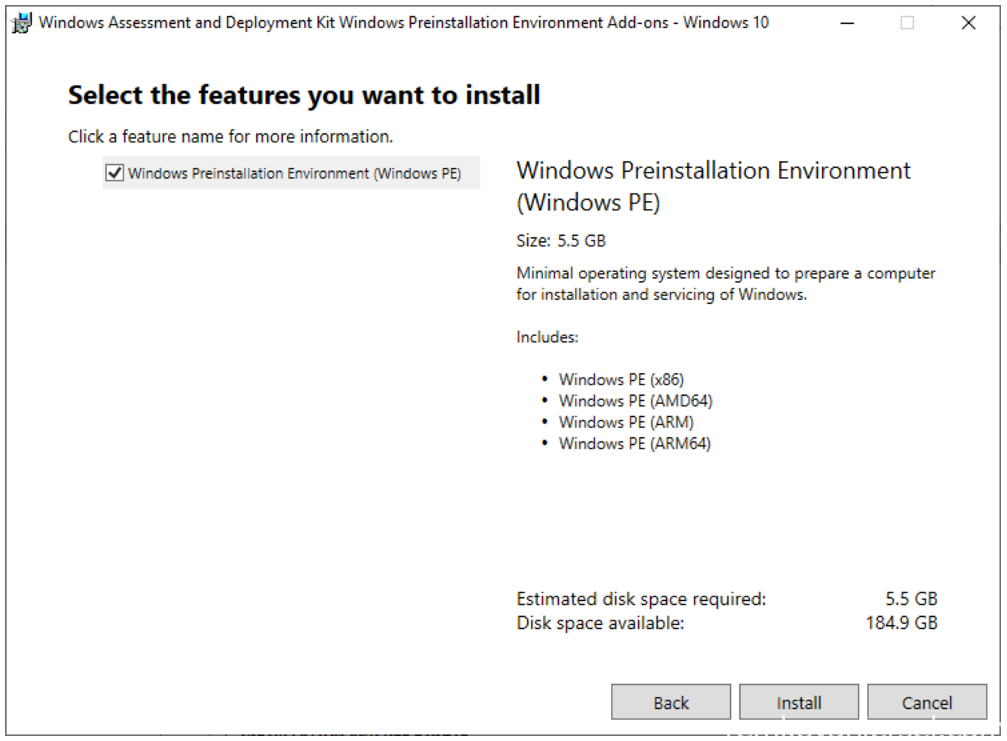
- Close
MECM Current Branch Installation
Now all the pre-requested are installed we can finally start with the Microsoft Endpoint Configuration Management
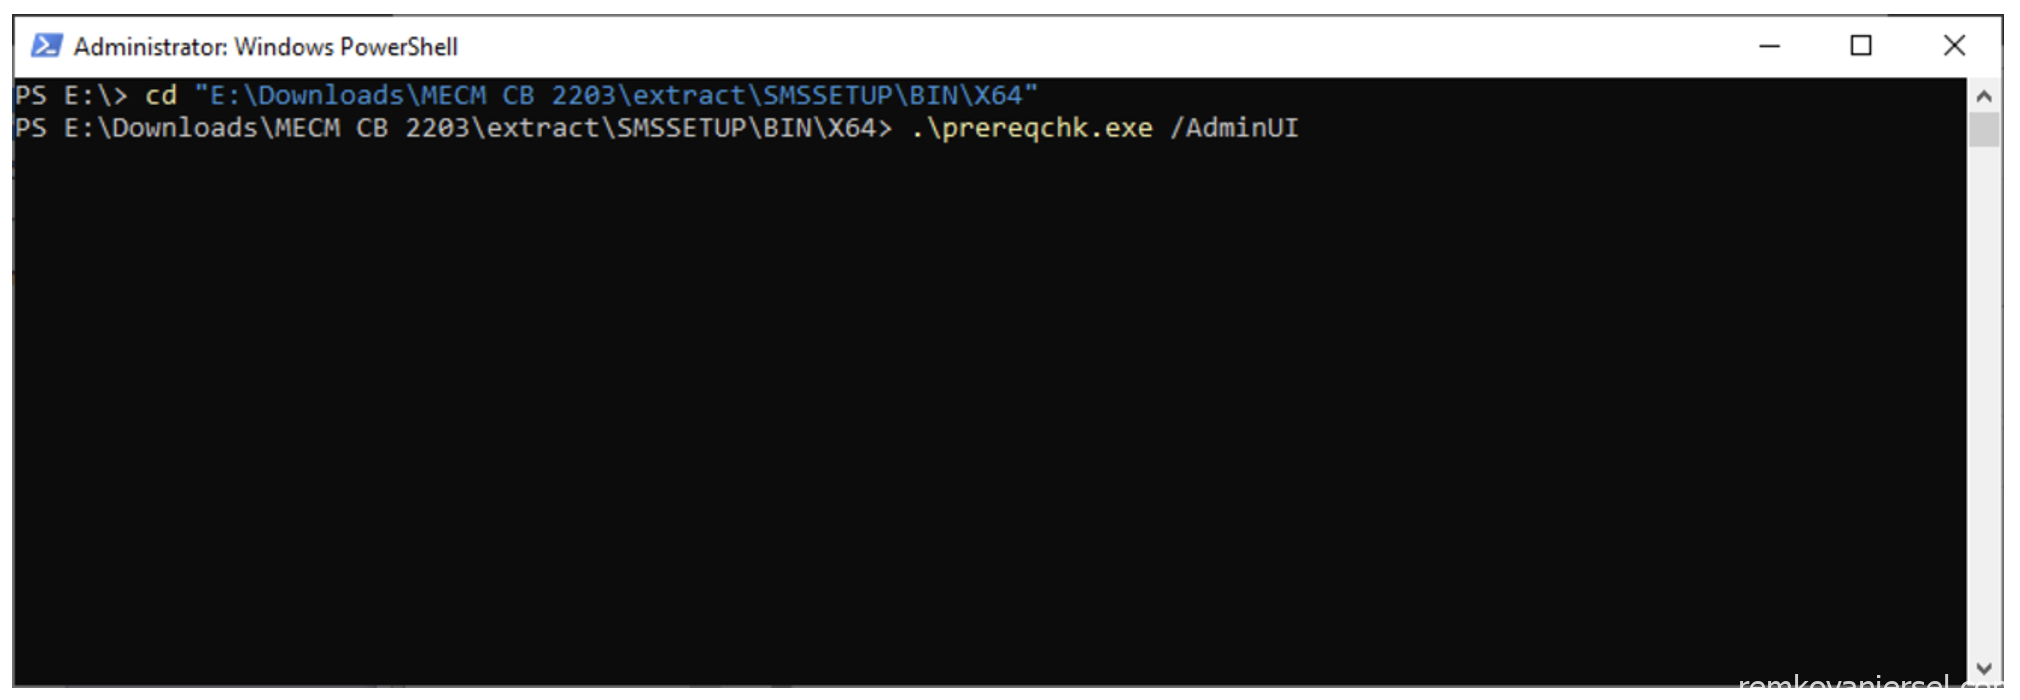
- Start a command prompt
- cd “E:\Downloads\MECM CB 2203\extract\SMSSETUP\BIN\X64\”
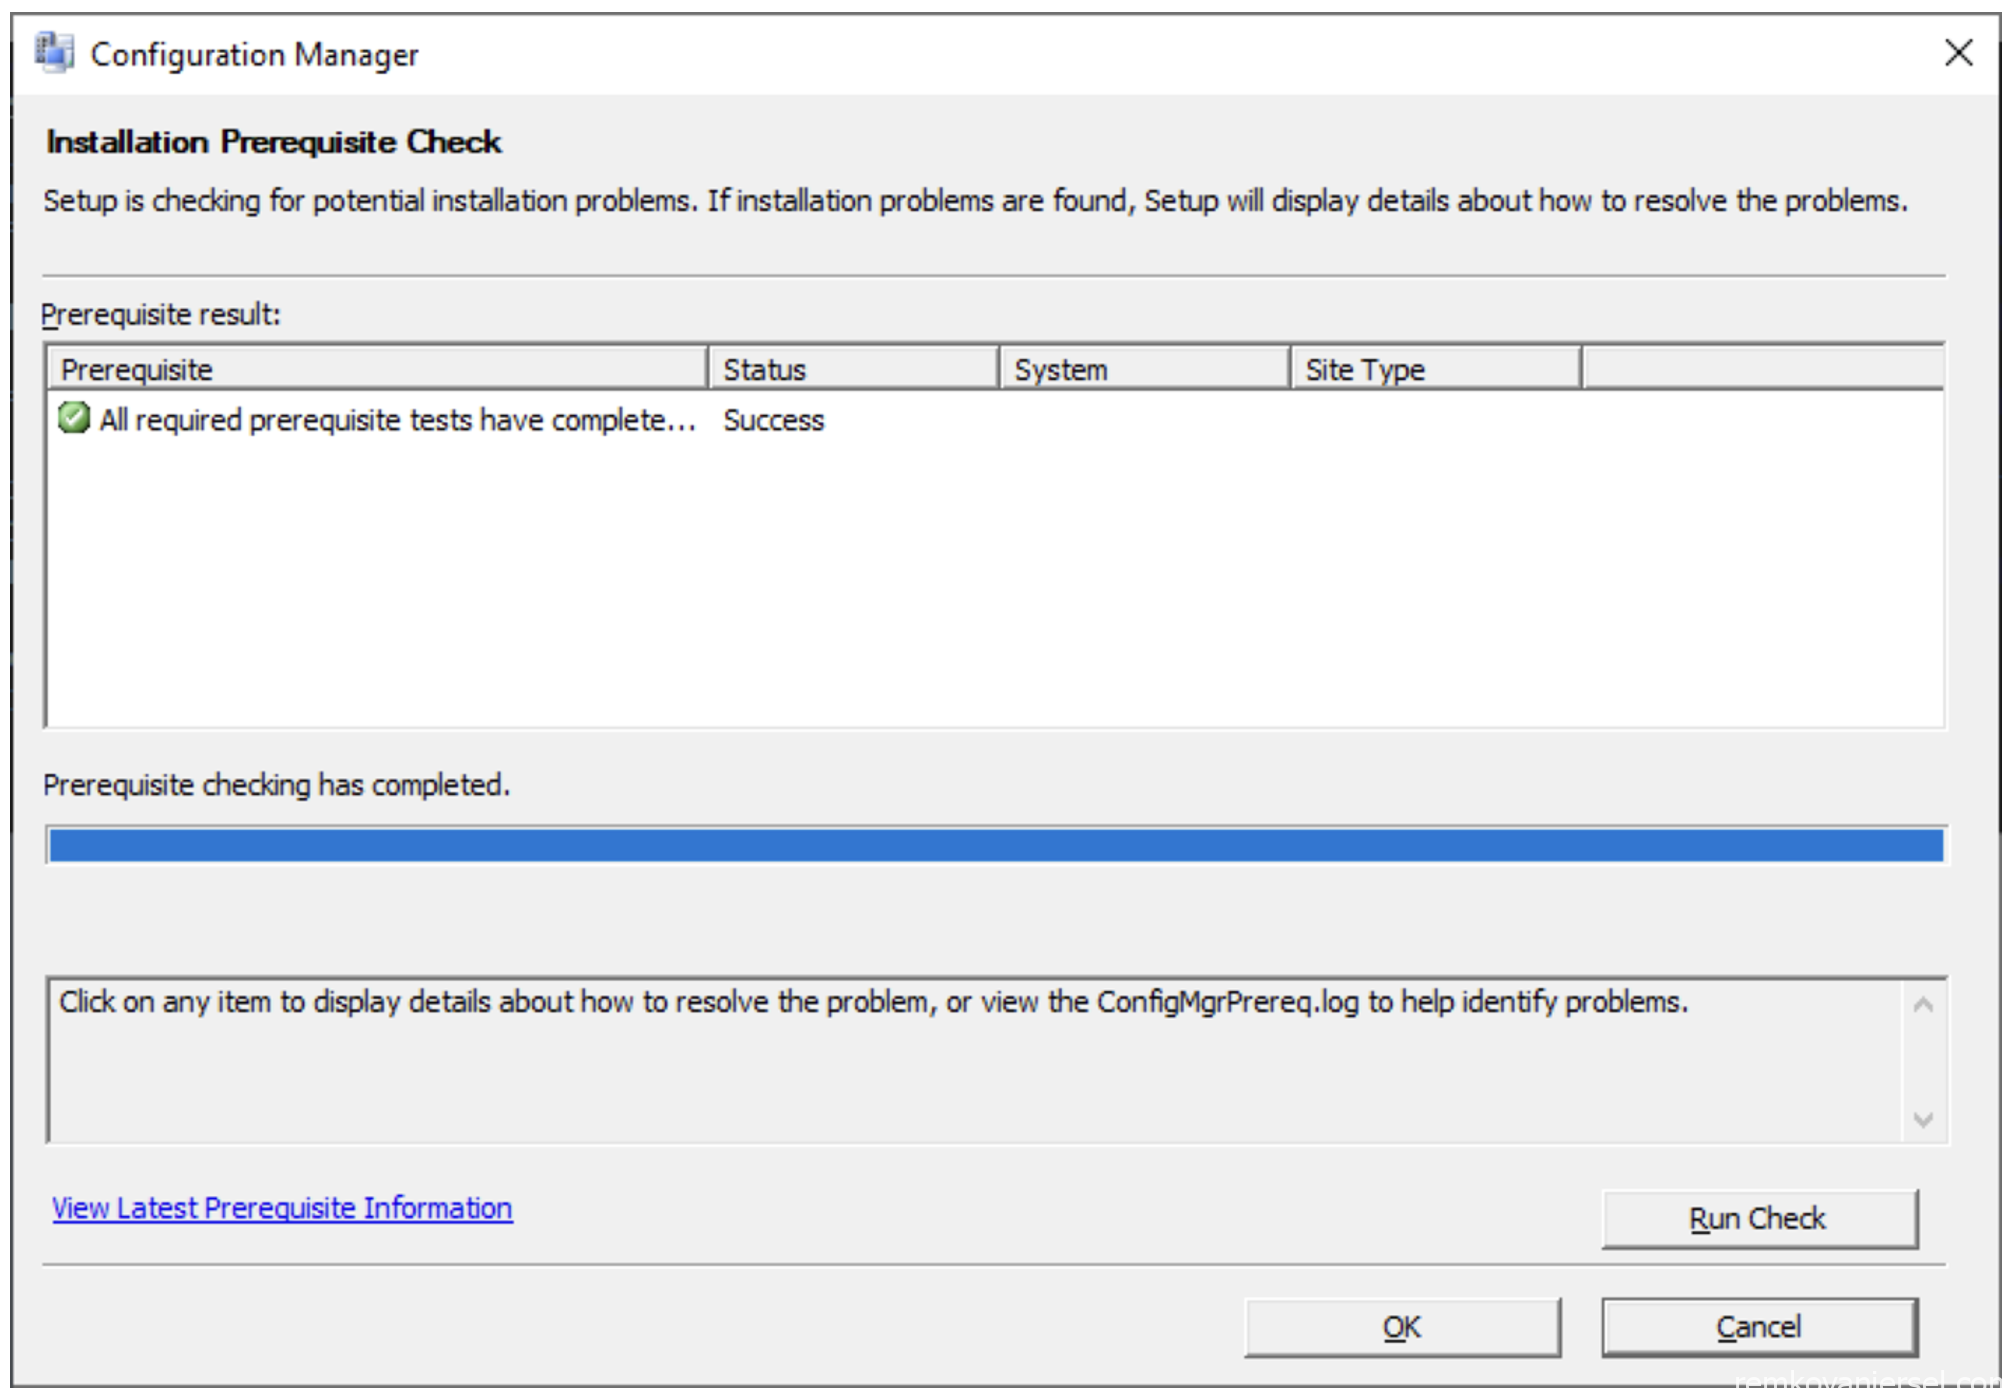
- prereqchk.exe /AdminUI
- Check if all is OK without any error
- Start E:\Downloads\MECM CB 2203\extract\splash.hta
- Install
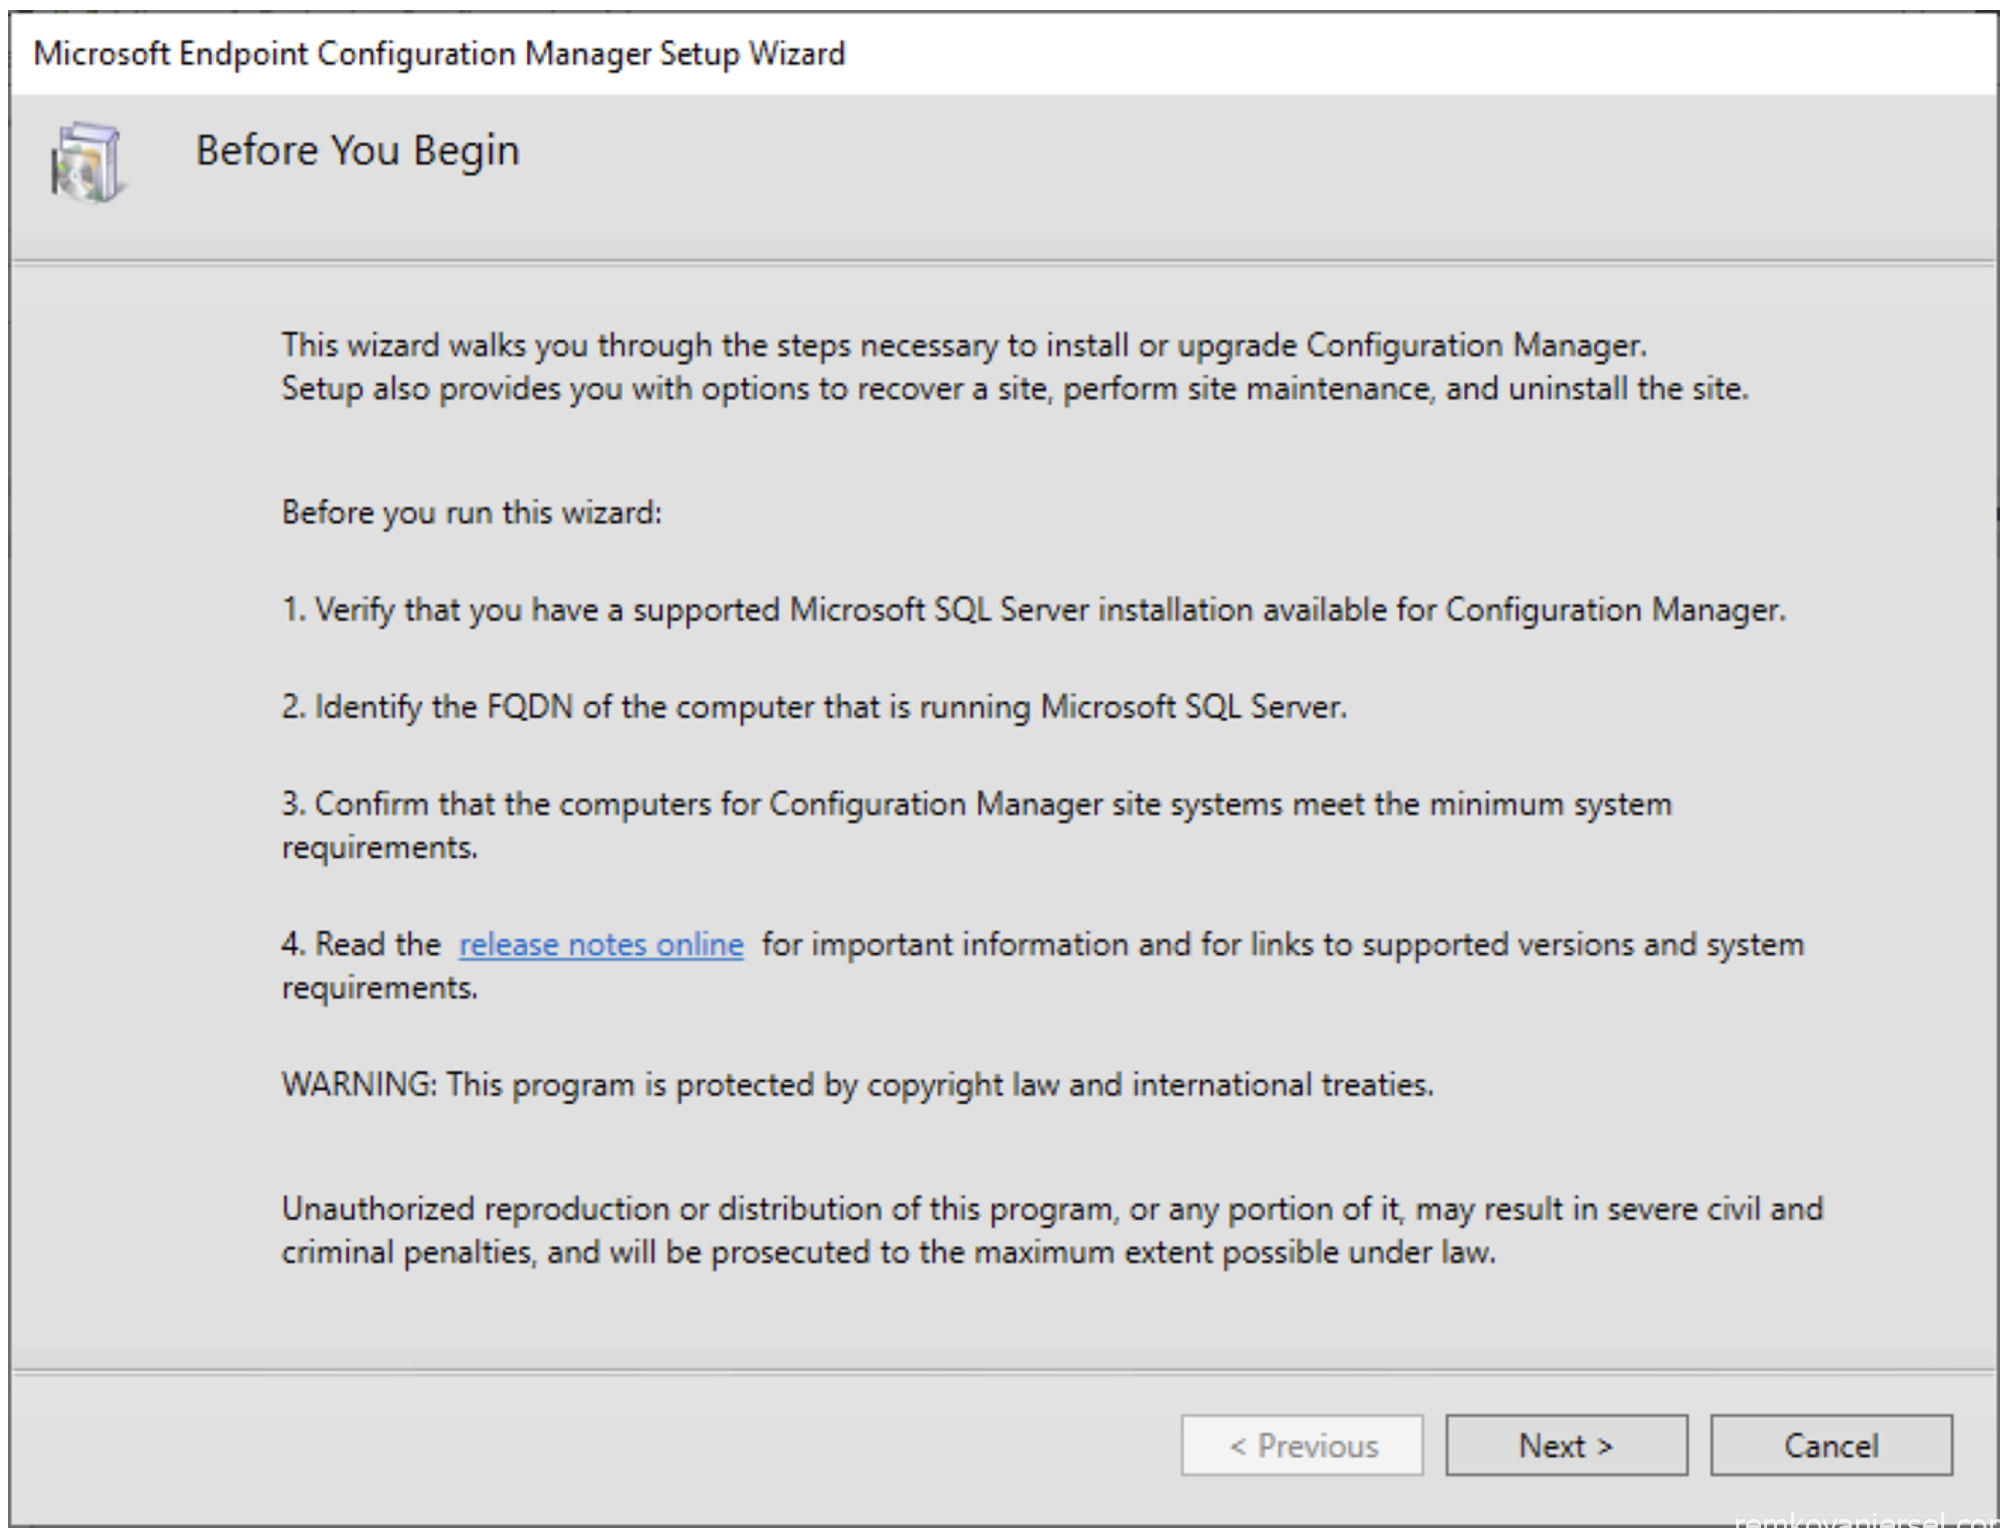
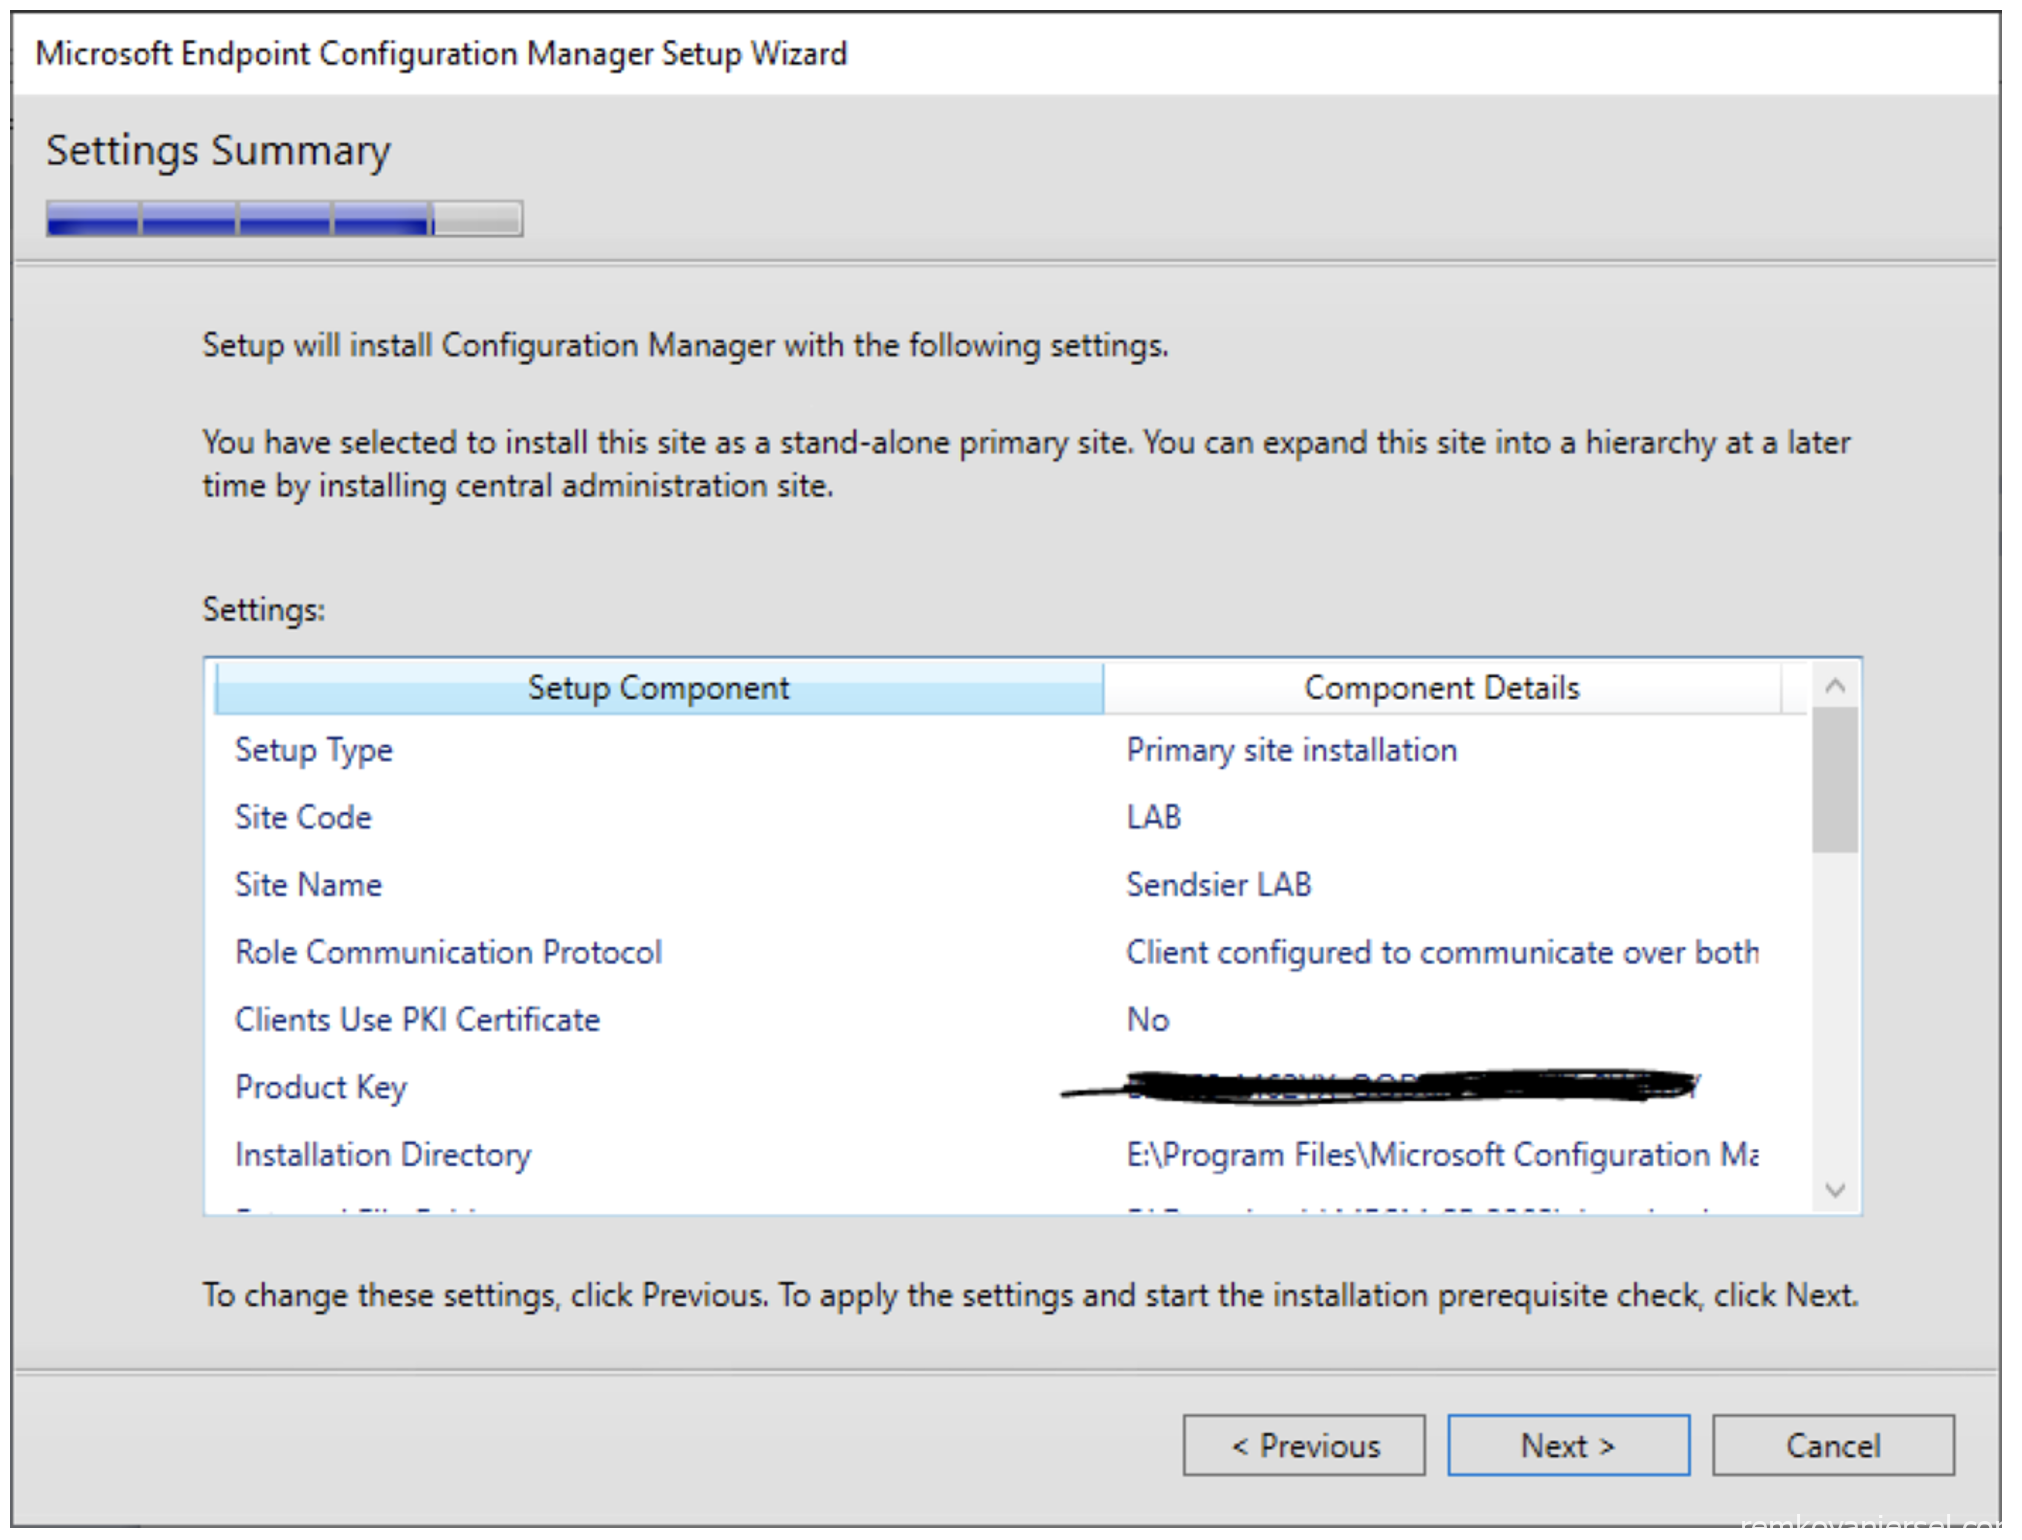
- Install a Configuration Manager primary site
Do not select “use typical installation”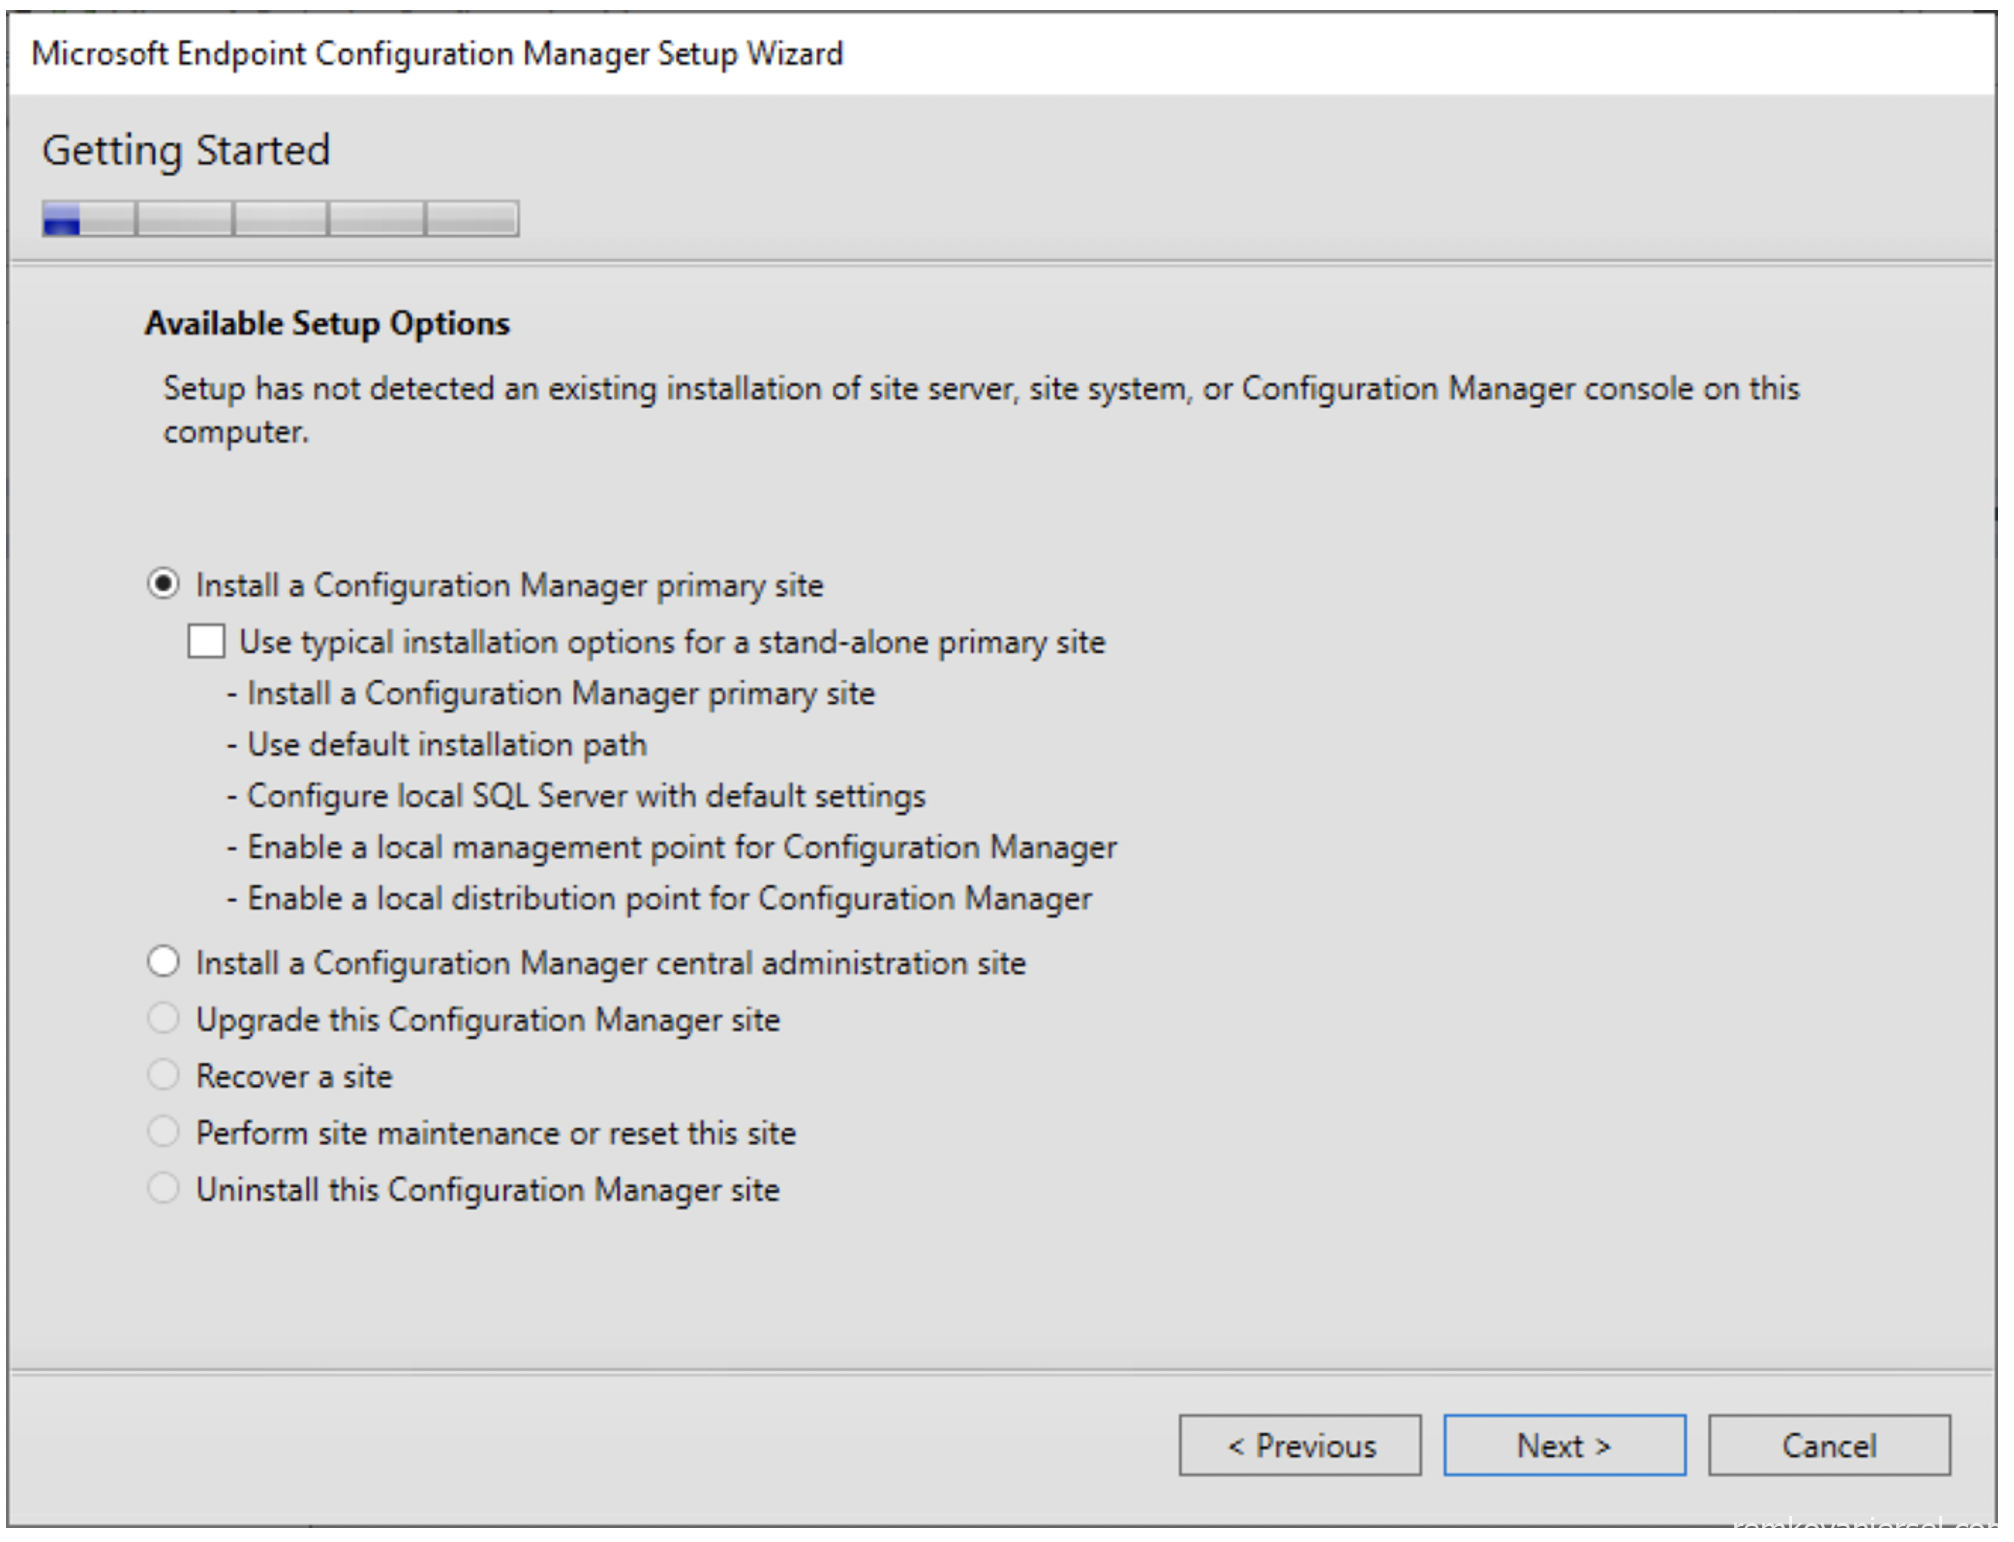
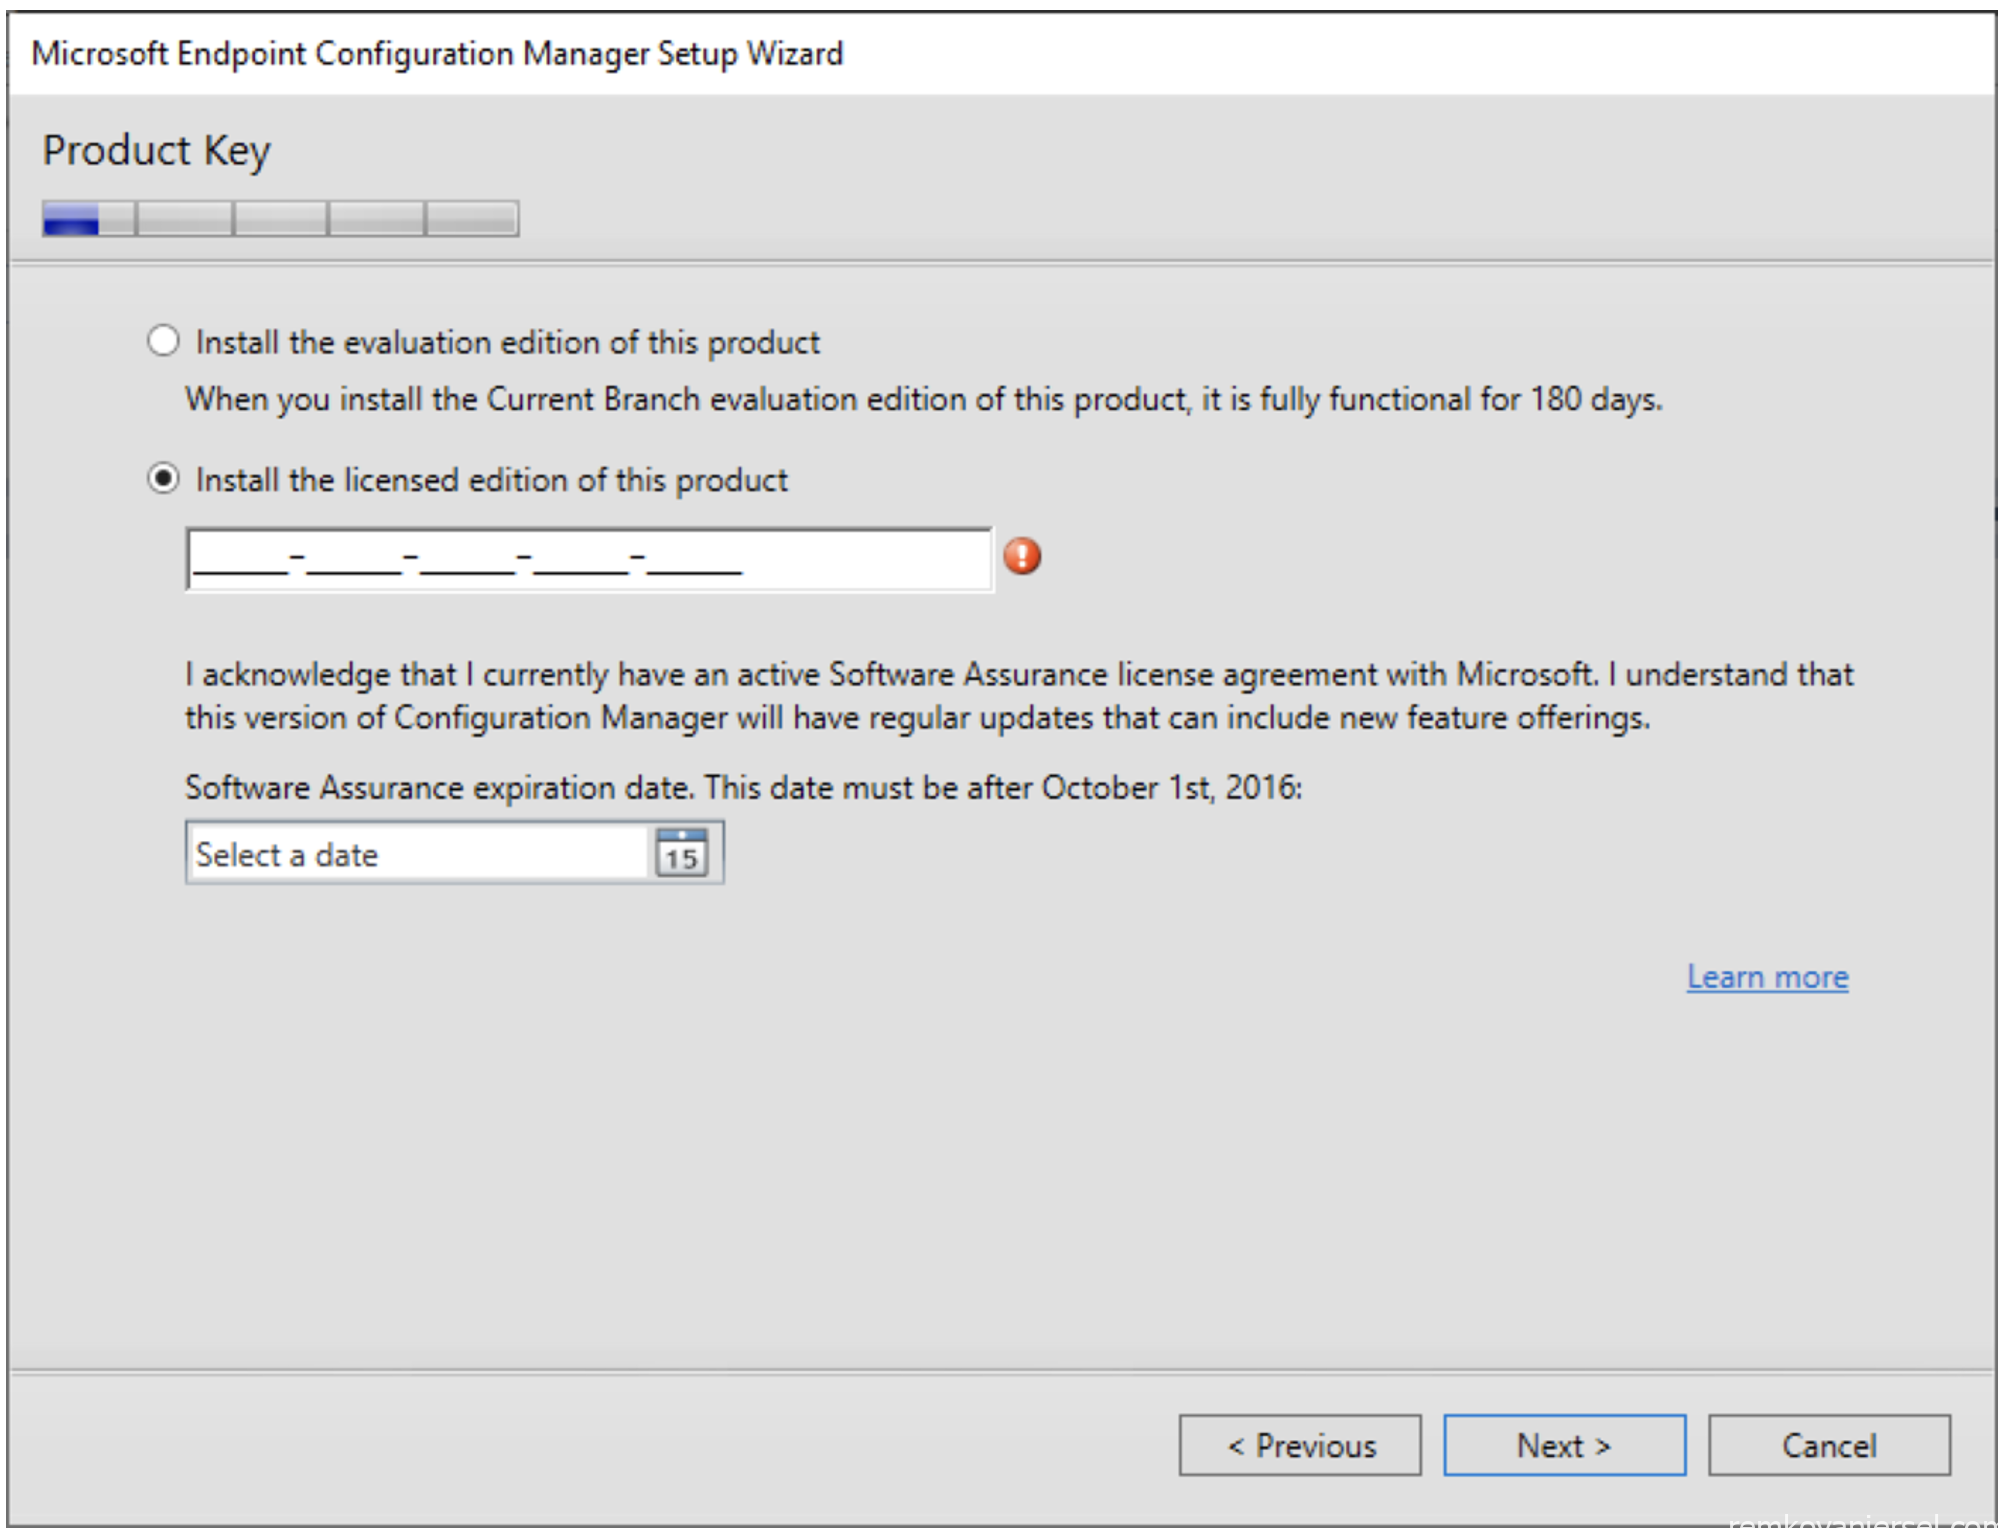
- Enter the MECM product key
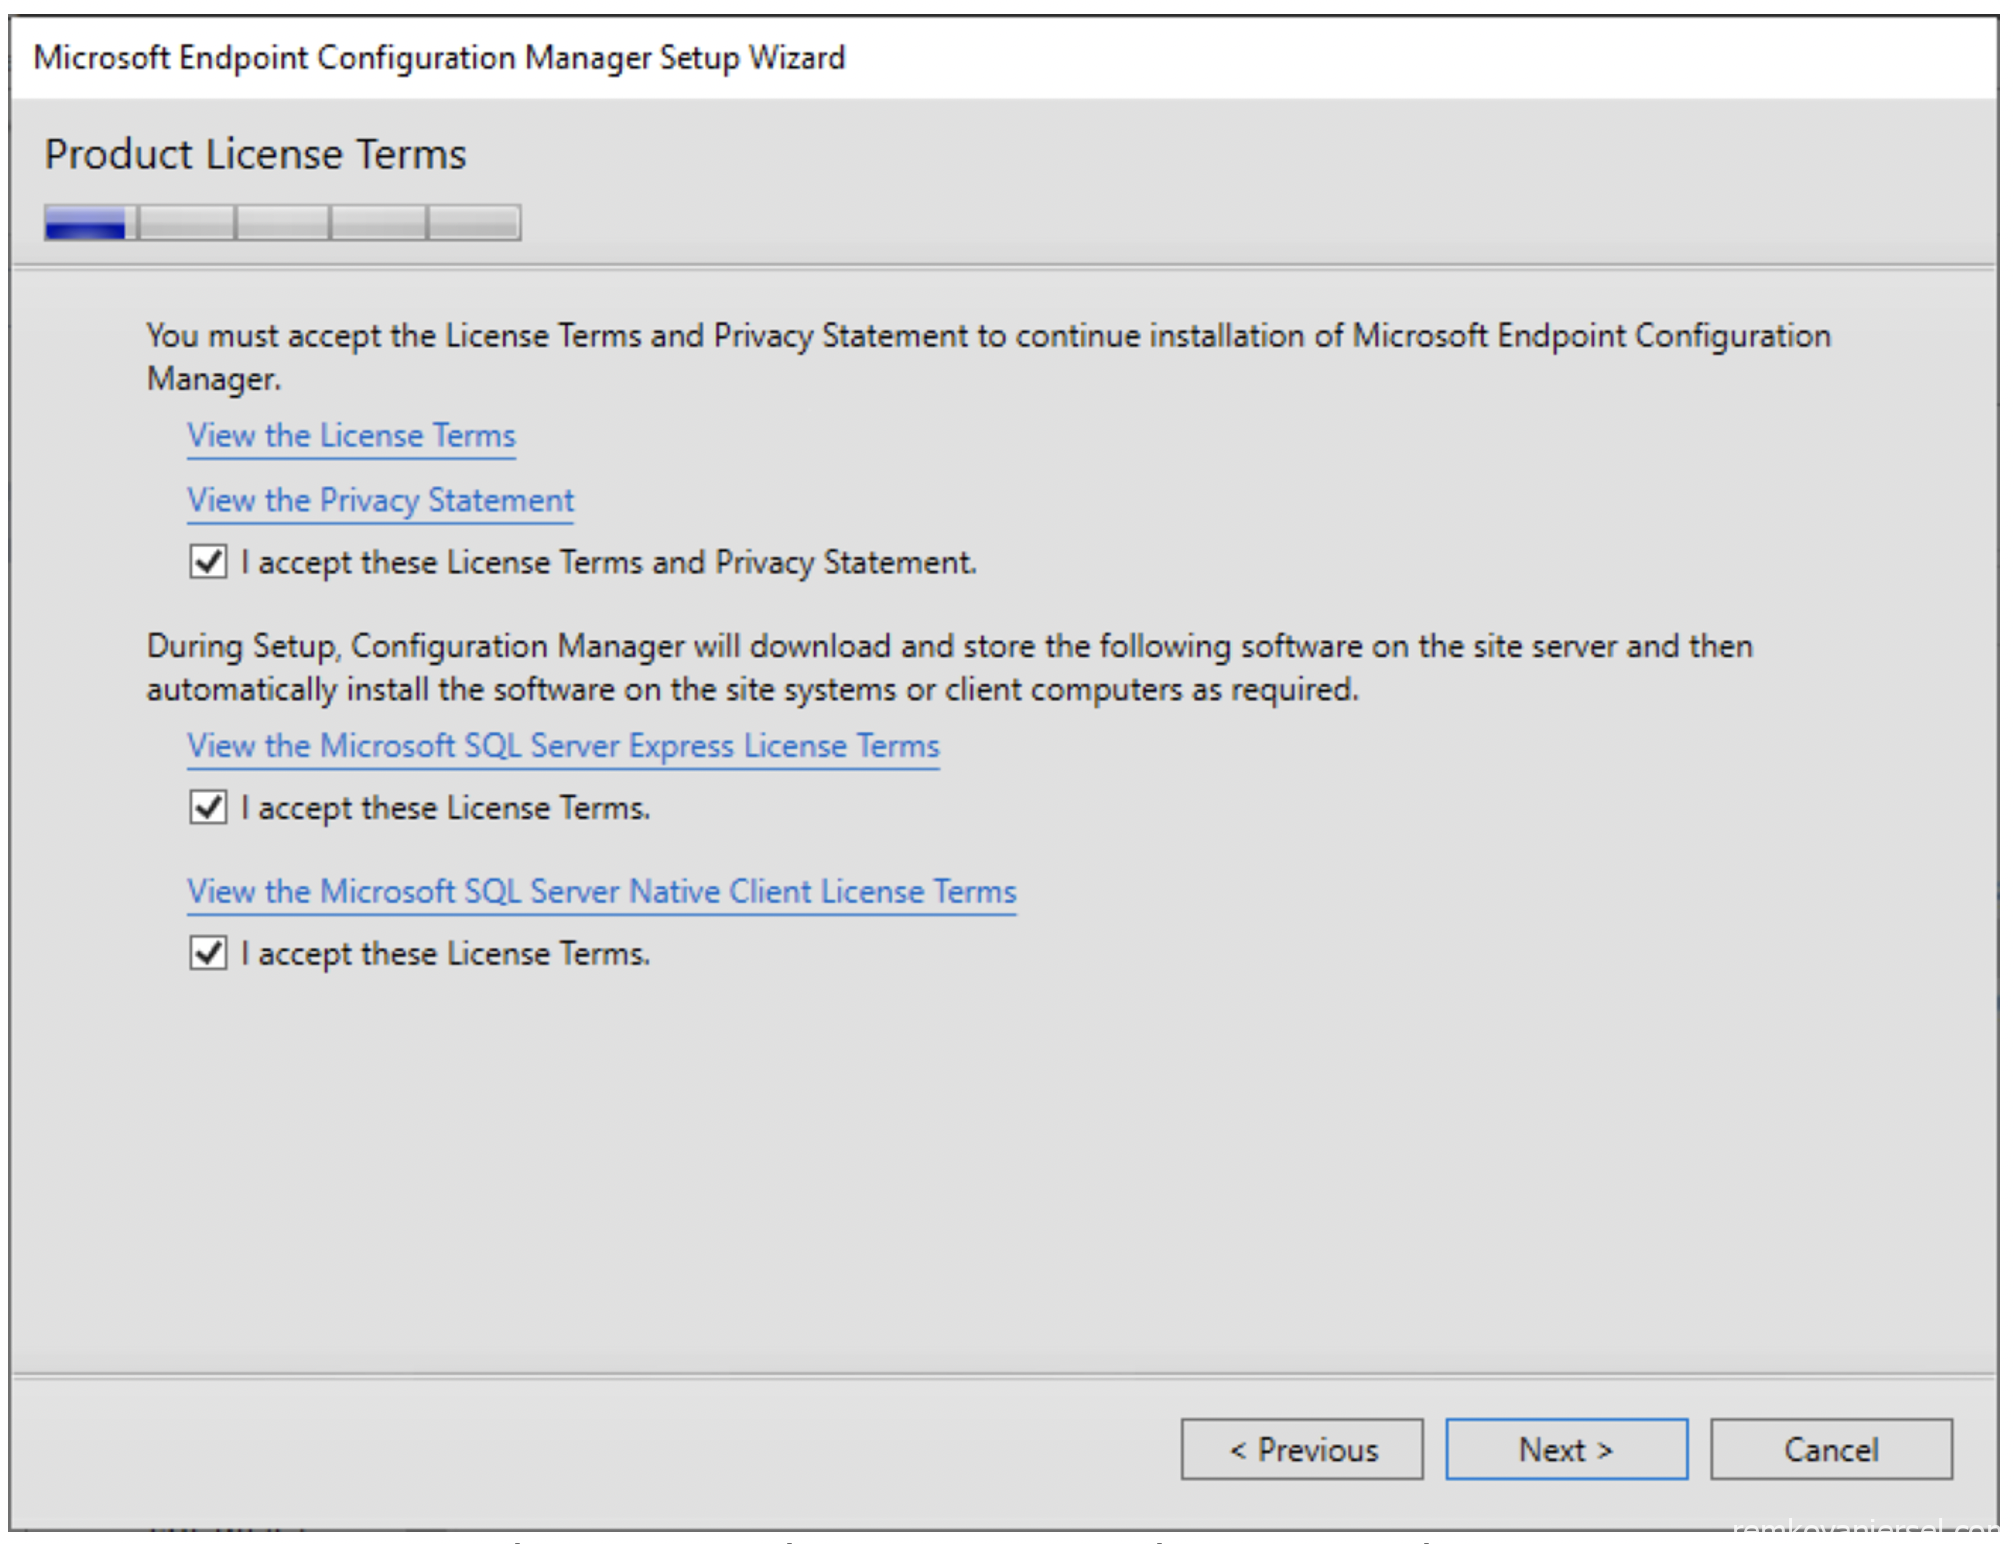
- Accept the license terms
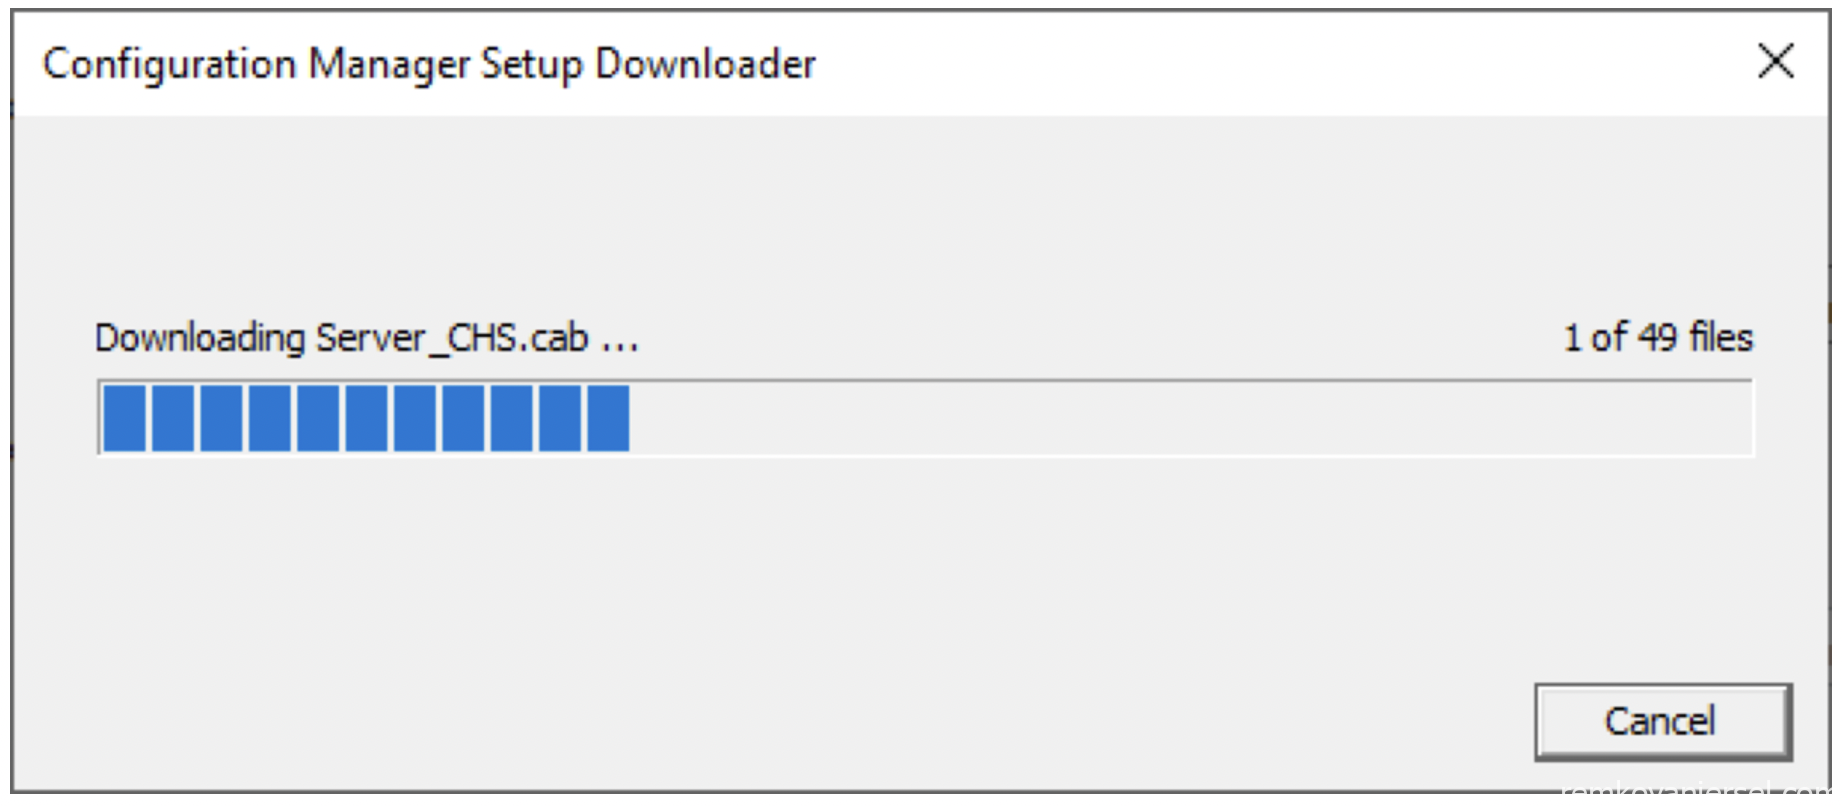
- Create the directory E:\Downloads\MECM CB 2203\downloads\
- Select this directory

- The installer will now download the required files (grab a coffee, this can take a while)
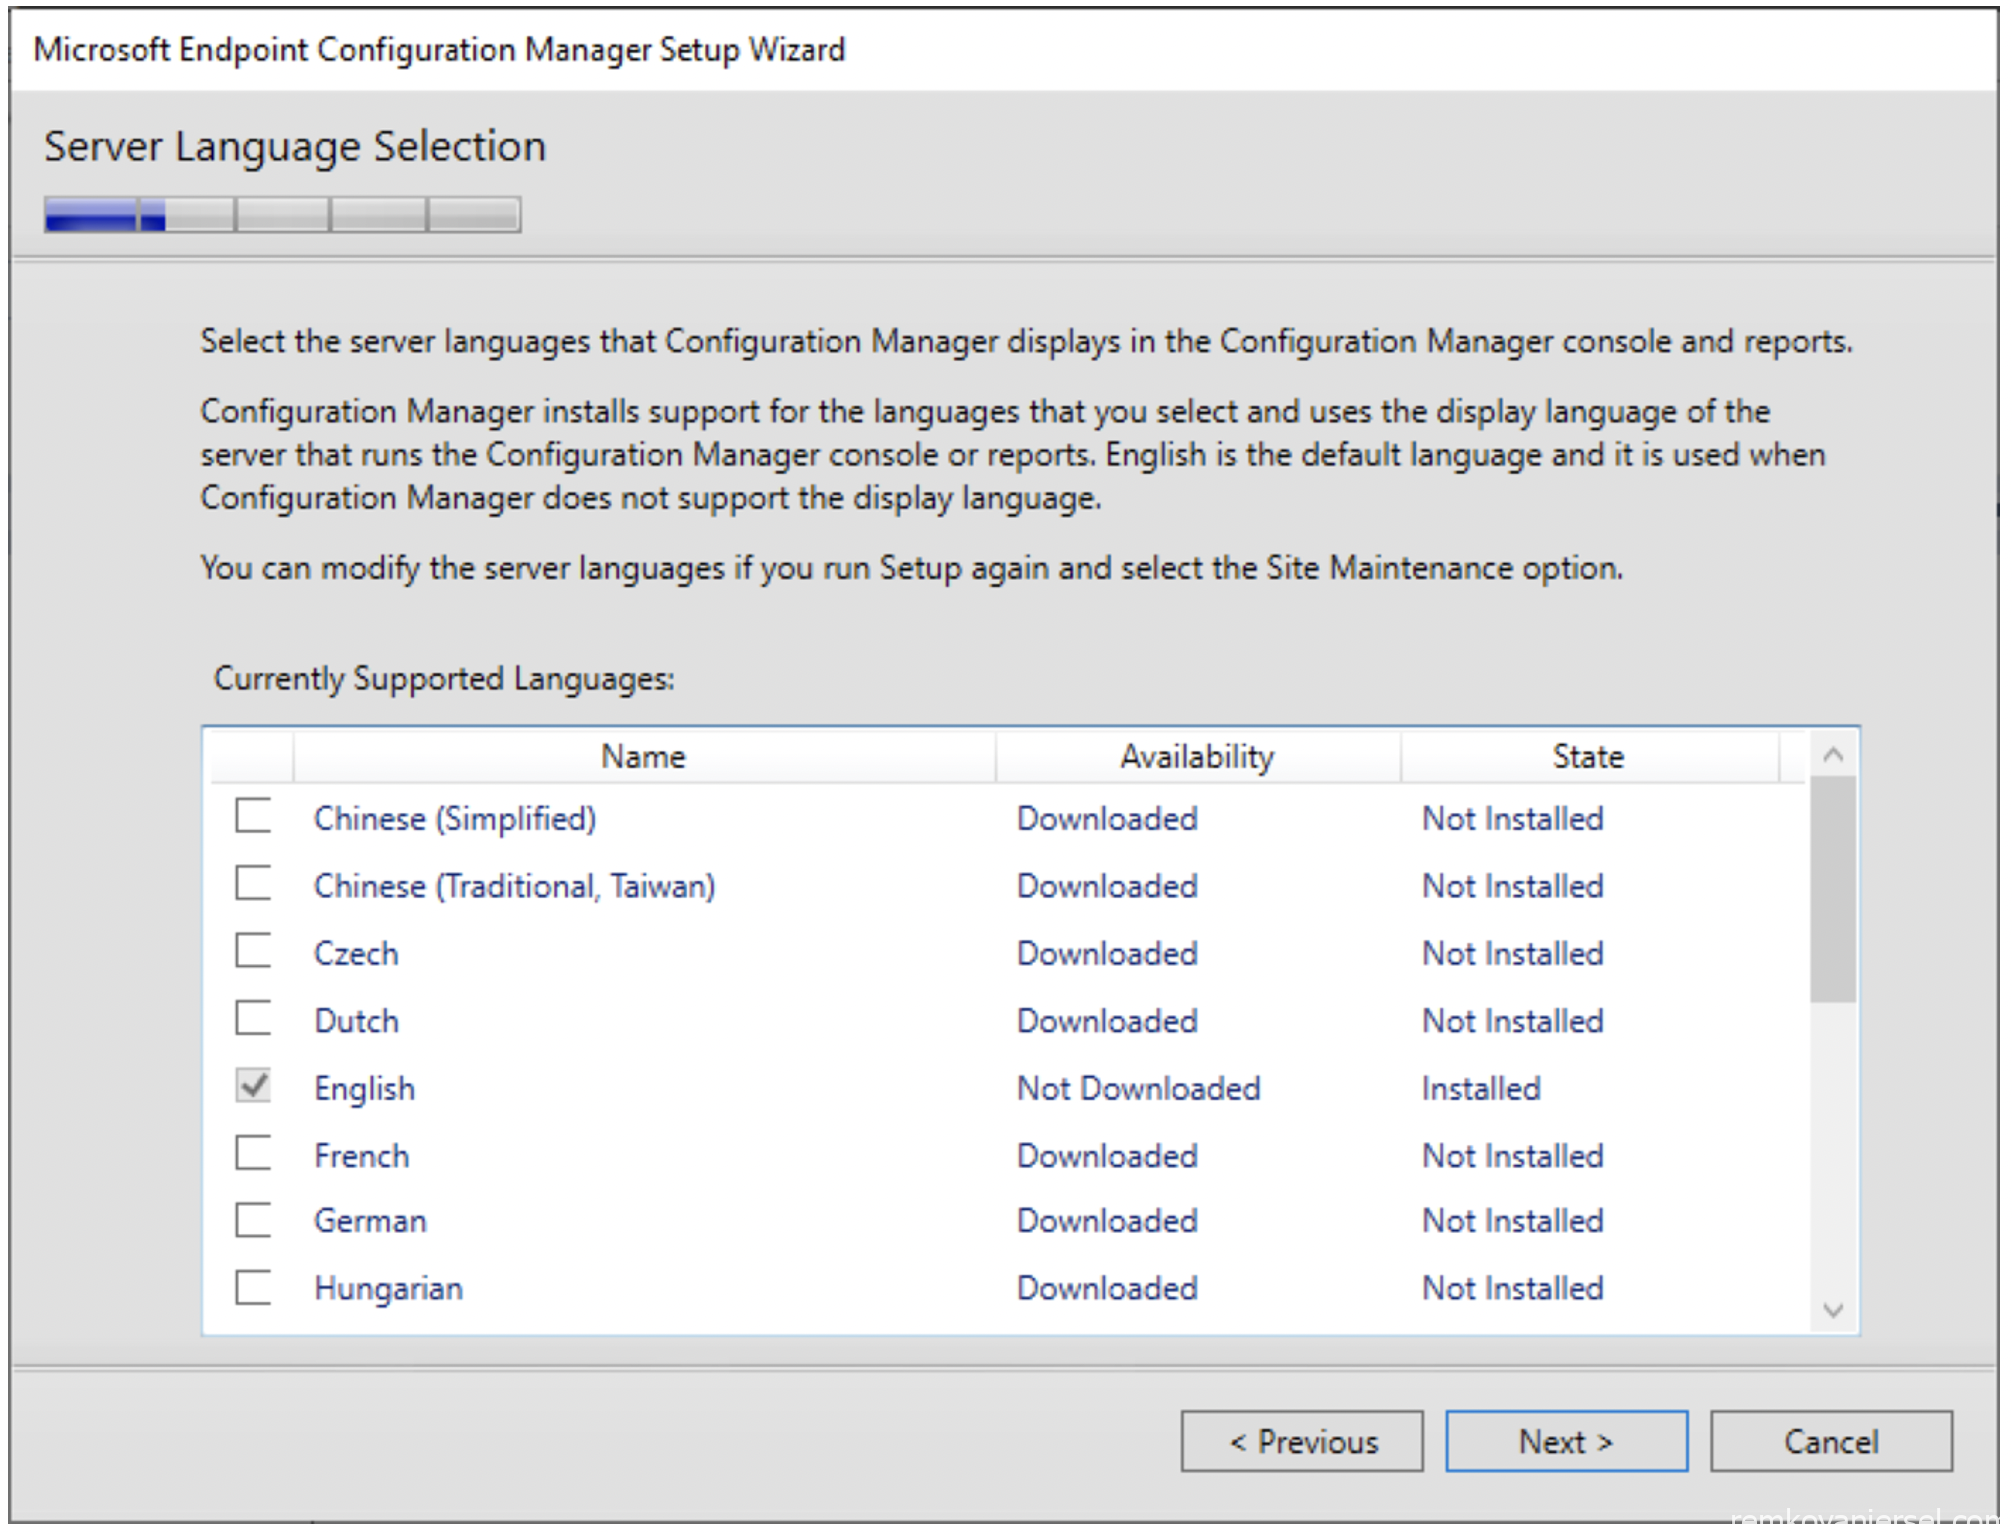
- Next (or choose additional language(s) when required)
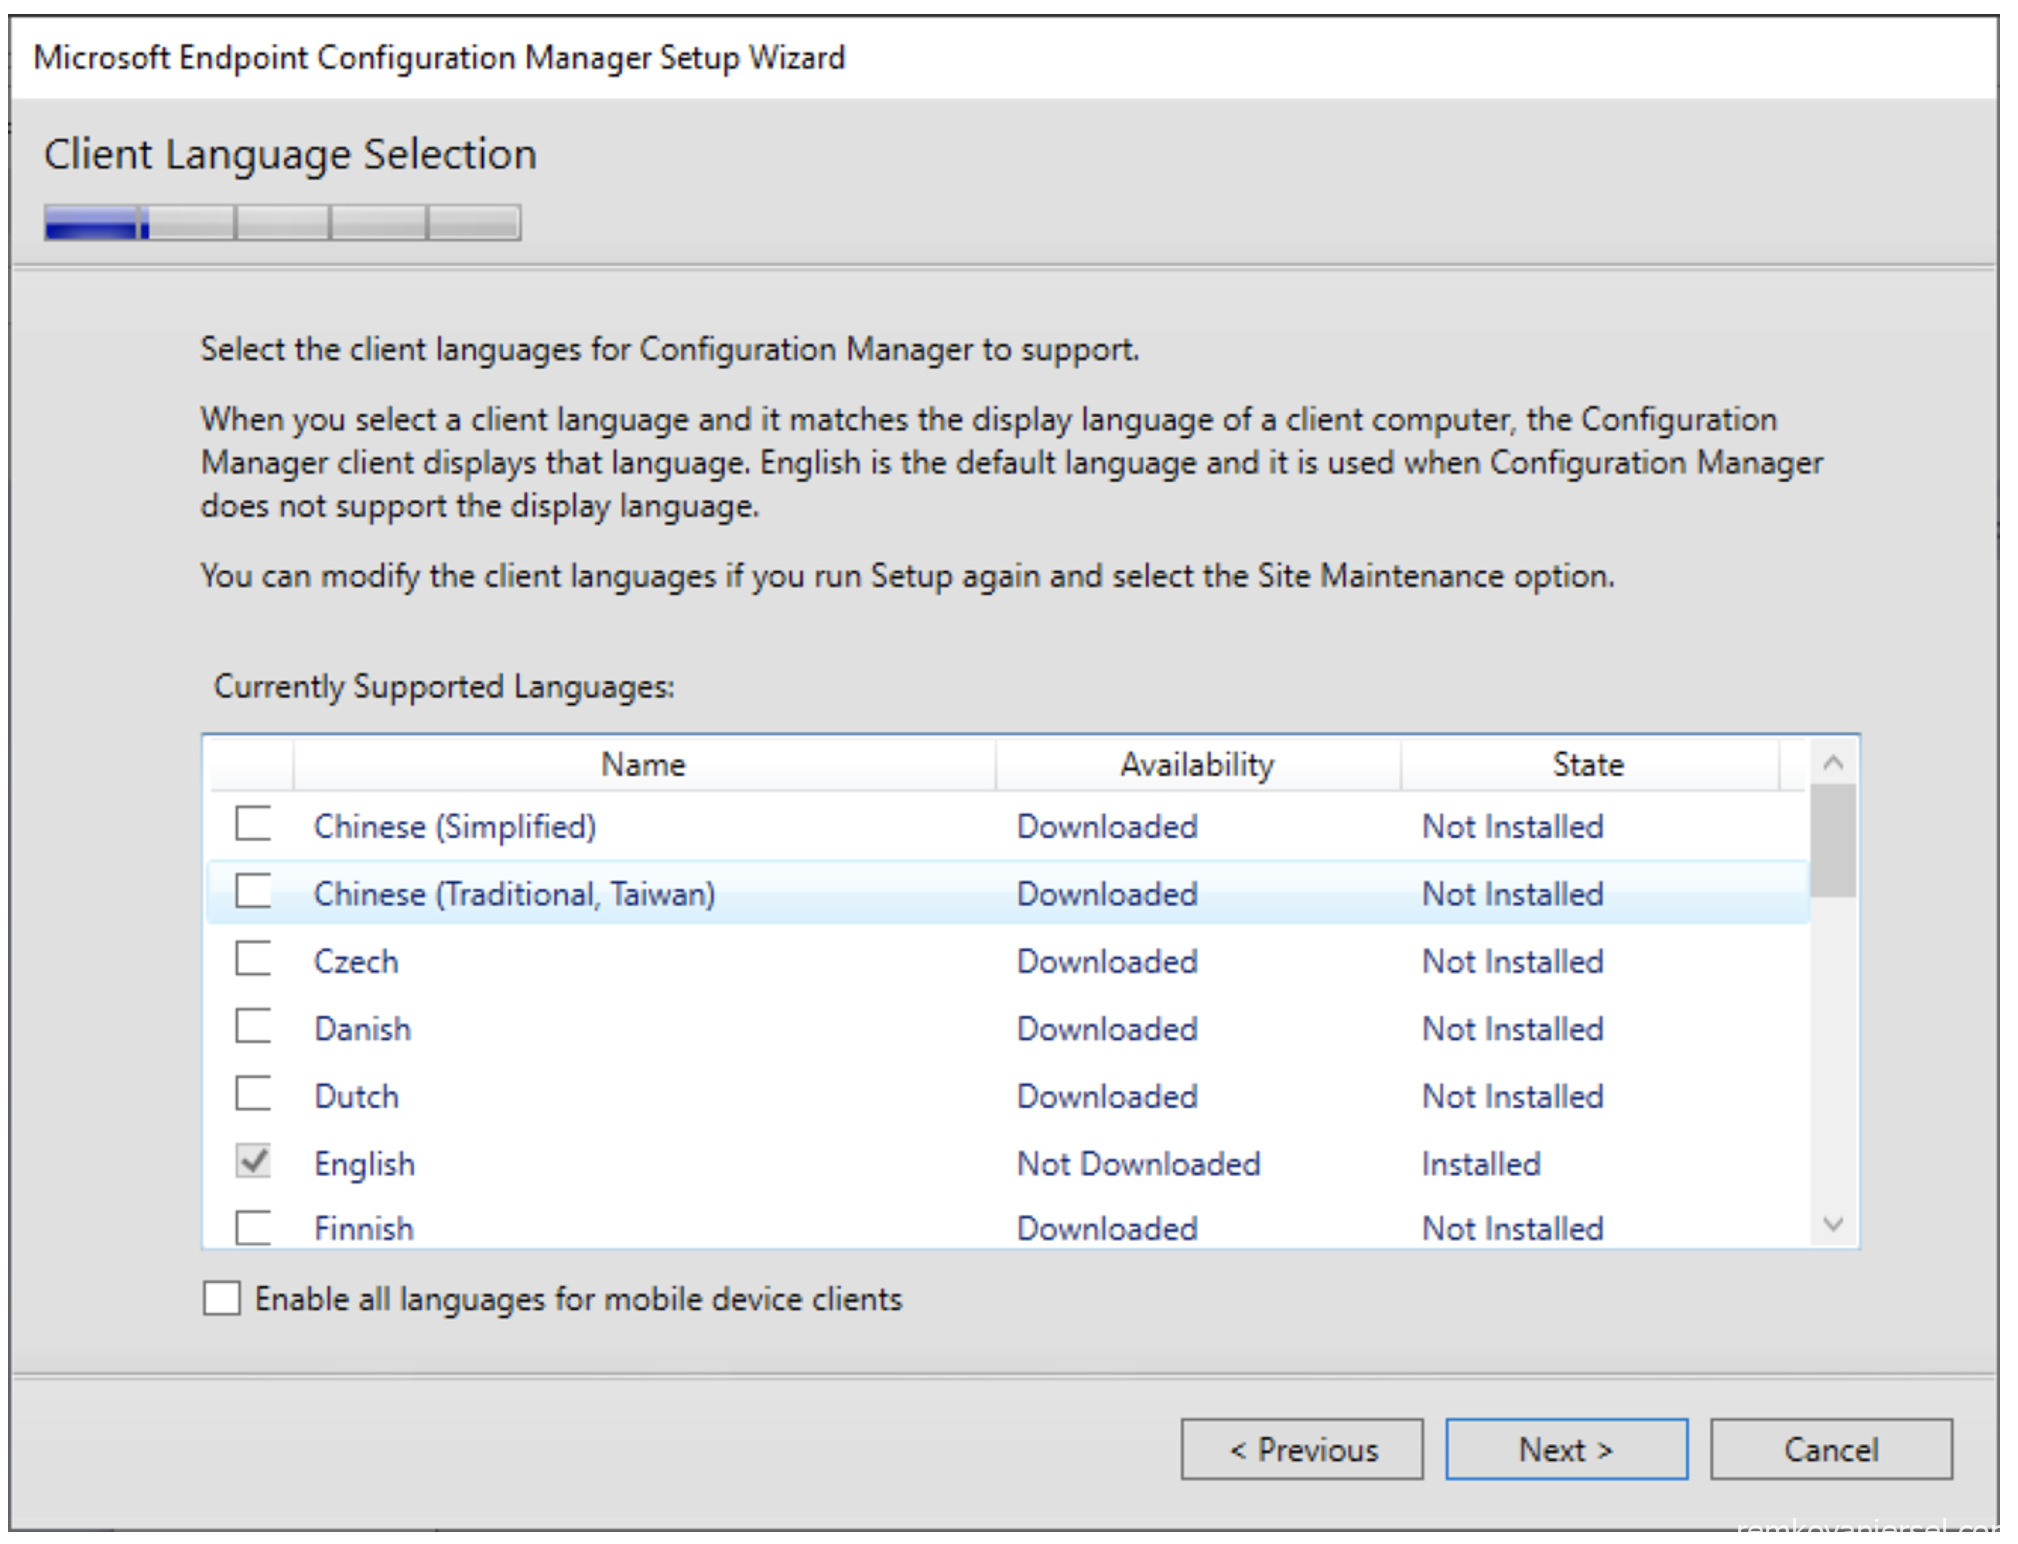
- Next (or choose additional language(s) when required)
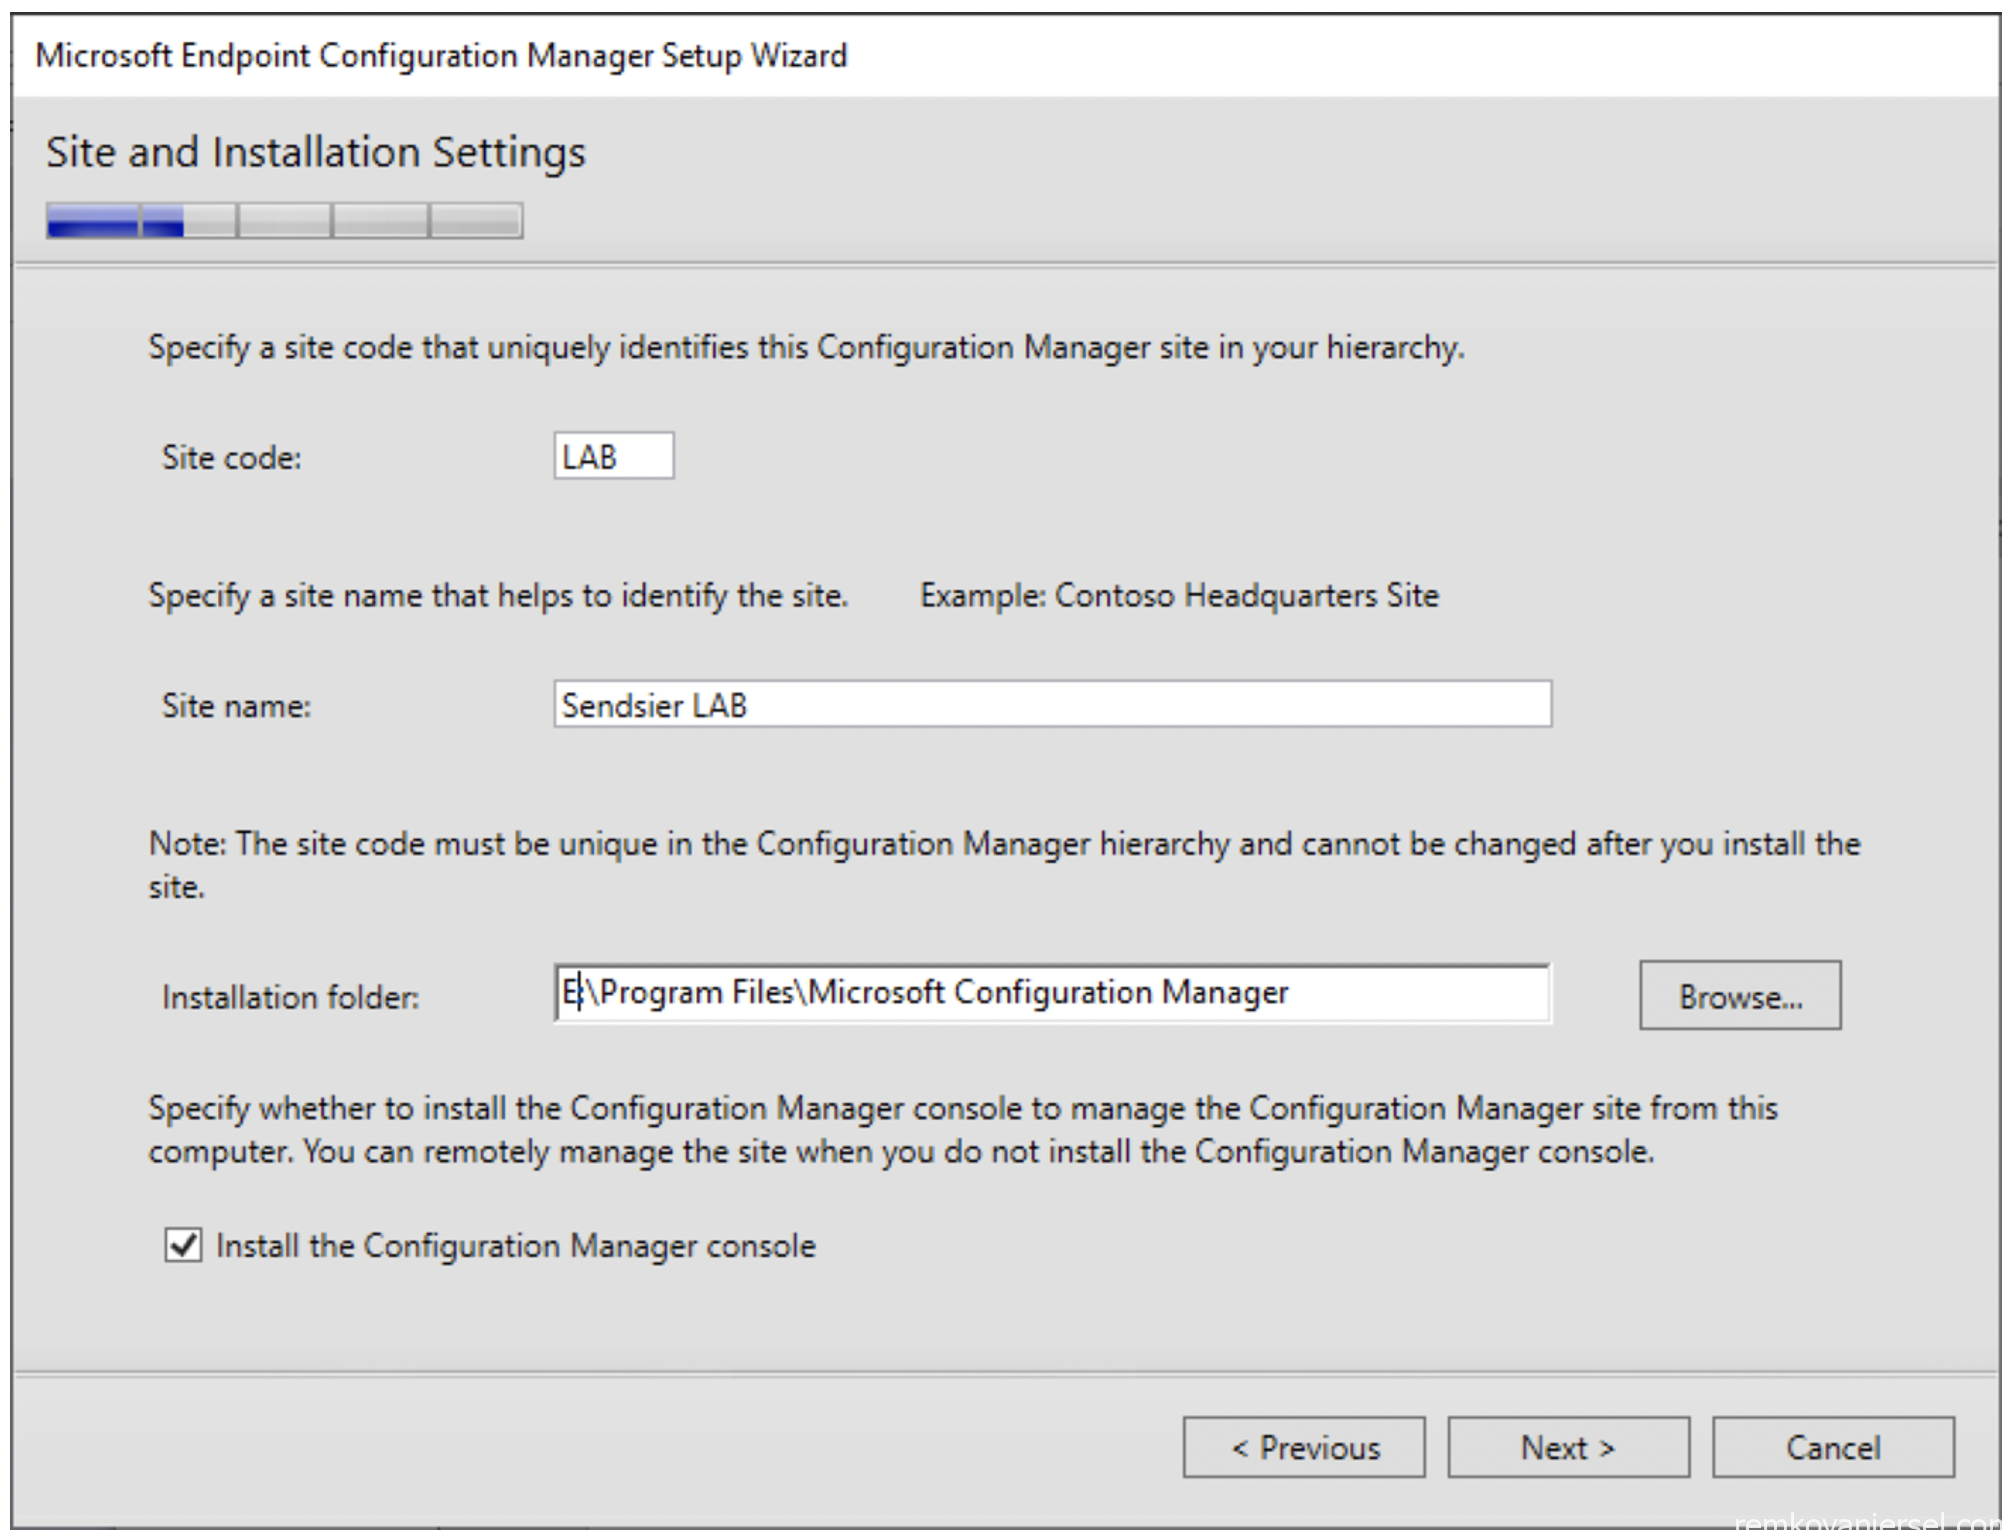
- Change installation folder drive C:\ to E:\
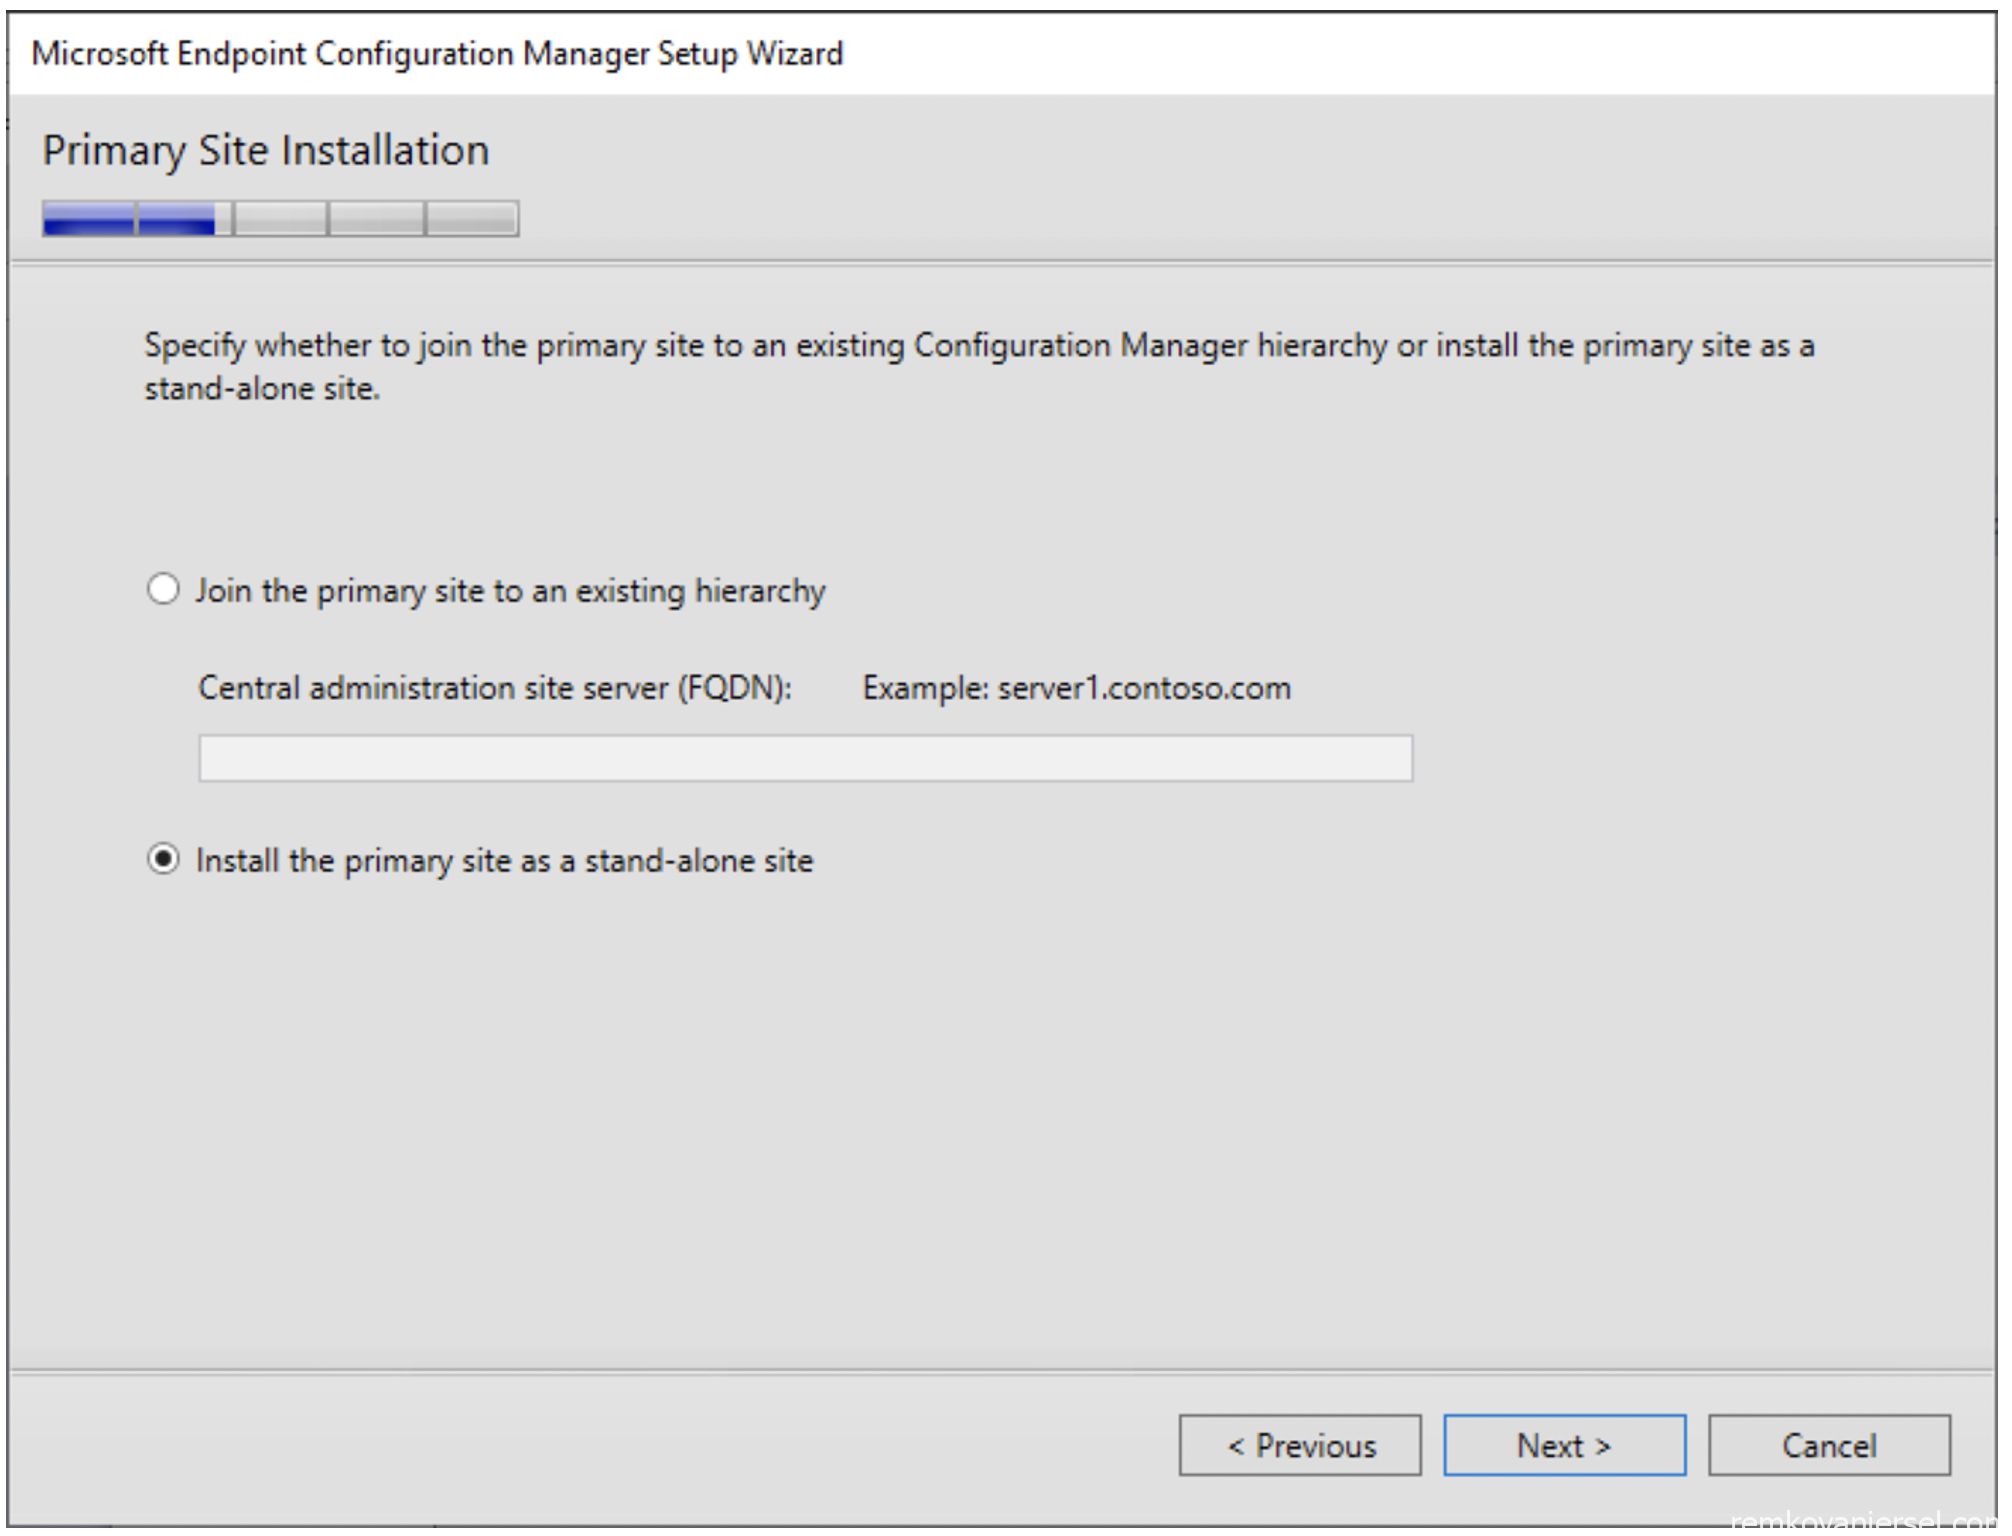
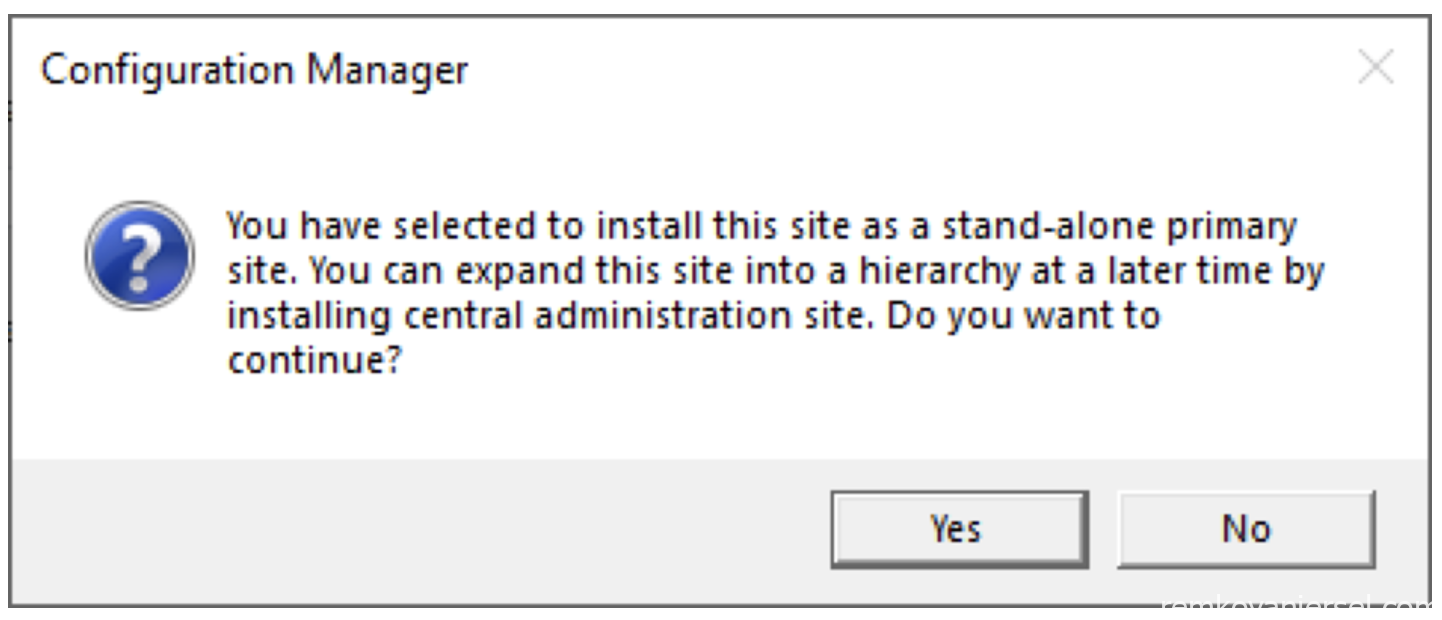
- Install the primary site as a stand-alone site
- Yes
- Next
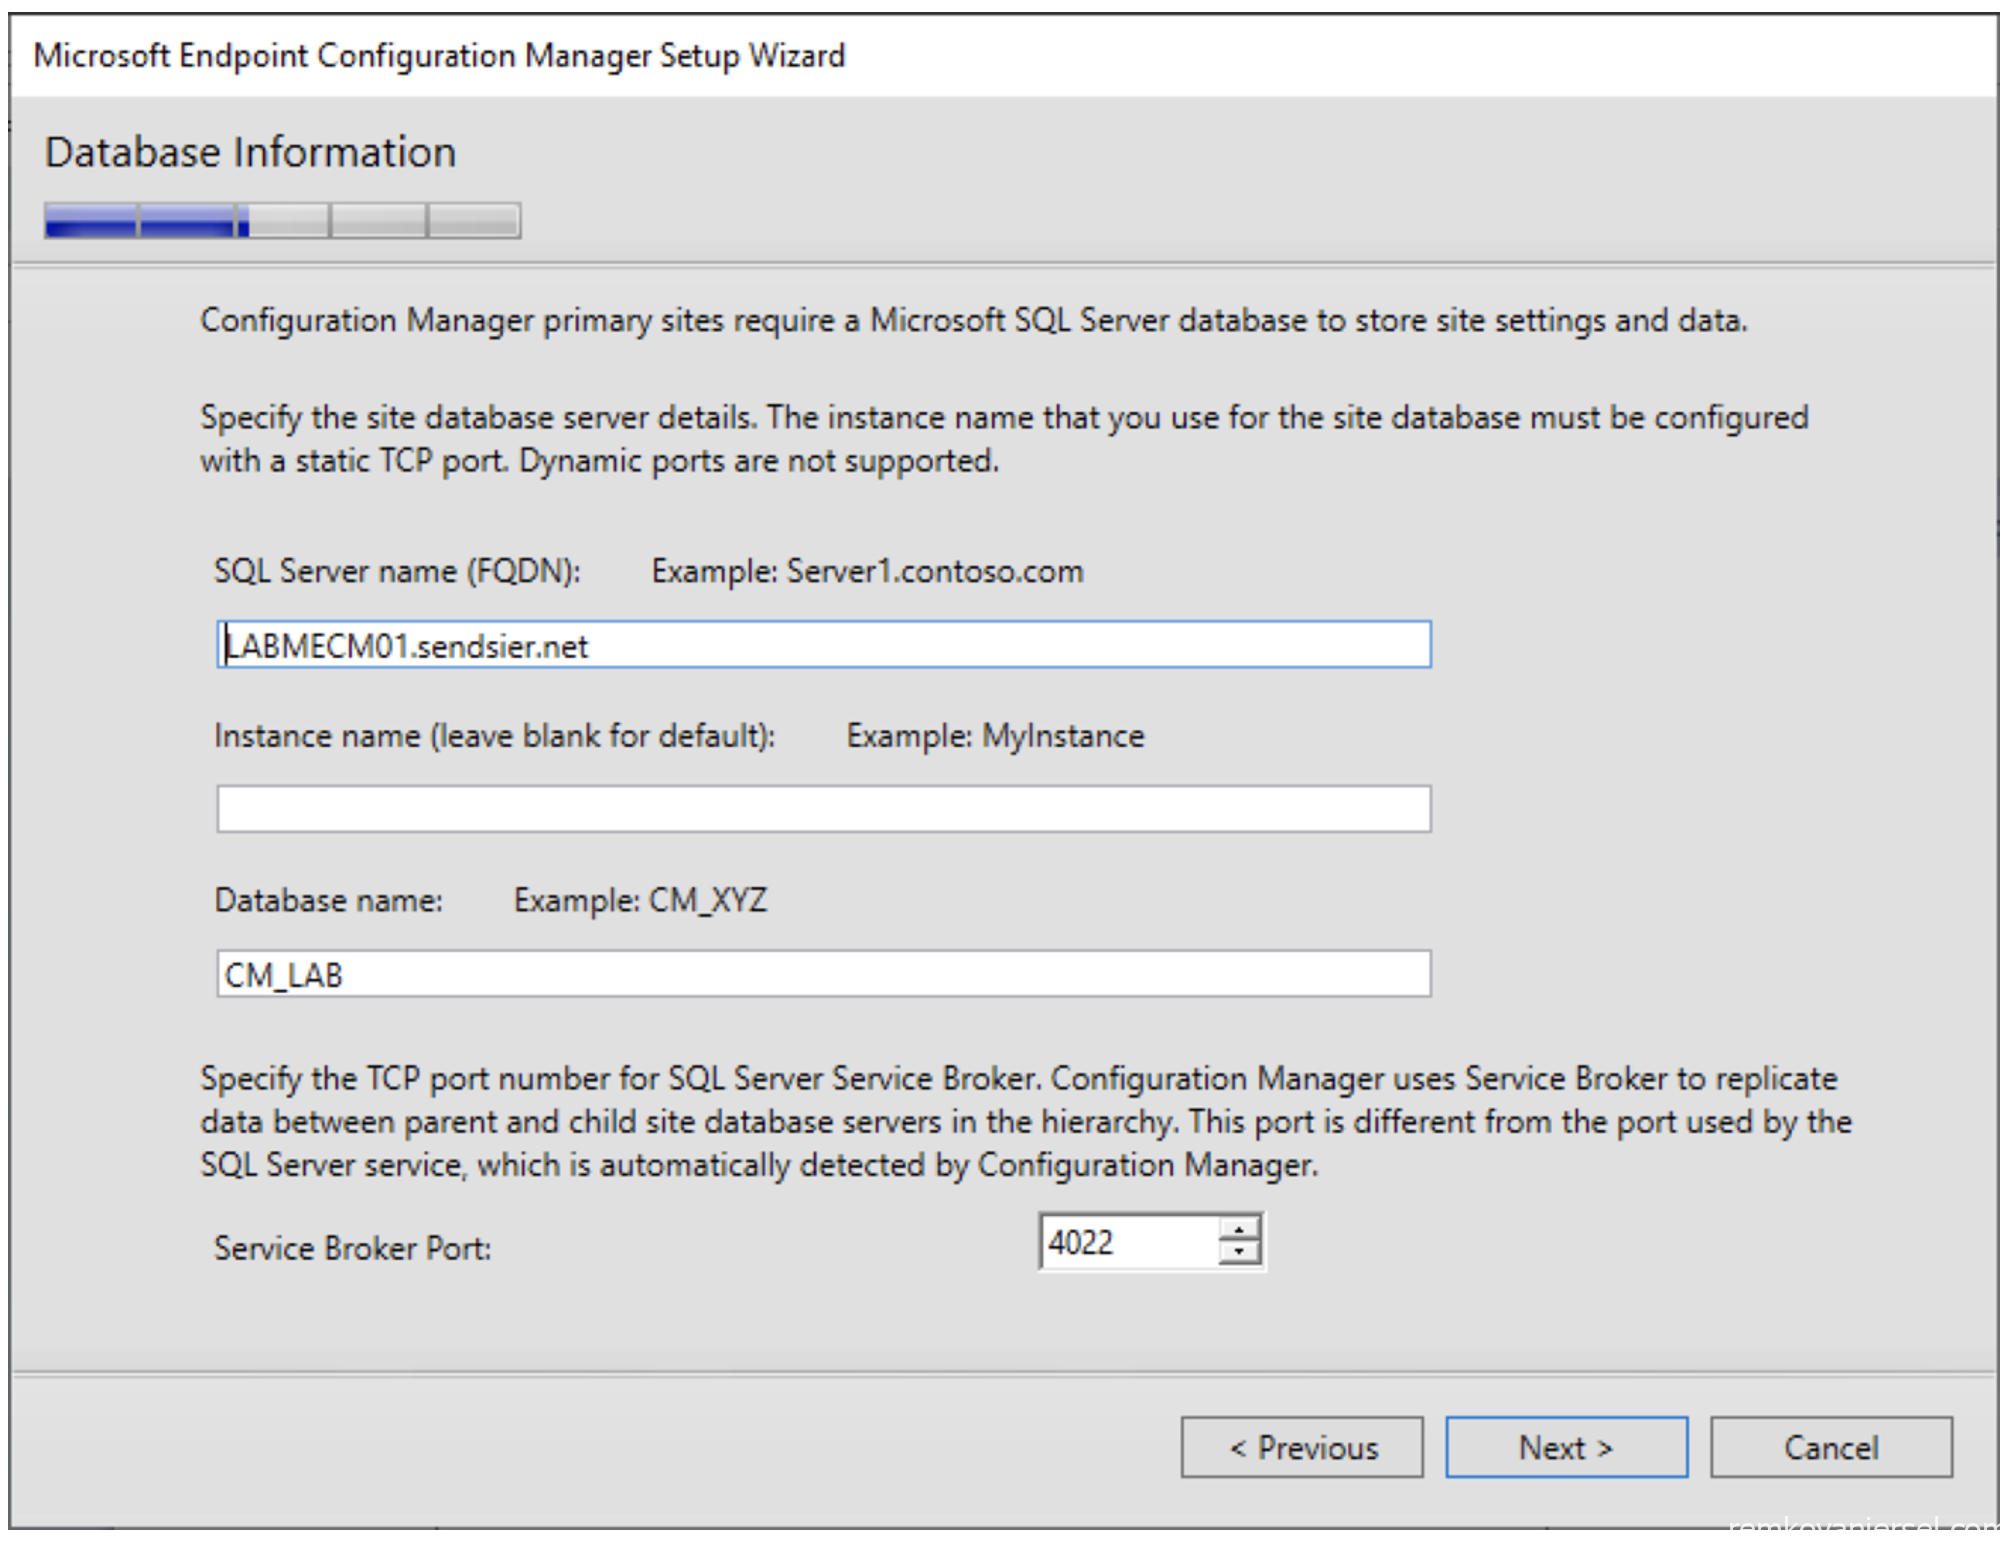
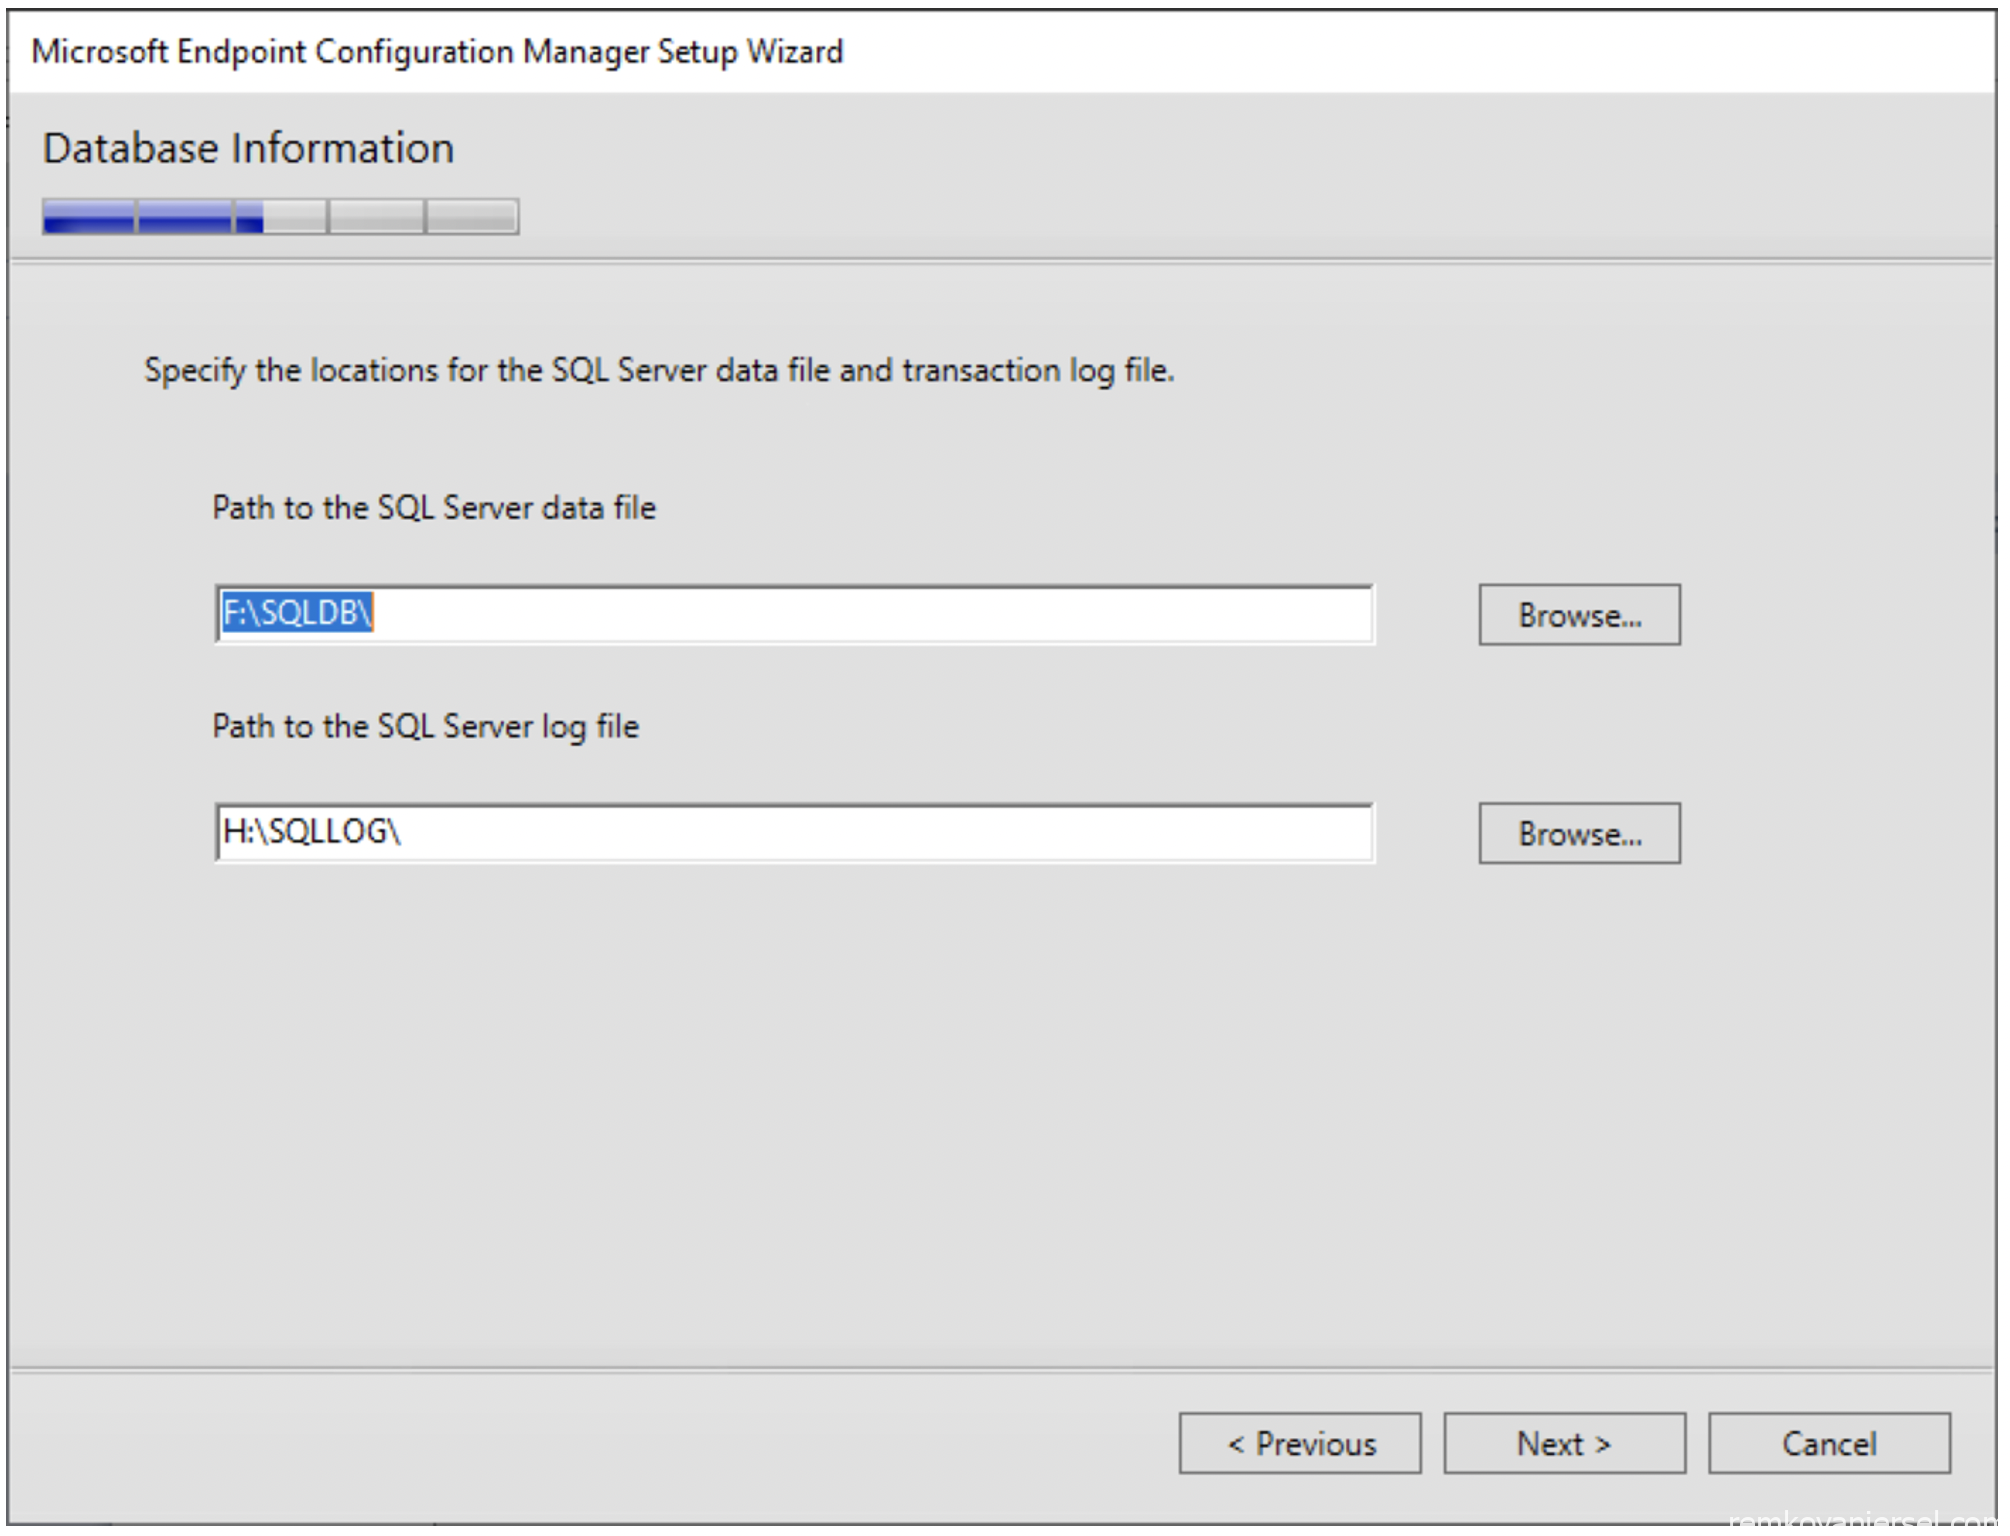
- Next (check if the drive letters are correct F:\ for SQL DB and H:\ for SQL LOG)
- Next
- Choose “Configure the communication method on each site system role”
Do not check “Client with use HTTPS”
- Leave both to HTTP, we will change this later to HTTPS
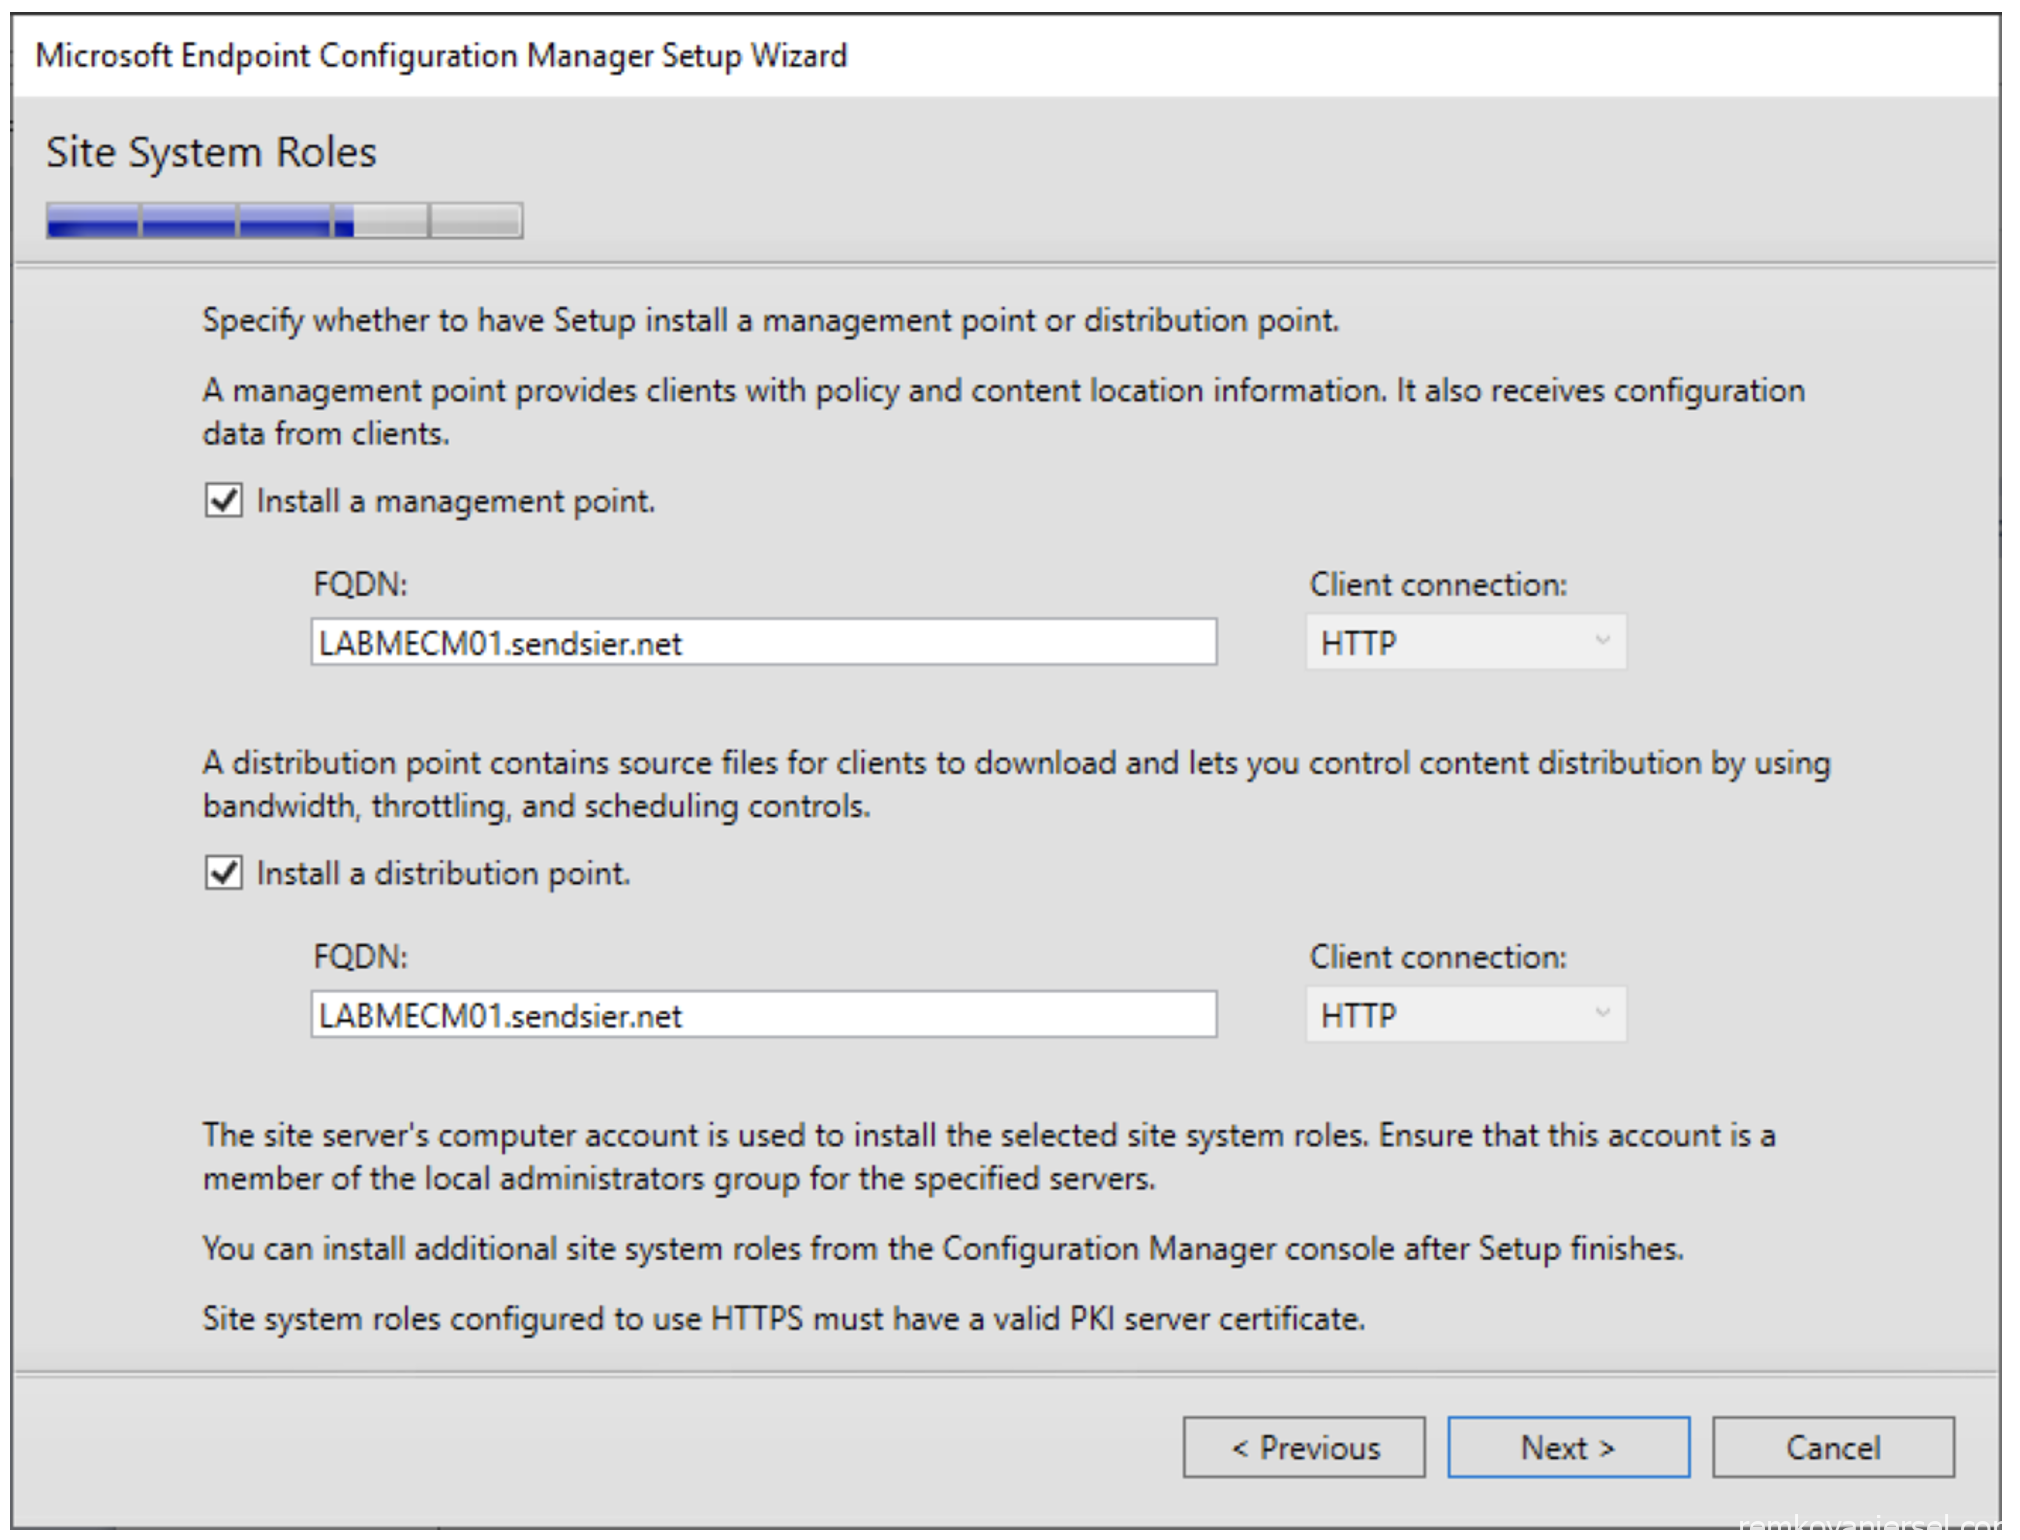
- Next
- Yes, let’s get connected. This way you have in console updates and hotfixes for MECM
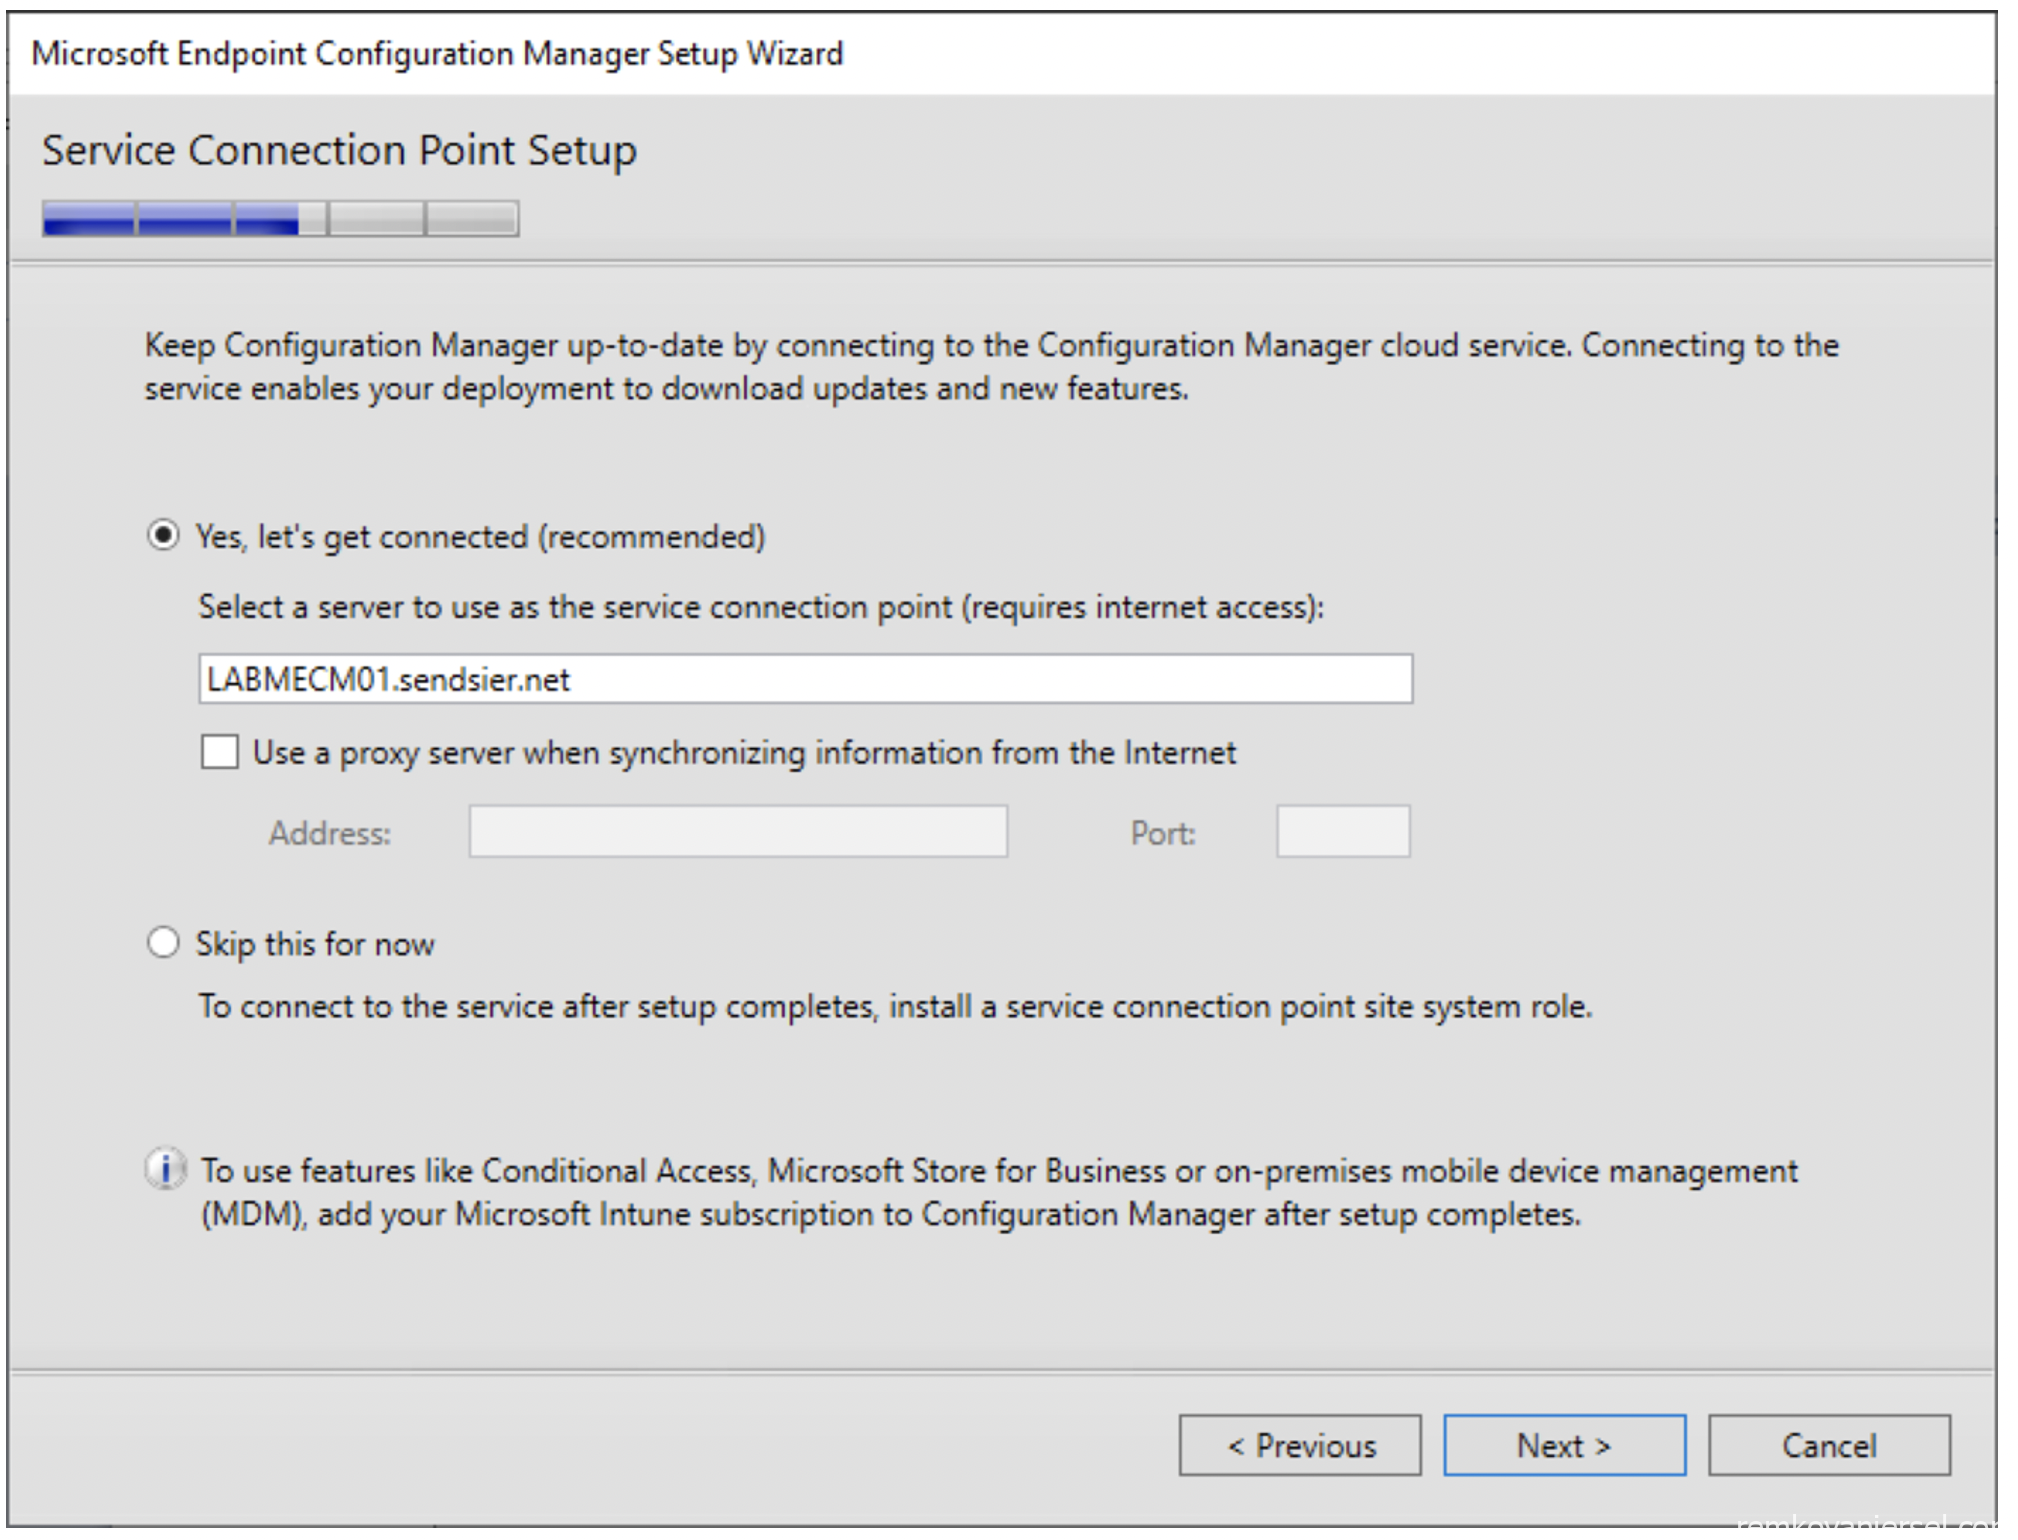
- Next
- If you have anything important missing, you get an error and need to fix this first
Begin install - Installing (grab your second coffee, this can take a while)
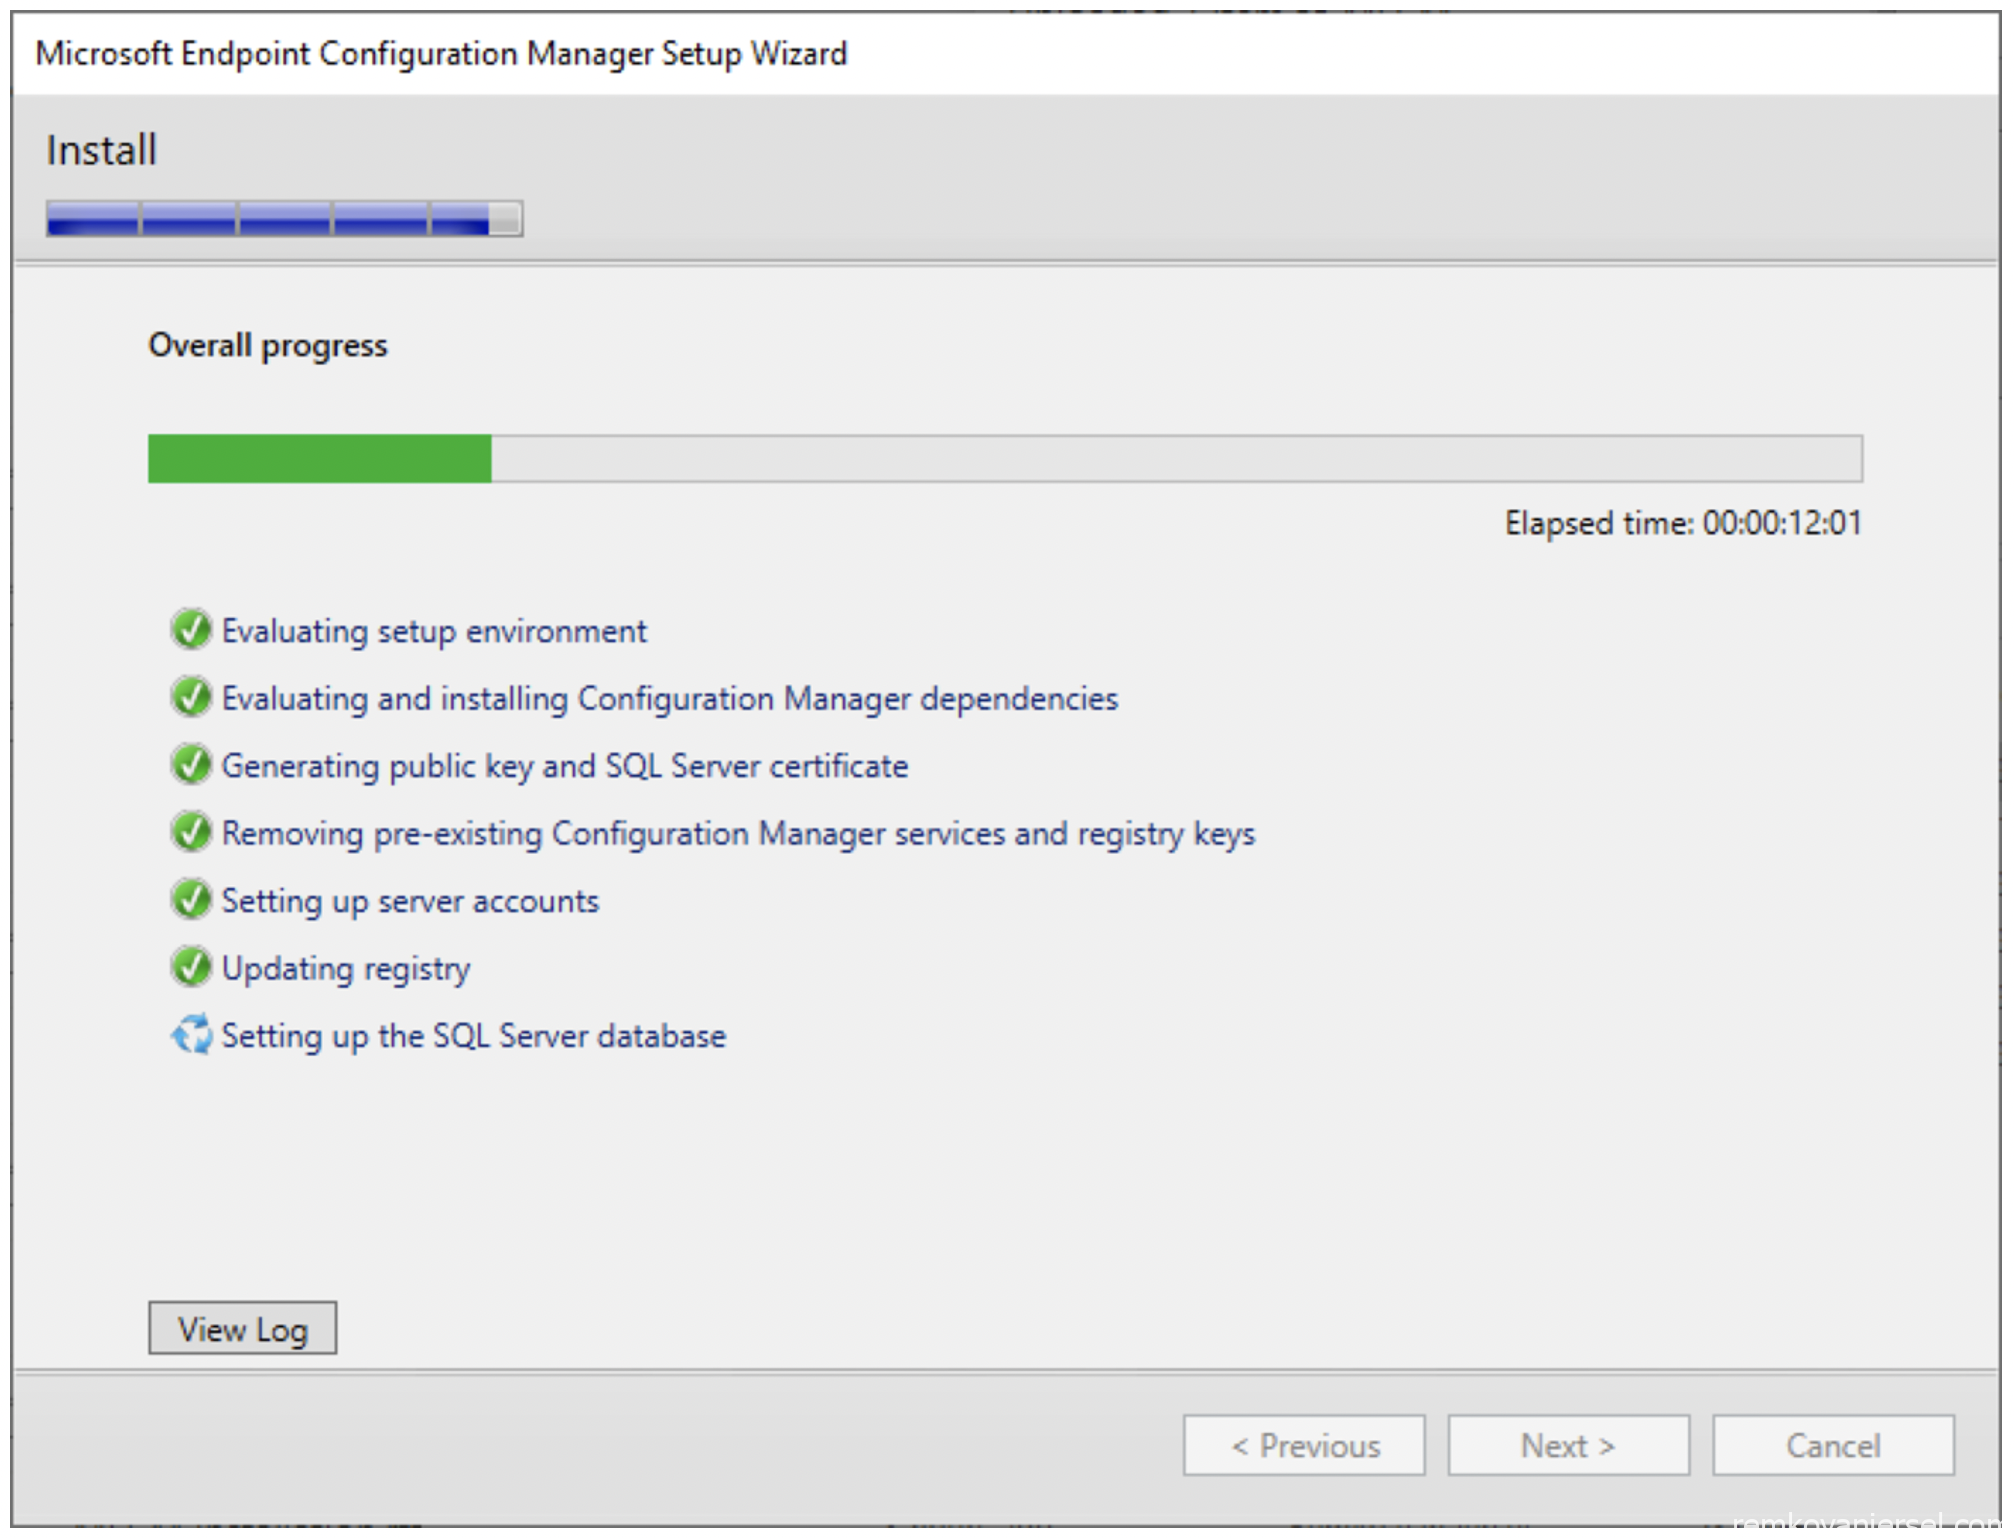
- Close
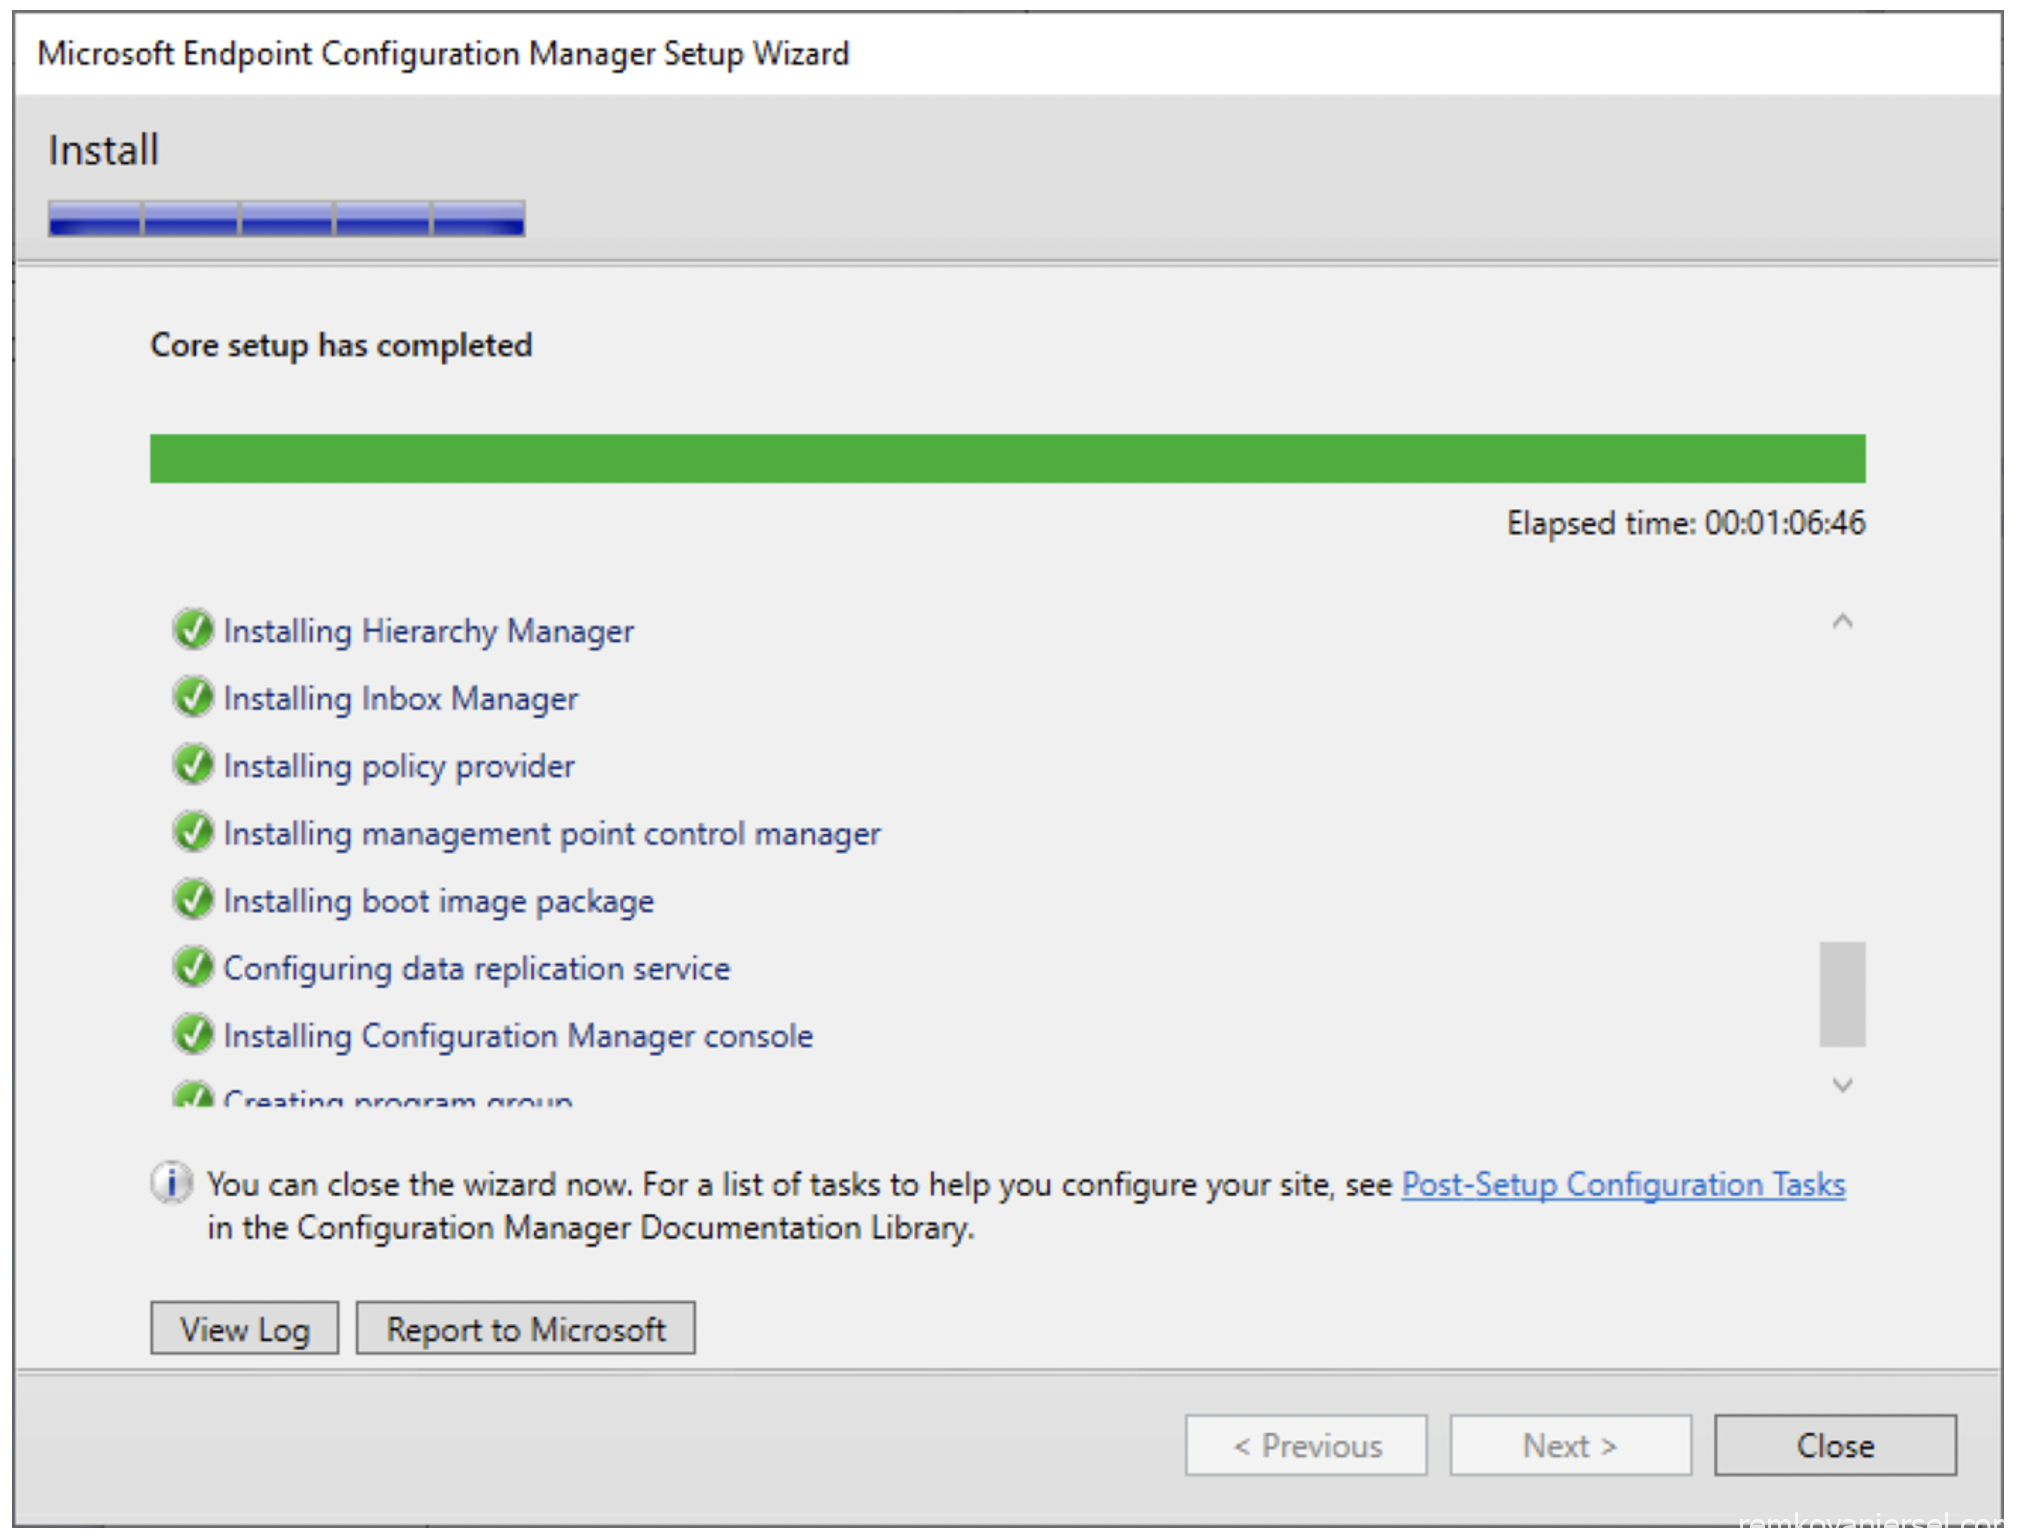
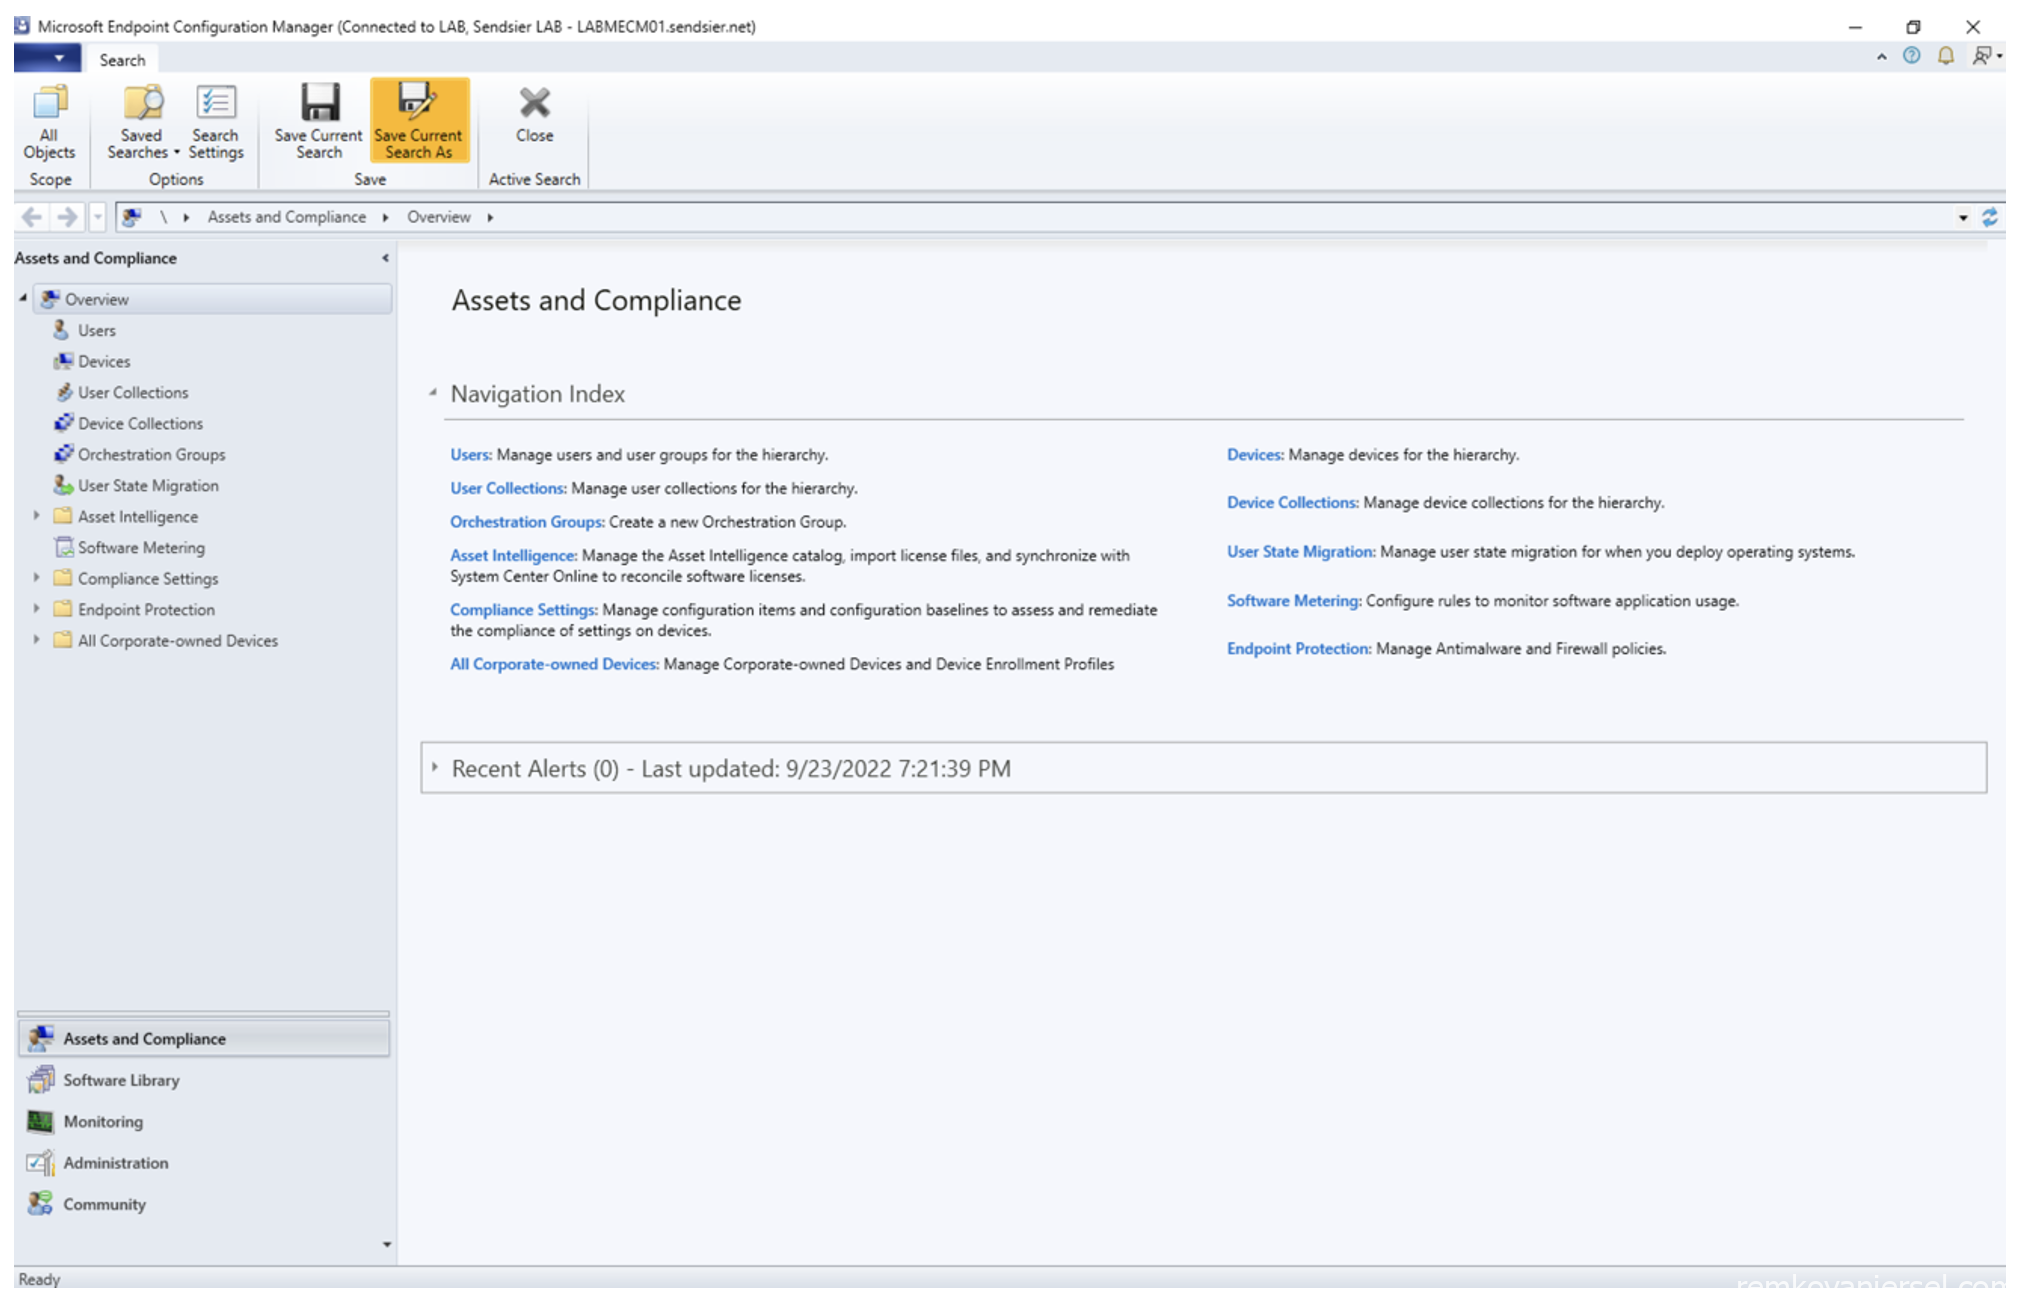
- Start the MECM console via the start menu, and see if it can connect to the site database without any issues
MECM Post installation update
Now that MECM is fully installed, we need to check if any new updates and hotfixes are released and we need to choose whether or not we are going to install this based on the release notes
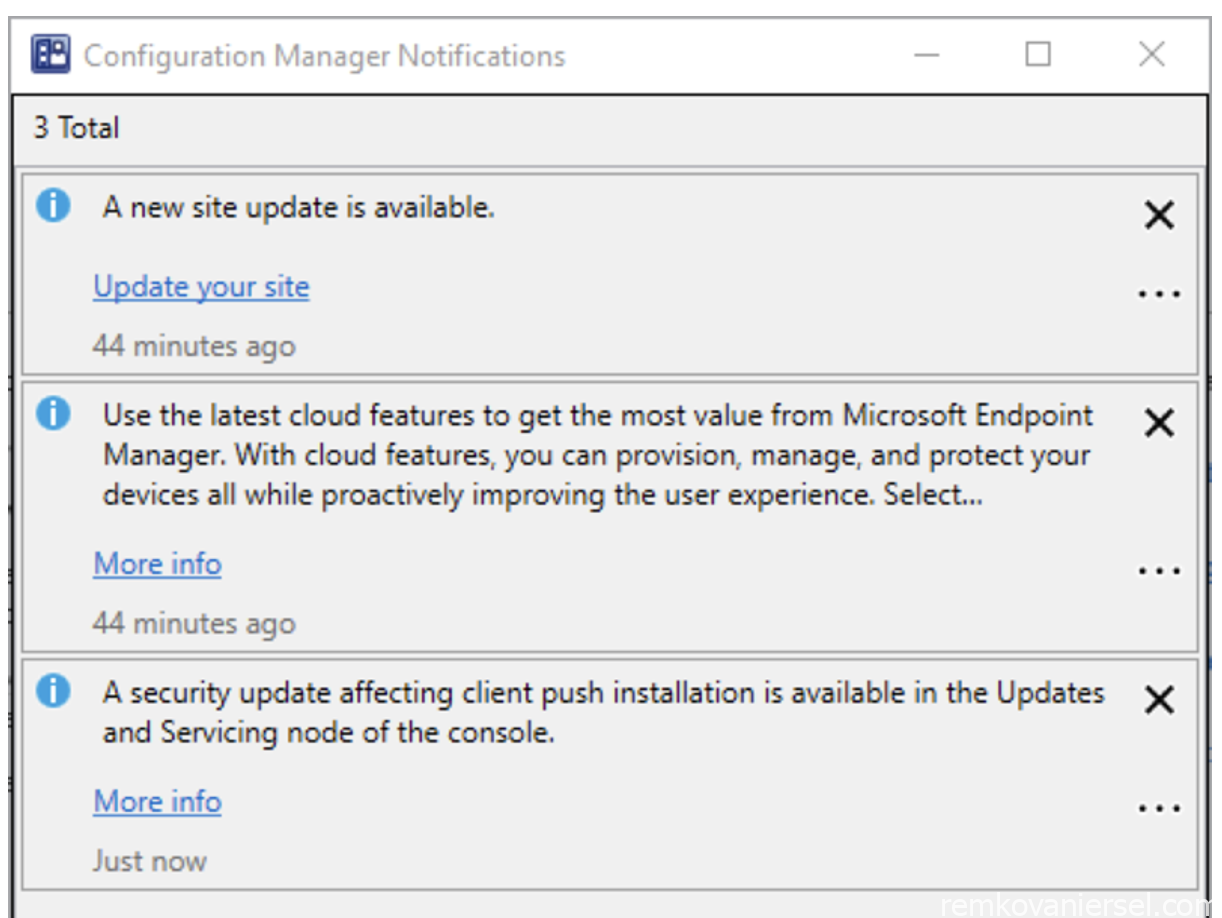
- Launch the MECM console (you might already receive a window notifying there are updates)
- Go to Administration > Update and Servicing

- Run the pre-request check for the MECM 2207 release
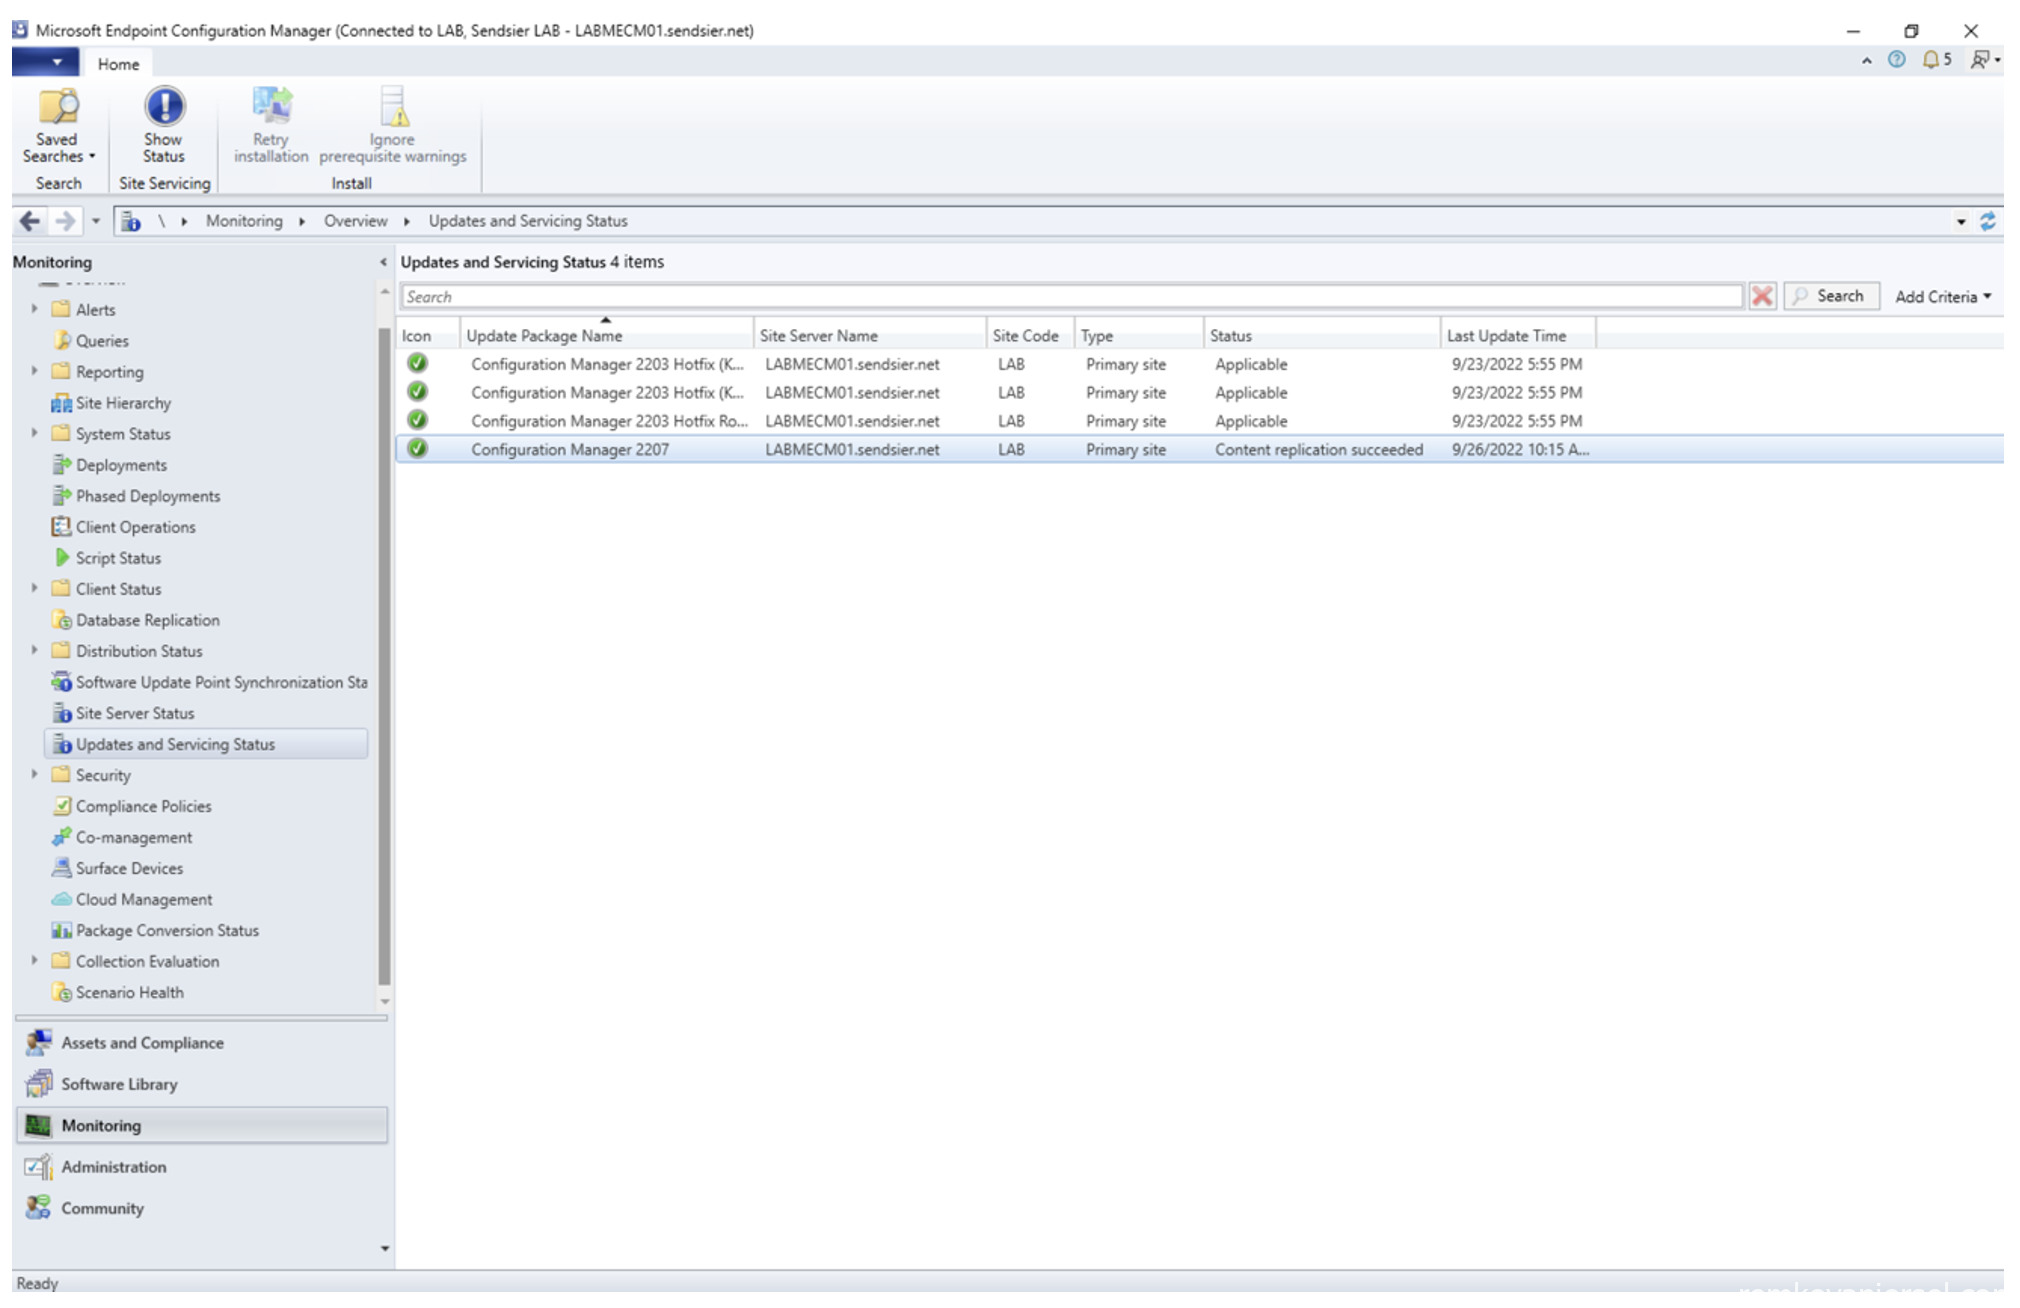
- Use Monitoring > Updates and Servicing Status to monitor the progress (click on Show Status)
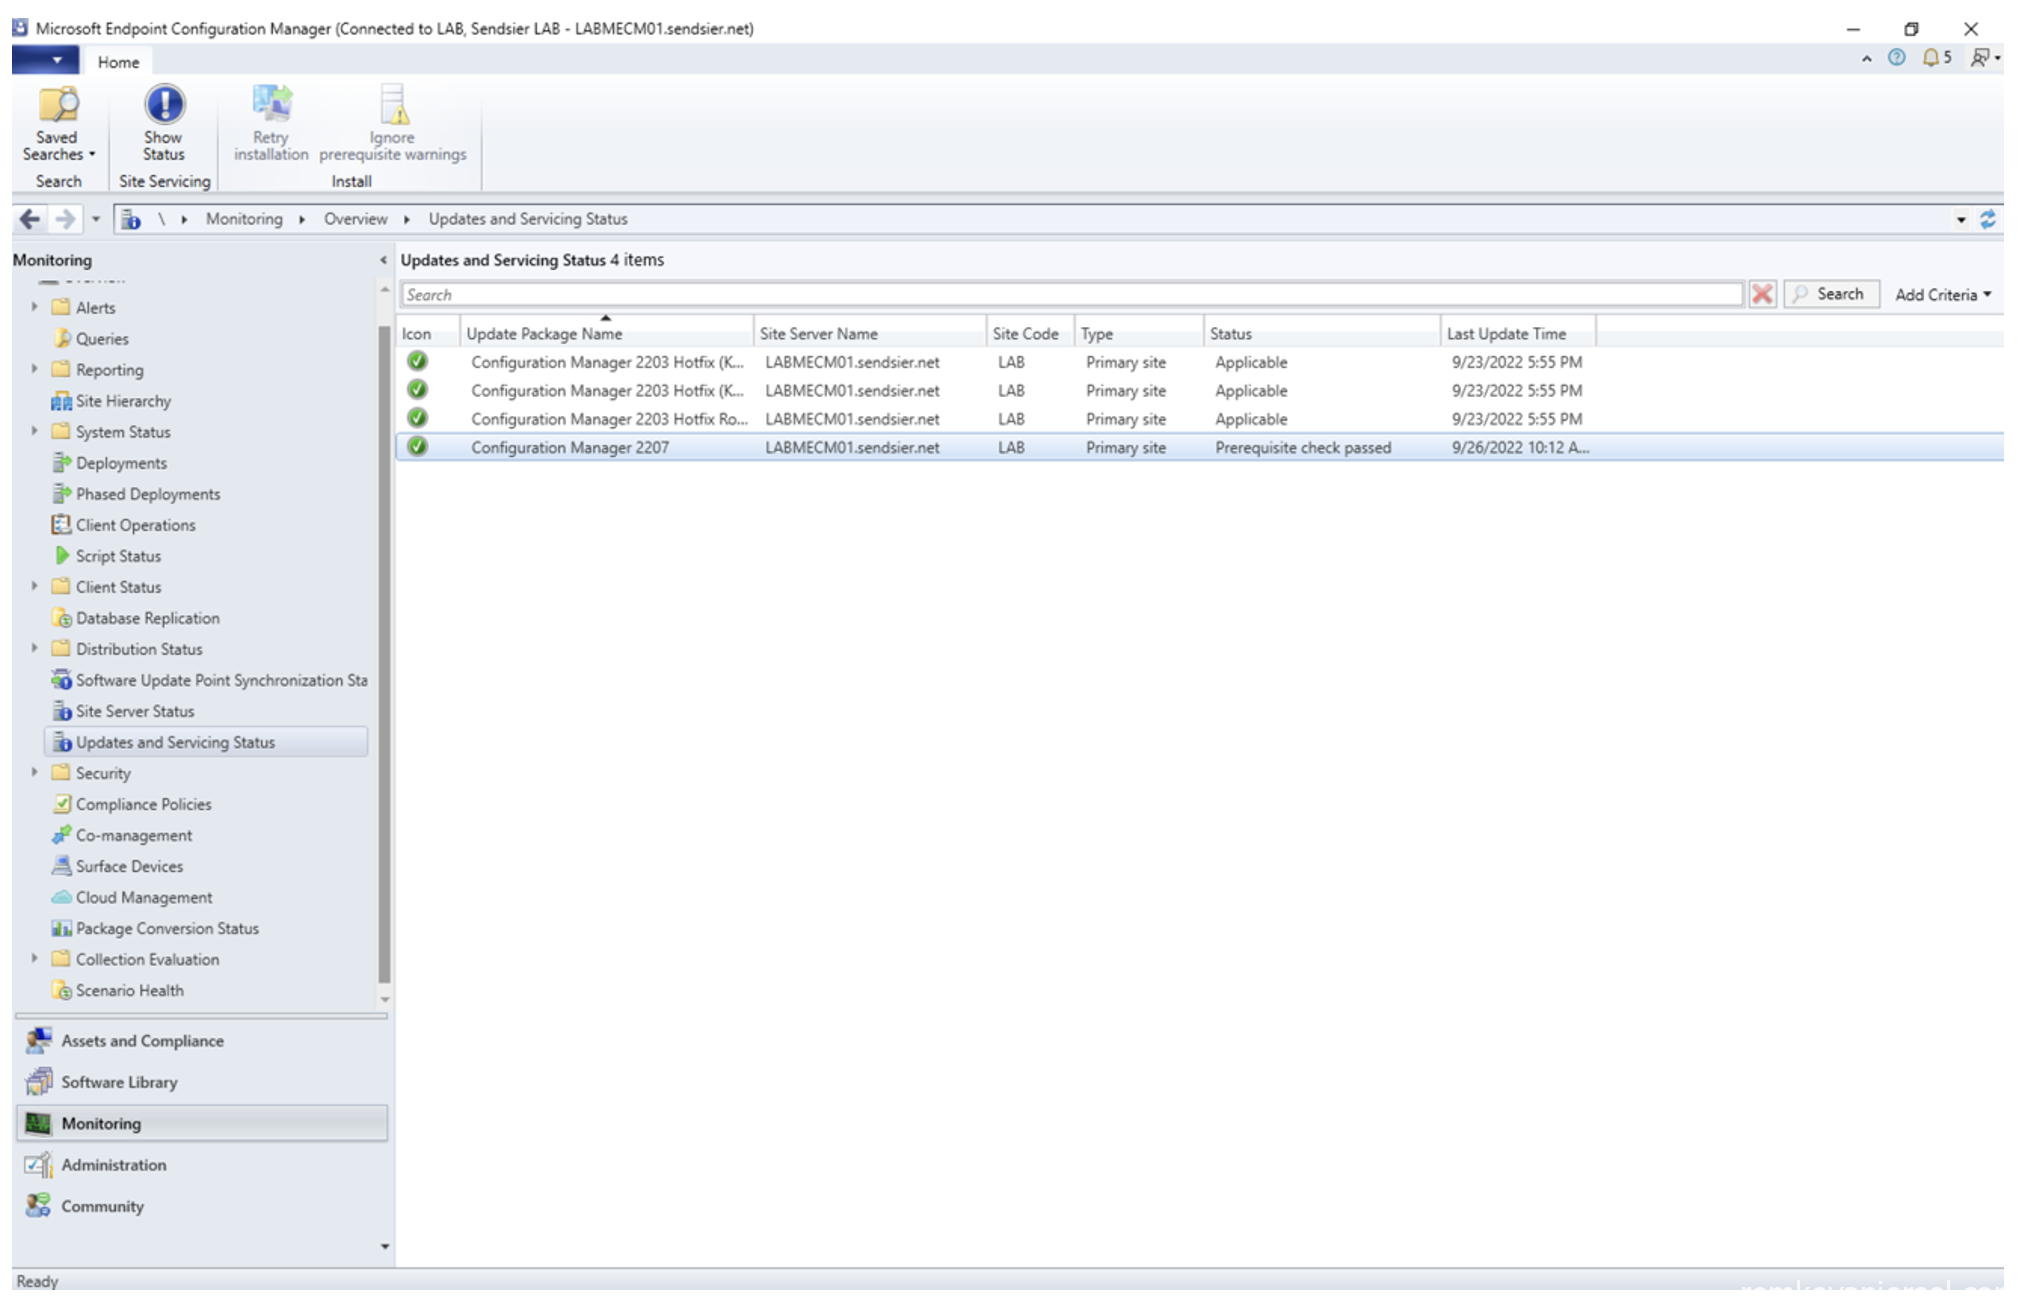
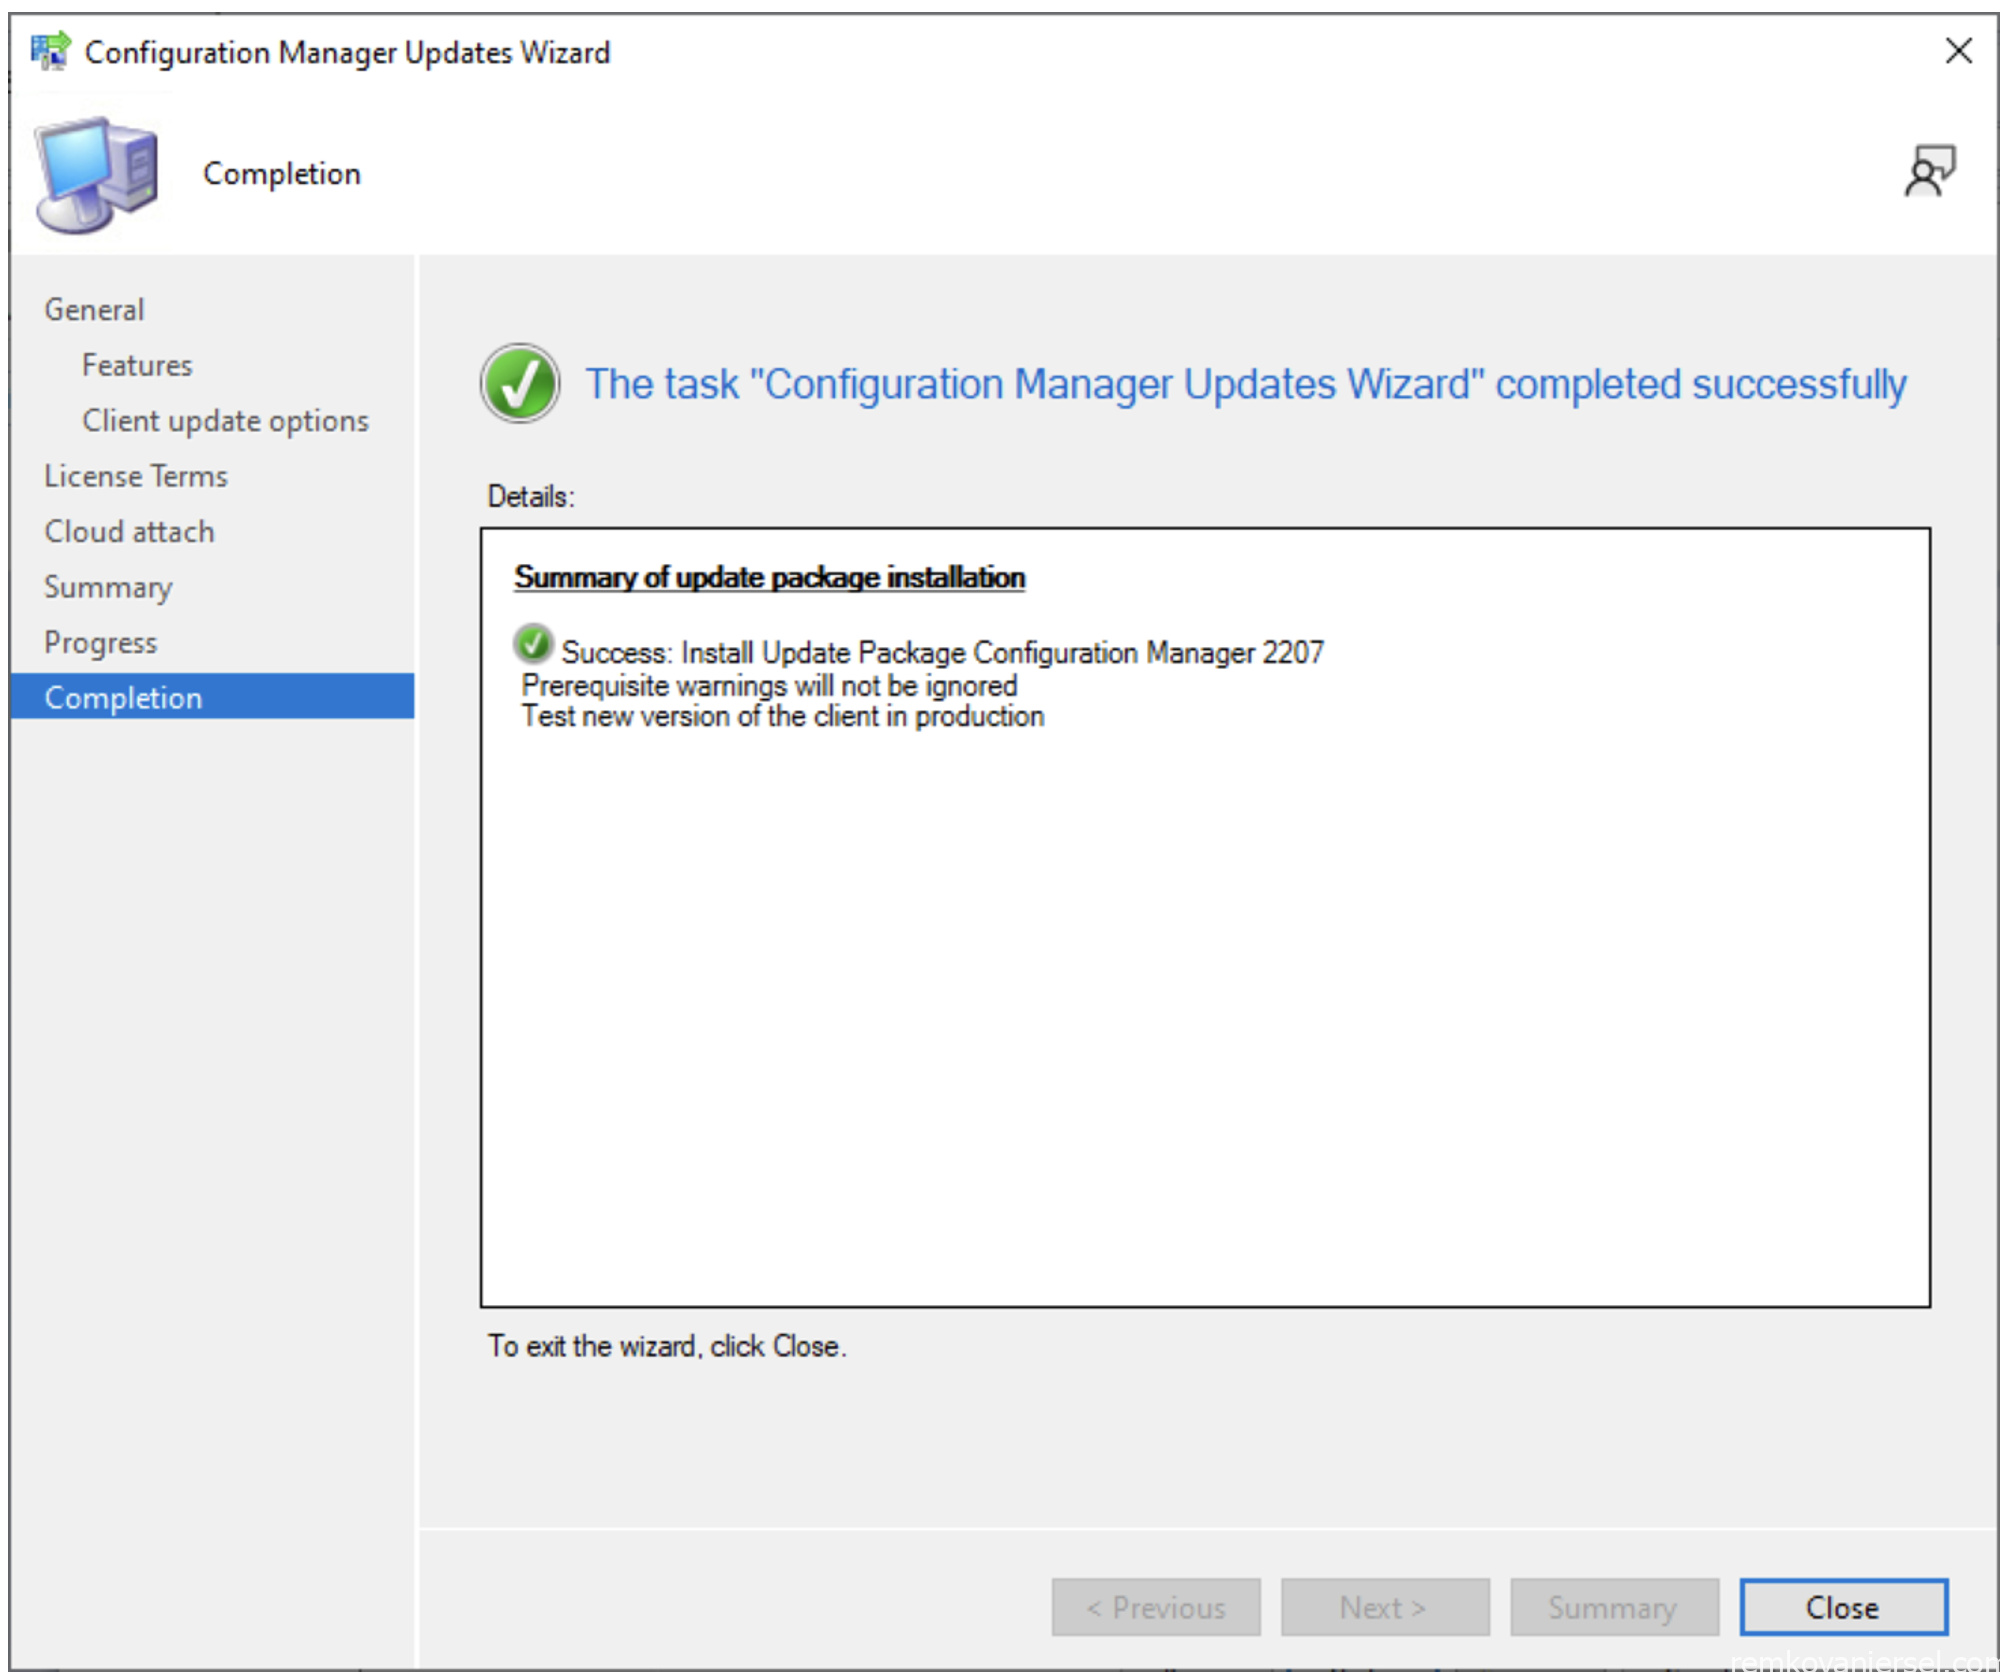
- After the pre-request check is done, run the update
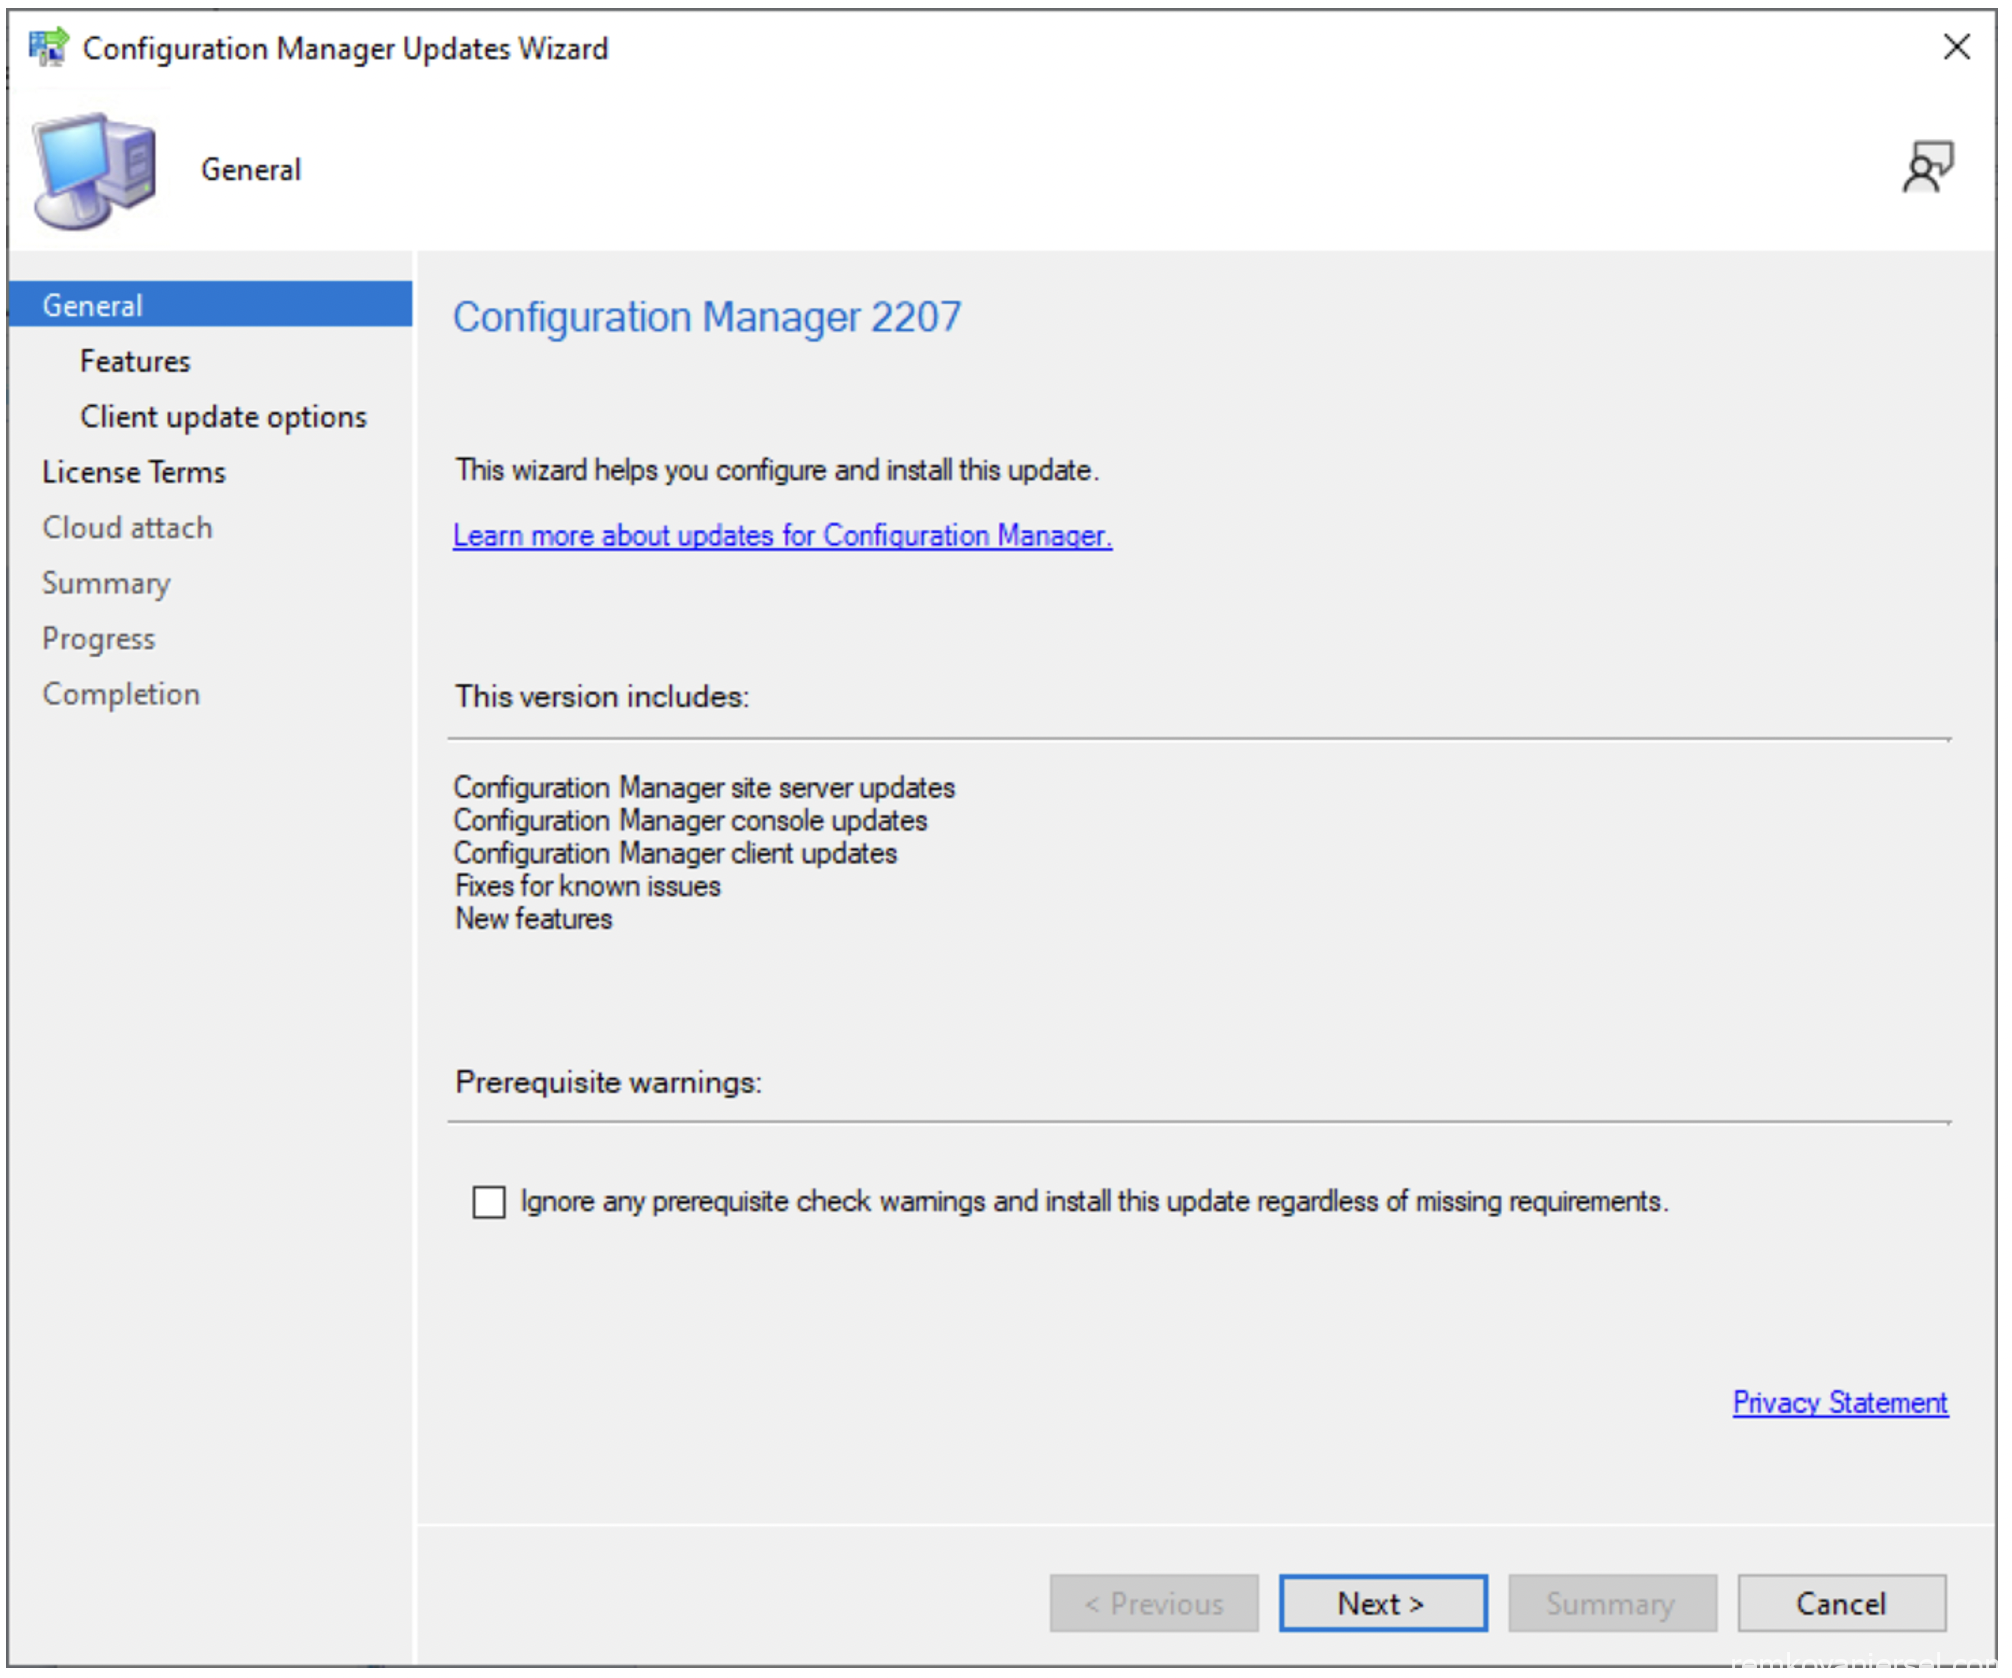
- Next
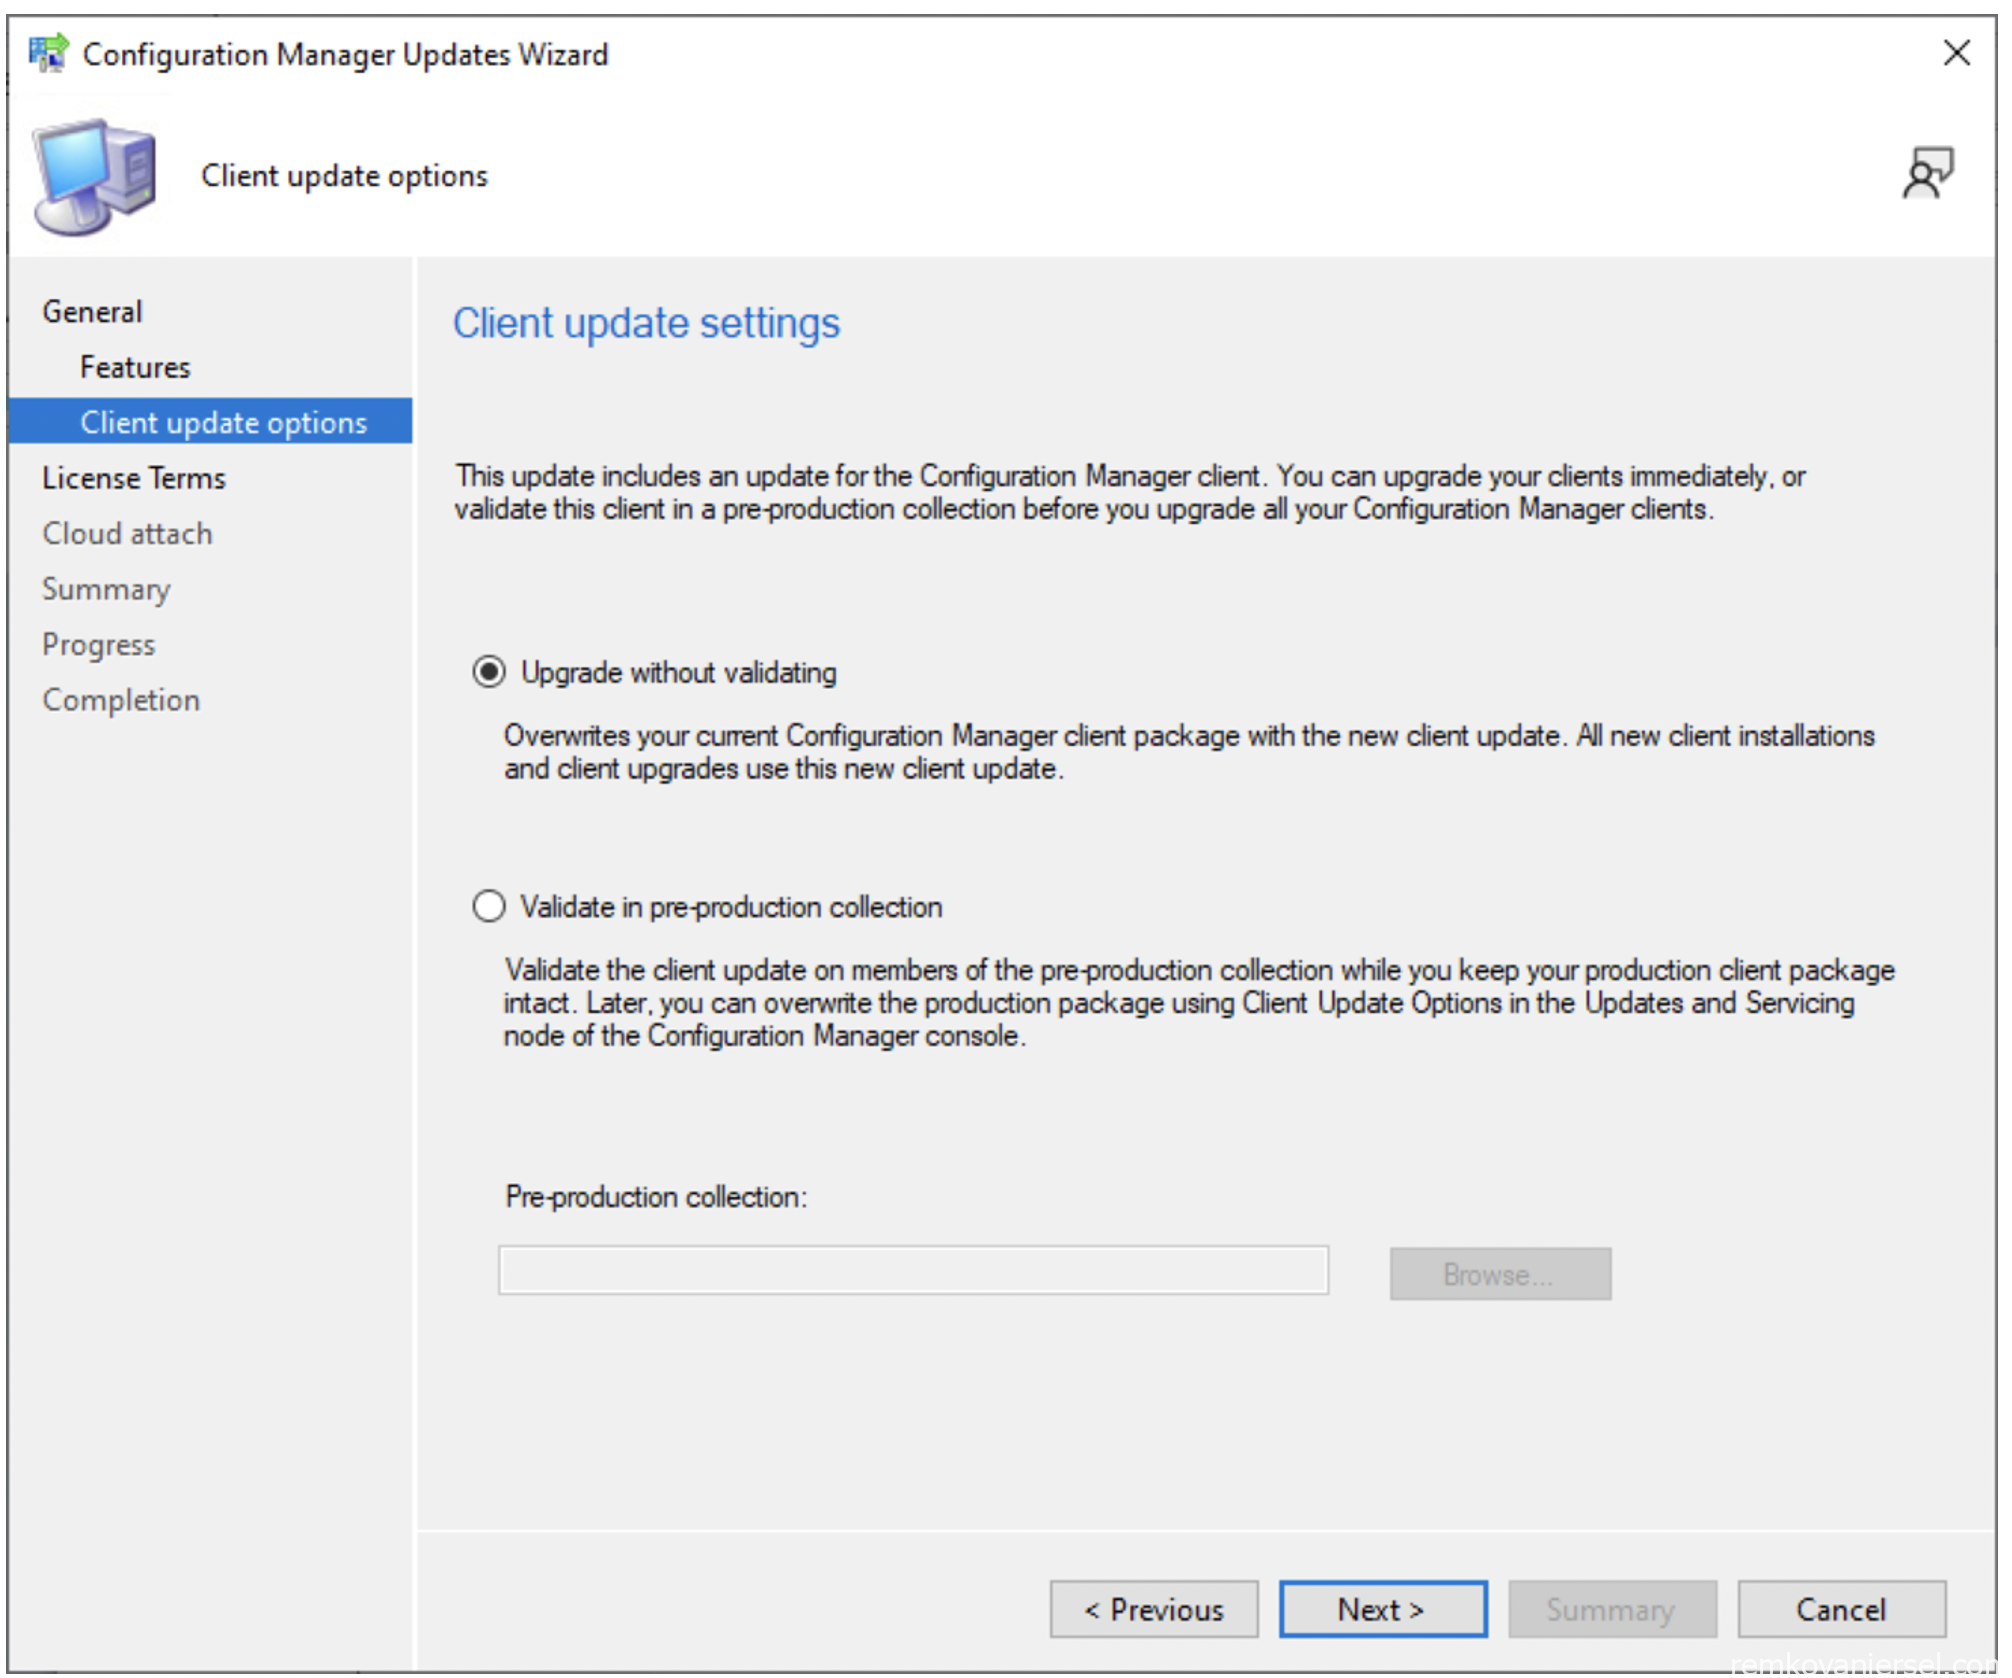
- Upgrade without validating (since this is a complete new MECM install)
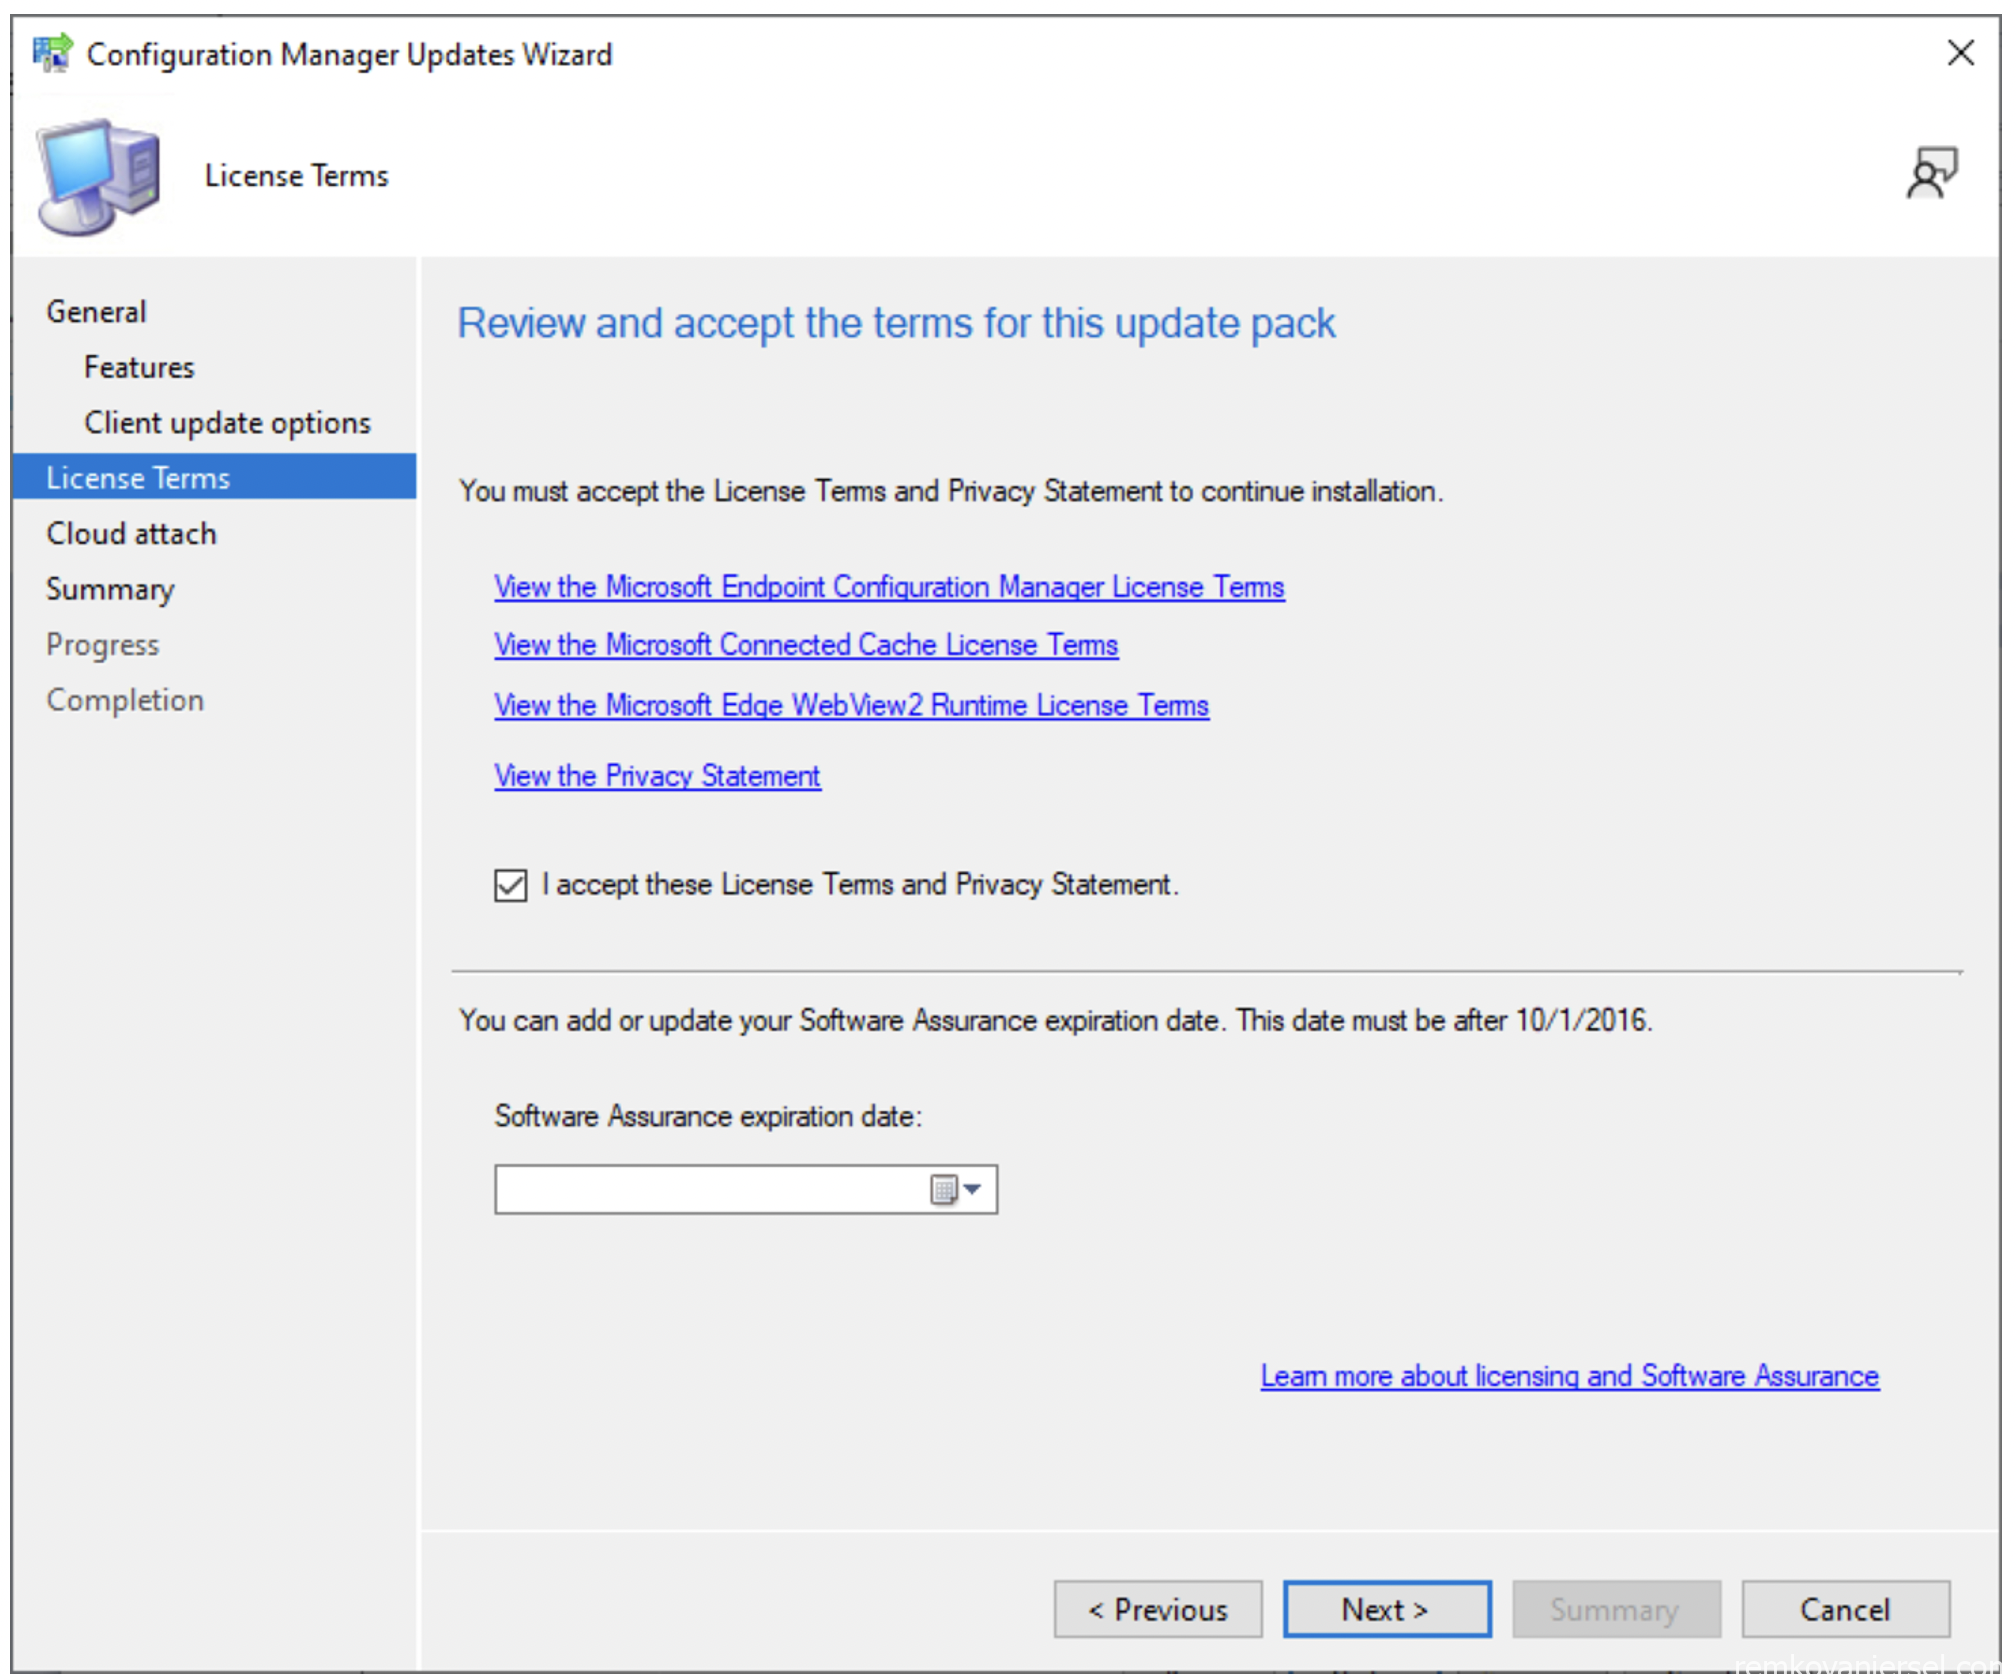
- Accept the terms
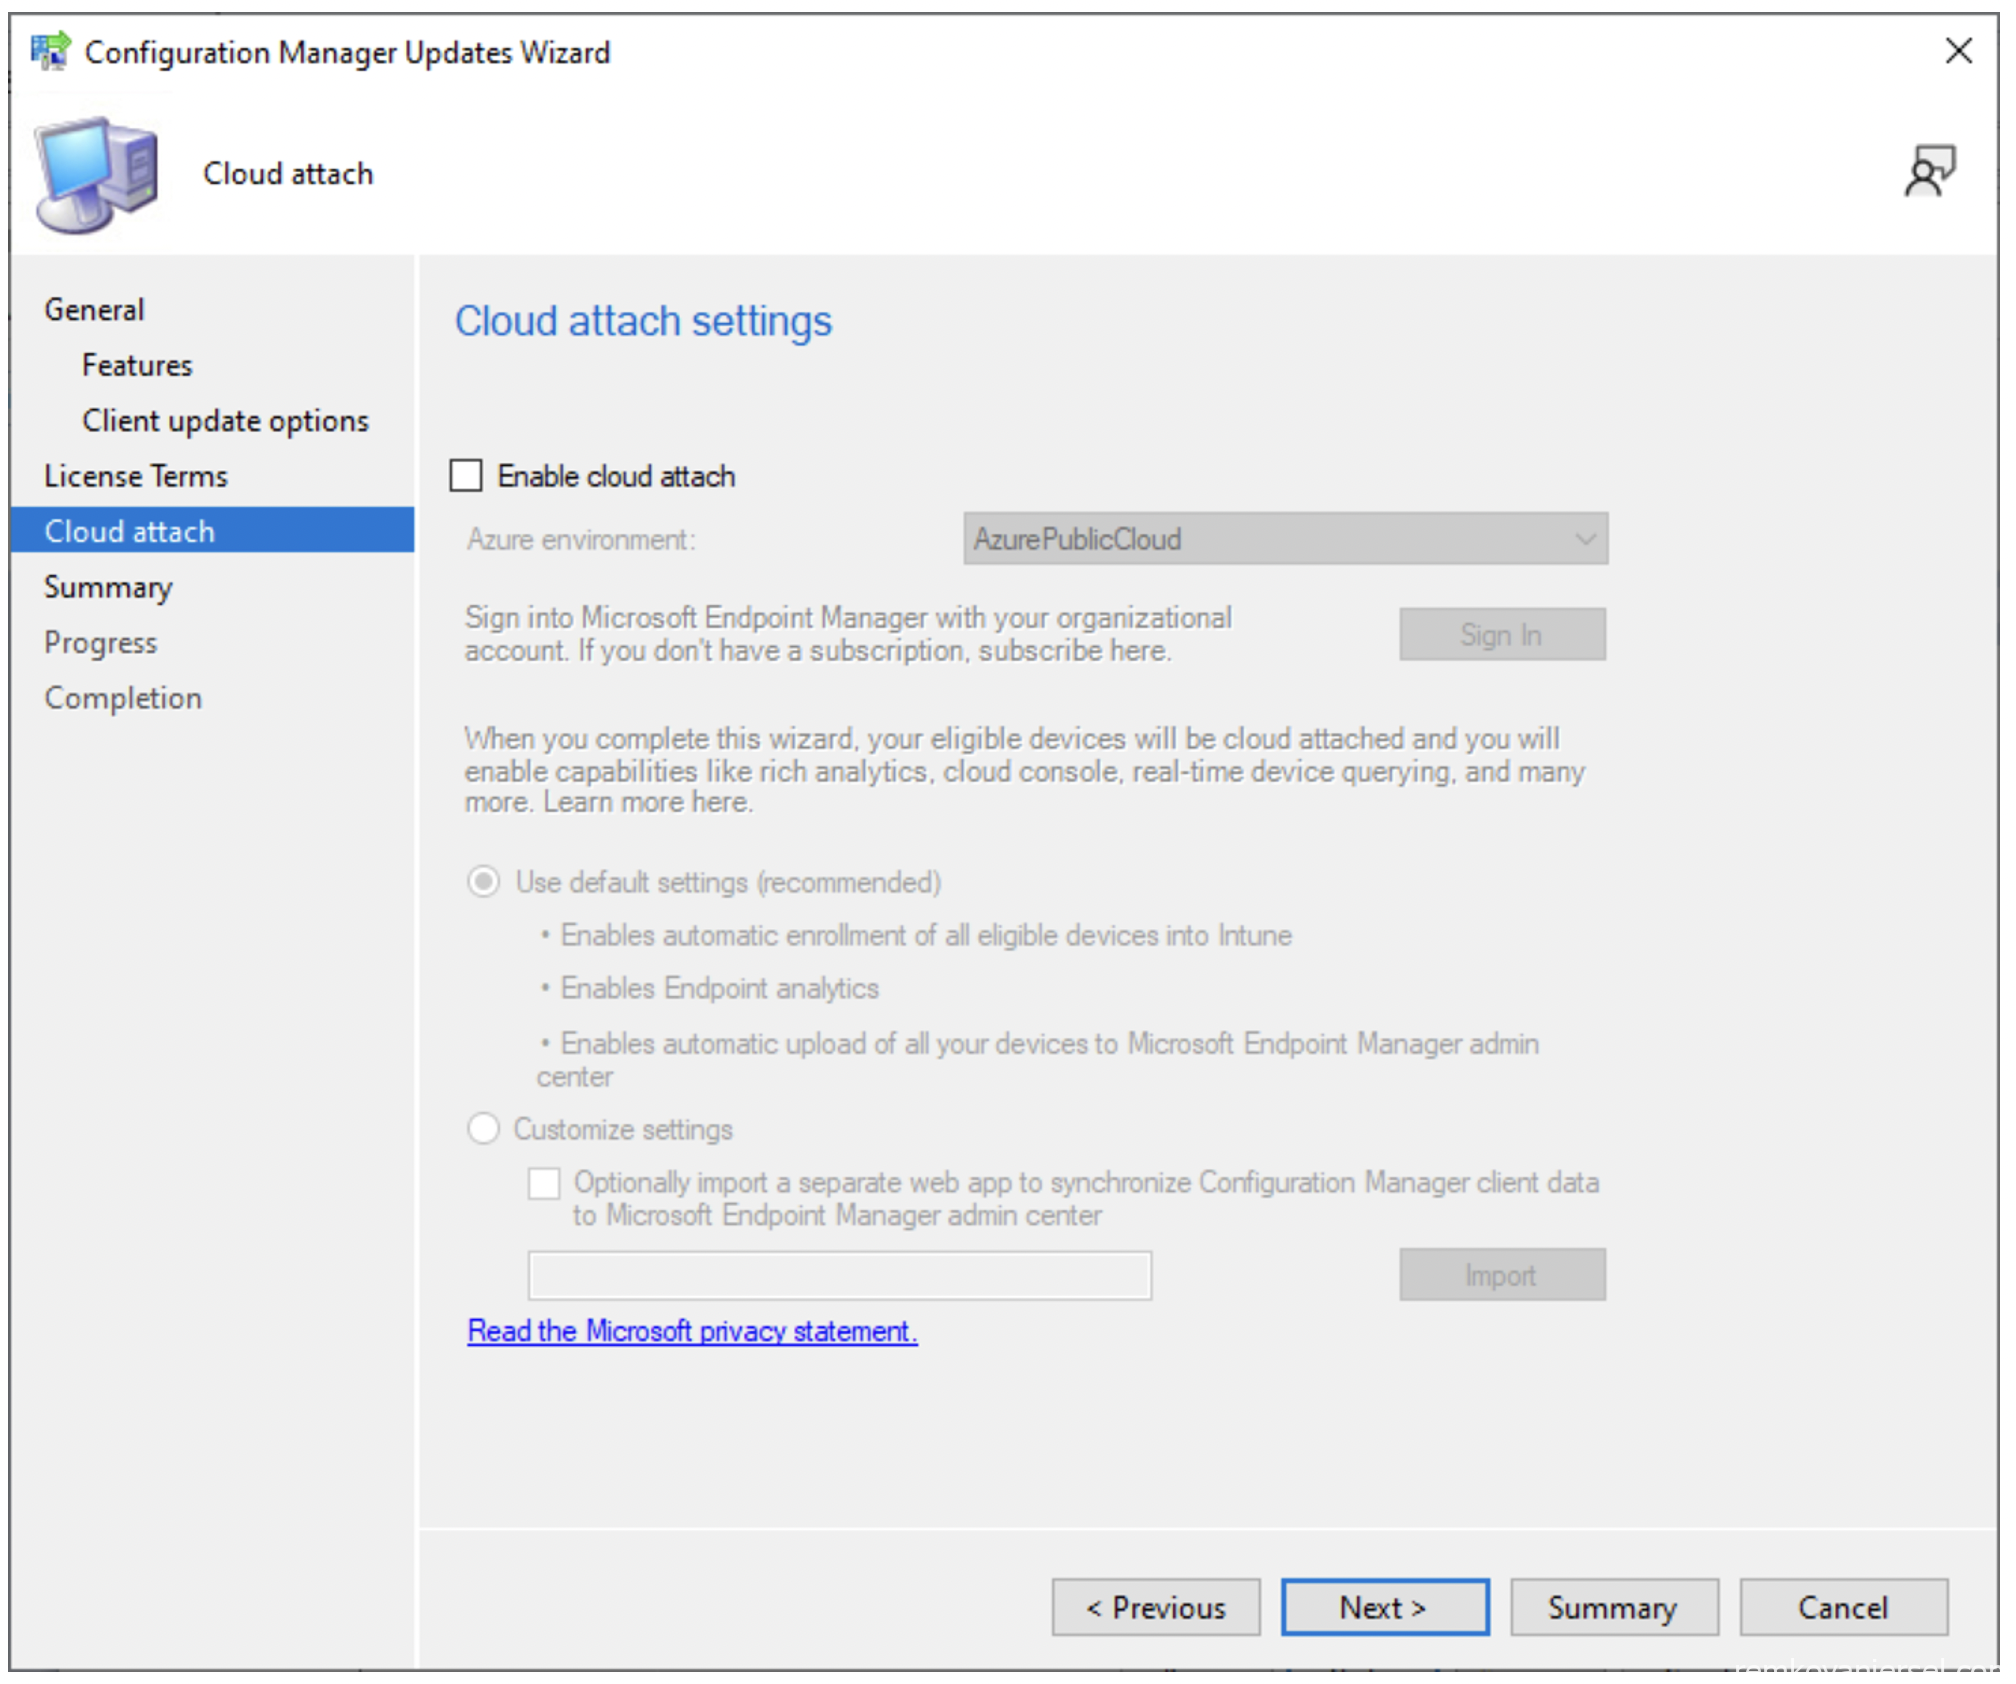
- Do not Enable cloud attach yet (see other MECM configuration steps)
- Next

- Close
- Monitor the status
- Update the MECM console to the next version via the yellow bar
- Start MECM console again, you might receive notifications that an update/hotfix is available. If it is a hotfix you need to check if this is applicable to your environment and setup
- Continue to Part 2 : Installation of a Root Authority for MECM with CMG