Announced on #Ignite 2023 the Gateway to Seamless Computing: The New Windows App for Windows 365 Cloud PC!
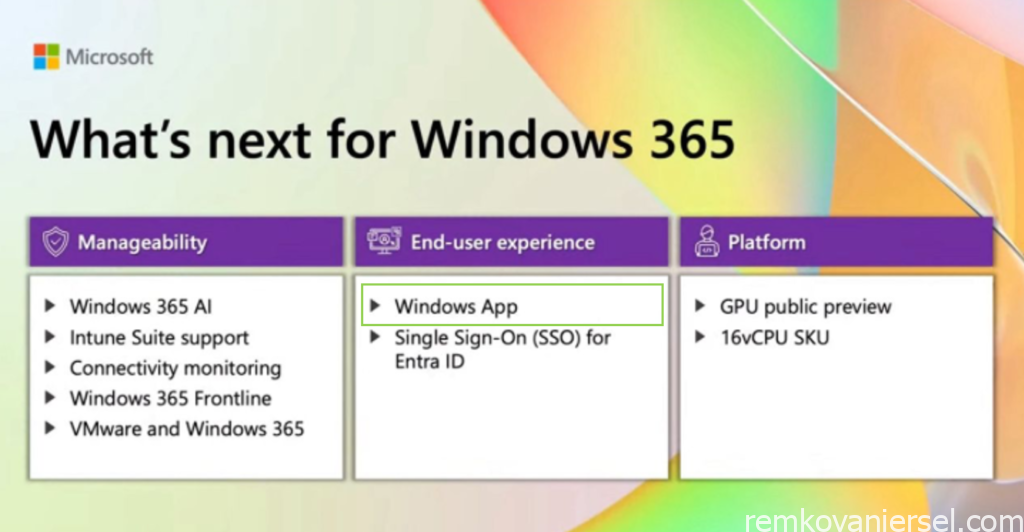
Table of Contents
Introduction
In an era where flexibility and mobility reign supreme, the need for a versatile computing experience has never been more pressing. Microsoft has been at the forefront of empowering users with innovative solutions, and the latest addition to their arsenal is the Windows App for Windows 365 Cloud PC.
This cutting-edge application serves as a gateway to a new realm of computing, offering users unparalleled accessibility and efficiency. Imagine having your entire Windows experience at your fingertips, accessible from any device, anywhere in the world. The Windows App for Windows 365 Cloud PC makes this a reality.
Designed to redefine productivity, this app seamlessly connects users to their personalized Windows desktops hosted in the cloud. It erases the limitations of hardware dependency, providing a consistent and powerful Windows experience across devices, whether it’s a laptop, tablet, or even a smartphone.
Curious to delve deeper into this transformative tool? Let’s explore its features, functionalities, and how it revolutionizes the way we interact with our digital environments. Let’s unlock the potential of a connected, fluid, and boundaryless computing experience with the Windows App for Windows 365 Cloud PC.
Ready to embark on this journey into the future of computing? Let’s dive into what the Windows App for Windows 365 Cloud PC has in store for users.
Installing on Windows
Prerequisites
Before you can connect to your Cloud PC from Windows, you need:
- Internet access.
- Your user account, and you’re assigned a Cloud PC by your administrator.
- A device running a supported version of:
- Windows 11
- Windows 10
Connect to your Cloud PC
To connect to your Cloud PC from Windows 365 on Windows, follow these steps:
- Download and install the latest version of Windows 365 in the Microsoft Store. Windows App is enabled with the Preview toggle within the Windows 365 app. When Windows 365 is installed, open it.

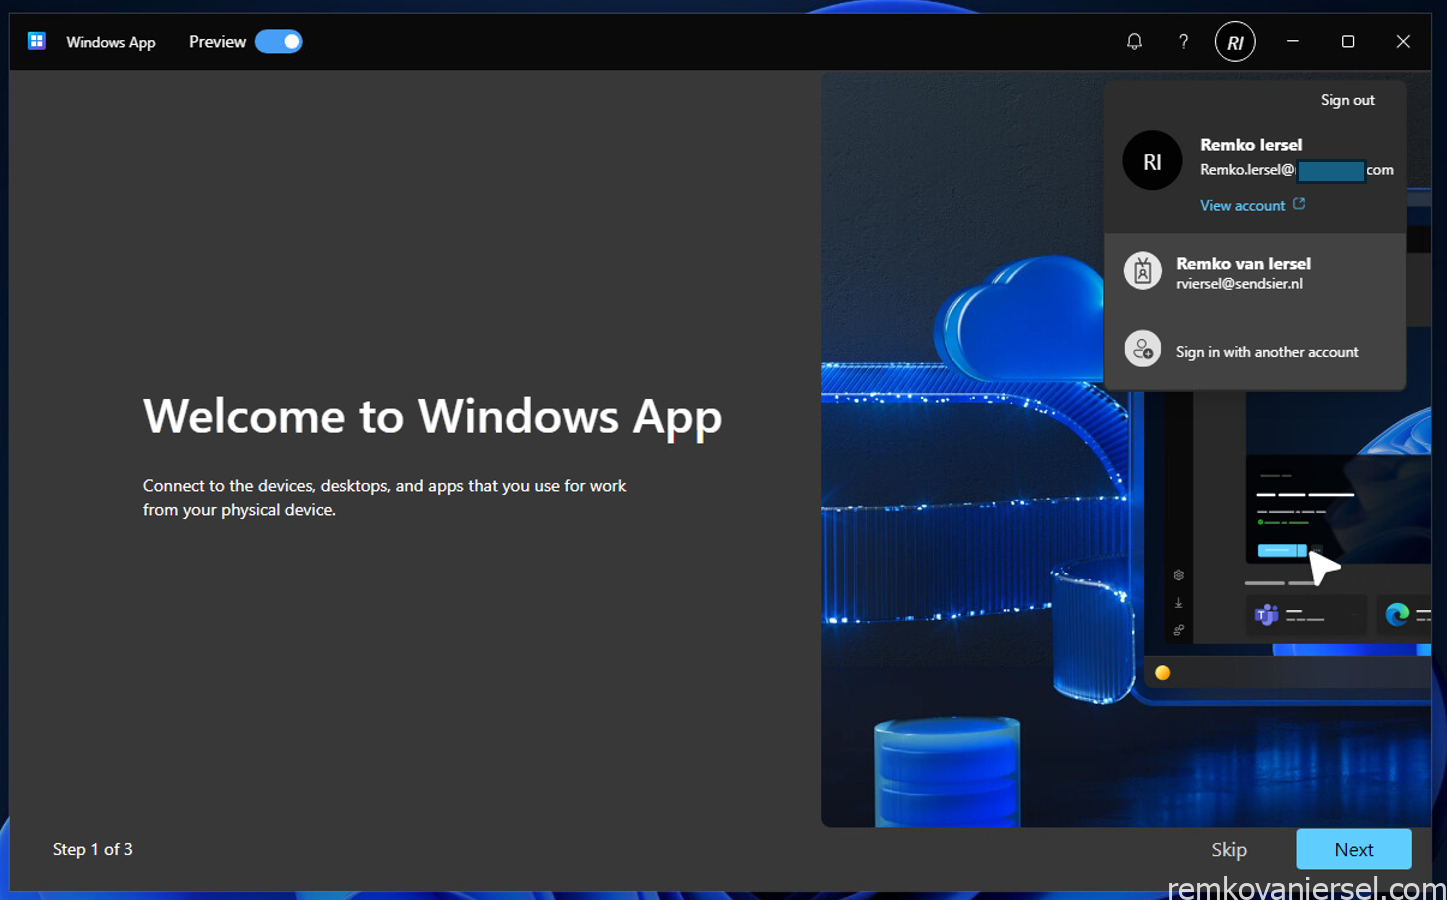
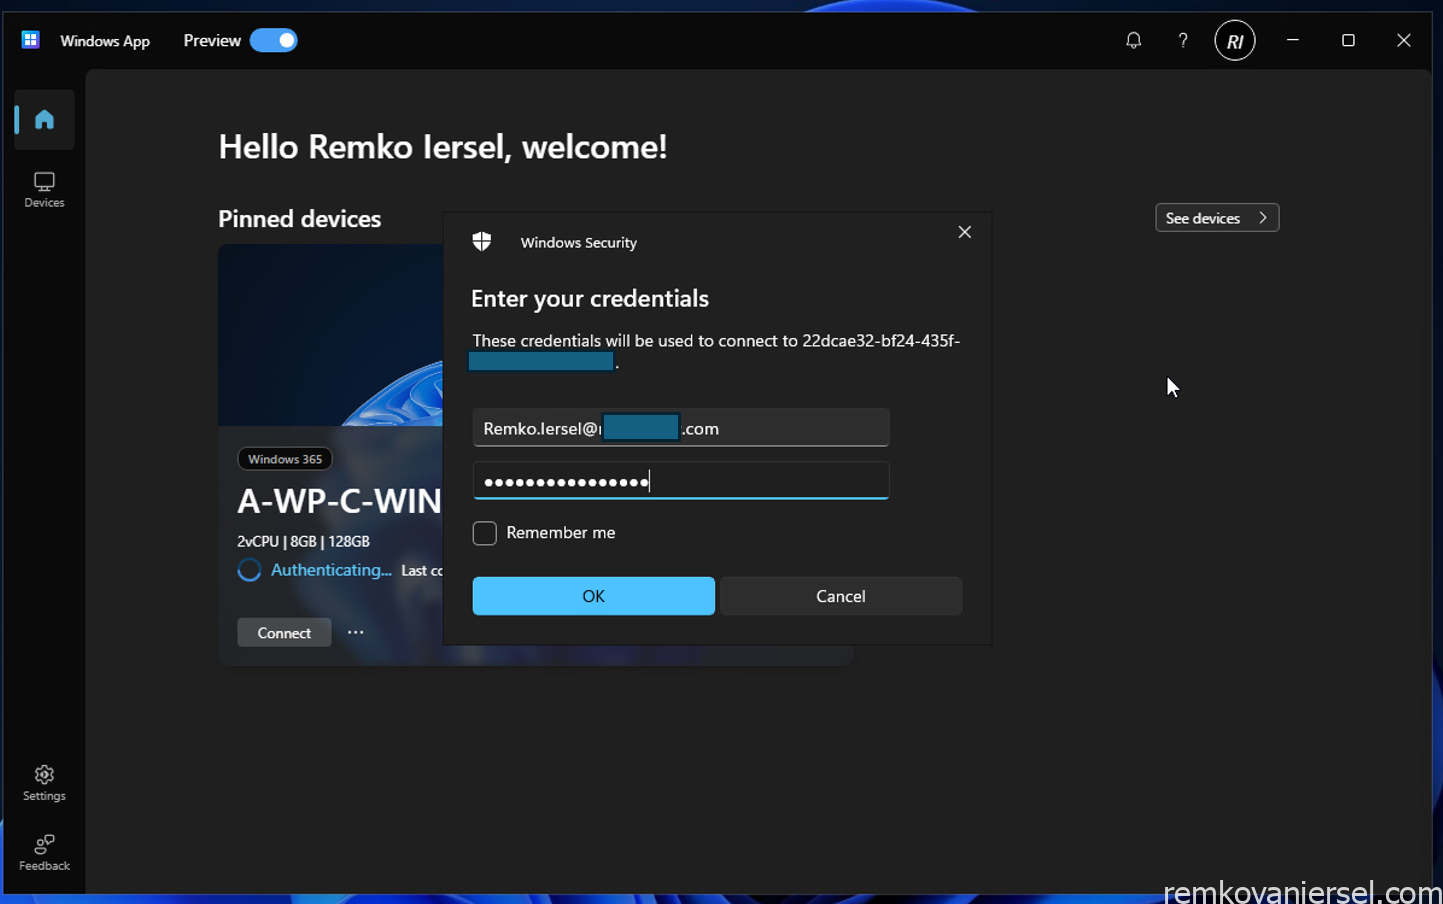
- Select Sign in and sign in with your user account. If you’re signed in to your local Windows device with a work or school account on a managed device, you’re signed in automatically.
In my testlab I had to logout first, and re-login using my other credential for another tenant in which I had CloudPC’s running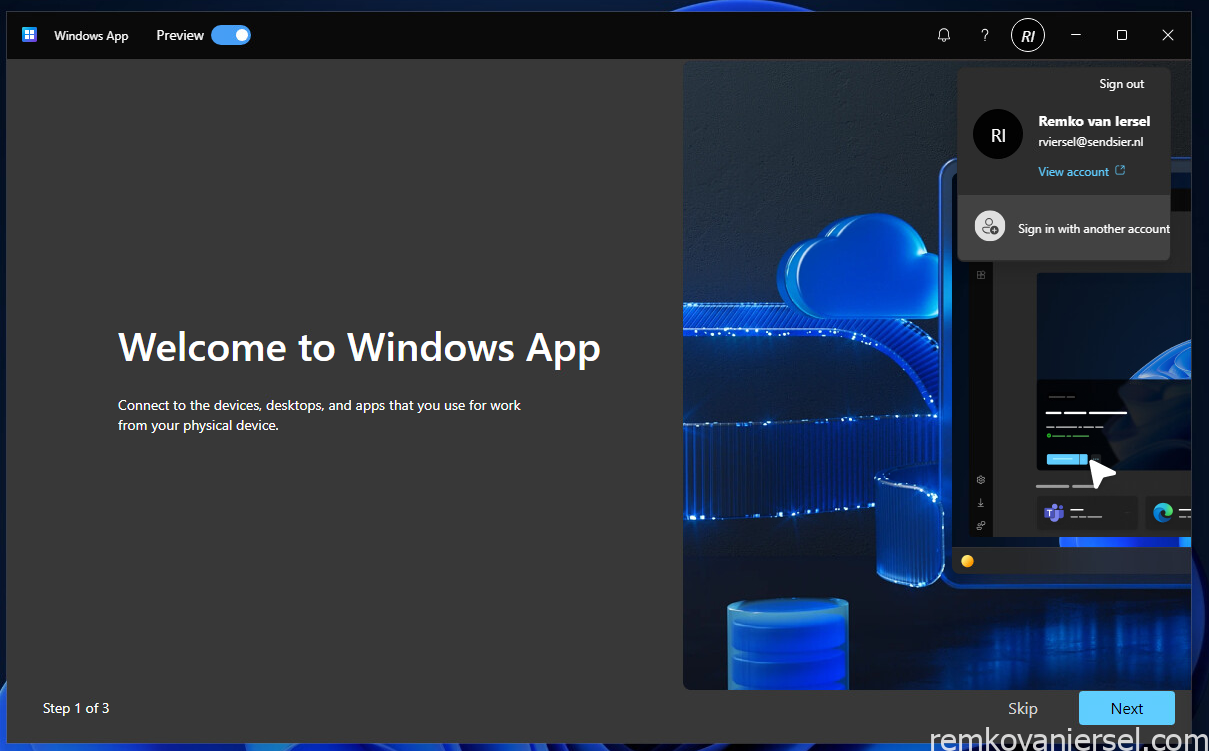
- If it’s your first time using Windows App, navigate through the tour to learn more about Windows App, then select Done, or select Skip.
- From the Home tab, select Go to devices to see your Cloud PCs from Windows 365, along with any other remote resources you have access to. If you don’t see any Cloud PCs, contact your administrator.
- Find the Cloud PC you want to connect to, then select Connect. You can use the filters to help you find what you want to connect to.
- Back to the Home tab, I can already see my CloudPC:
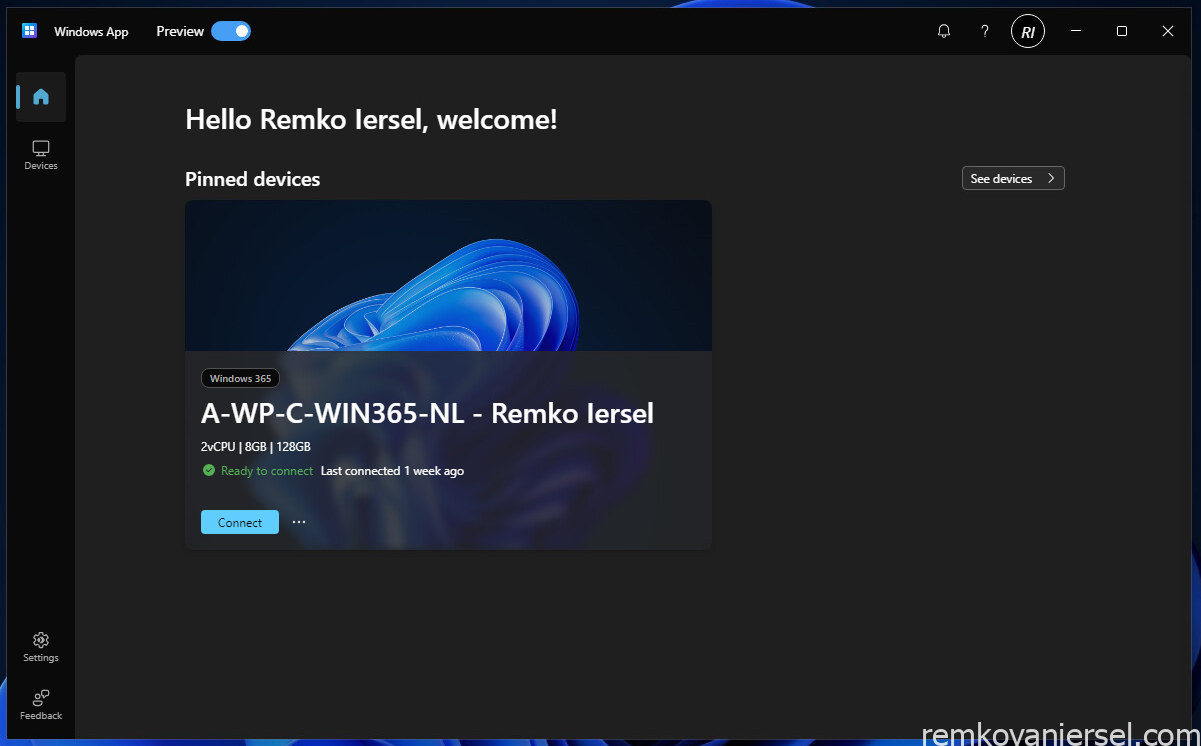
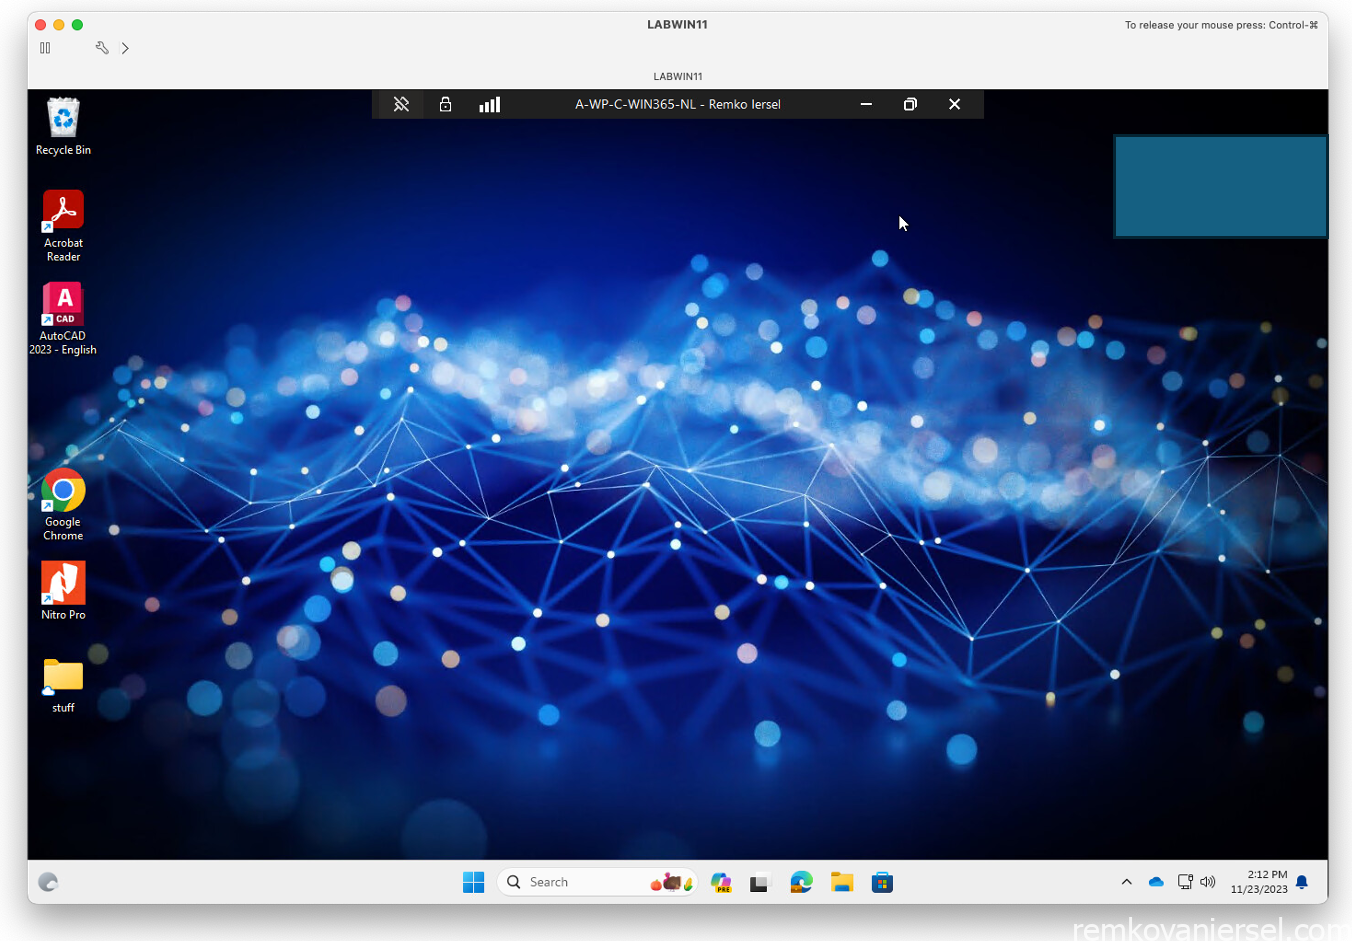
- Select Connect.
- Once the connection to your Cloud PC is complete, you’re ready to start using it.
Installing on macOS
Prerequisites
Before you can connect to your Cloud PC from macOS, you need:
- Internet access.
- Your user account, and you’re assigned a Cloud PC by your administrator.
- A device running macOS 12.0 or later.
Connect to your Cloud PC
To connect to your Cloud PC from Windows 365 on macOS, follow these steps:
- Download and install Windows App for macOS by going to Windows App in TestFlight and following the steps. When Windows App is installed, open it.
Note: During the preview, Microsoft is using TestFlight from Apple, which has a capacity limit. Participation is on a first-come, first-served basis. If you’re accepted into the preview from TestFlight, we might not be able to accommodate your availability for its full duration. As spaces are limited, we might rotate participants to reach a wider testing audience, so if there’s not capacity now, you may be able to join the preview at a later date.
Hence for now I cannot show your the installation process.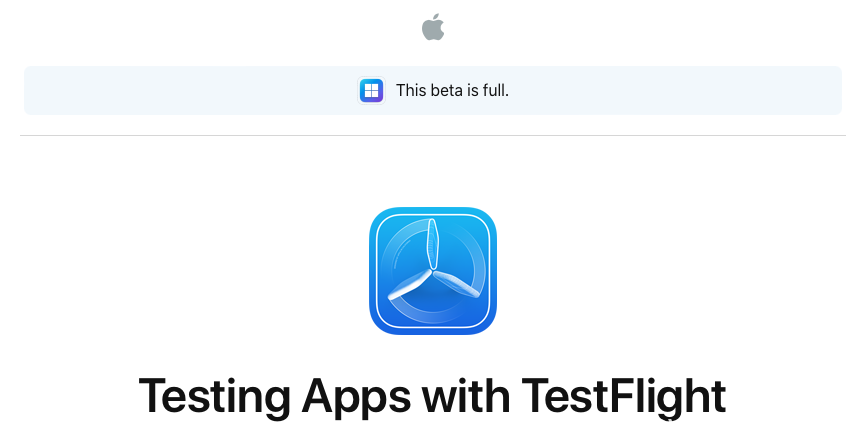
Although the steps should be as follows: - Select Sign in and sign in with your user account.
- If it’s your first time using Windows App, navigate through the tour to learn more about Windows App, then select Done, or select Skip.
- From the Home tab, select Go to devices to see your Cloud PCs from Windows 365, along with any other remote resources you have access to. If you don’t see any Cloud PCs, contact your administrator.
- Find the Cloud PC you want to connect to, then select Connect. You can use the filters to help you find what you want to connect to.
- Once the connection to your Cloud PC is complete, you’re ready to start using it.
text