This post will describe how you setup Intune (MEM) via Autopilot.
Table of Contents
Pre-requisites
Make sure you have checked the following things:
- Supported configurations are checked
For this guide we are going to use and show Windows 11 - You have a subscription with Intune licenses
Setup basics
Domain DNS TXT records
Configure the domain name and required DNS TXT records.
You can follow the steps described on https://learn.microsoft.com/en-us/mem/intune/fundamentals/custom-domain-name-configure
User and licenses
Create a test user on your on-prem AD environment.
We need a AD users, as we want to create a co-managed MECM environment, on which we want to publish MECM application to AD groups of which this user is going to be member of.
If we would have created a native AAD user this will not work.
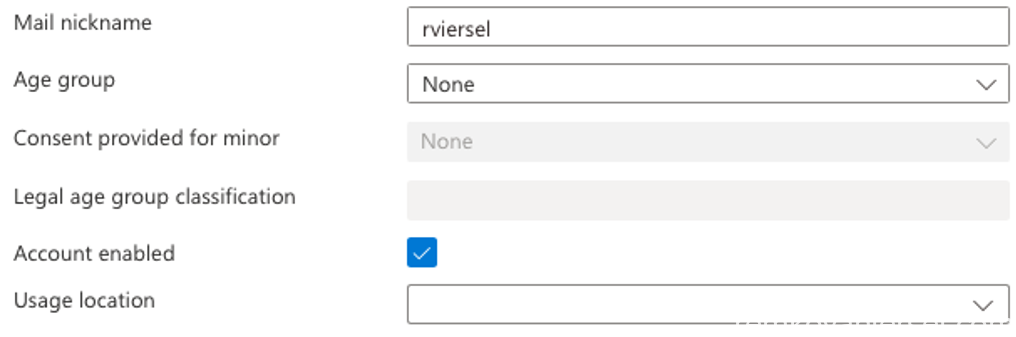
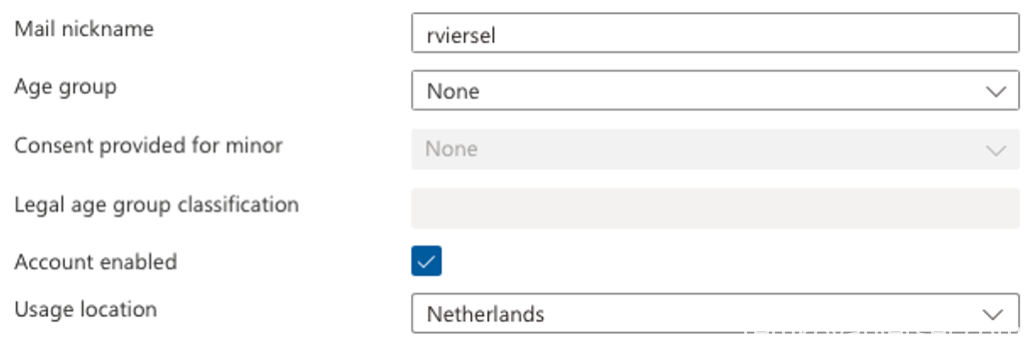
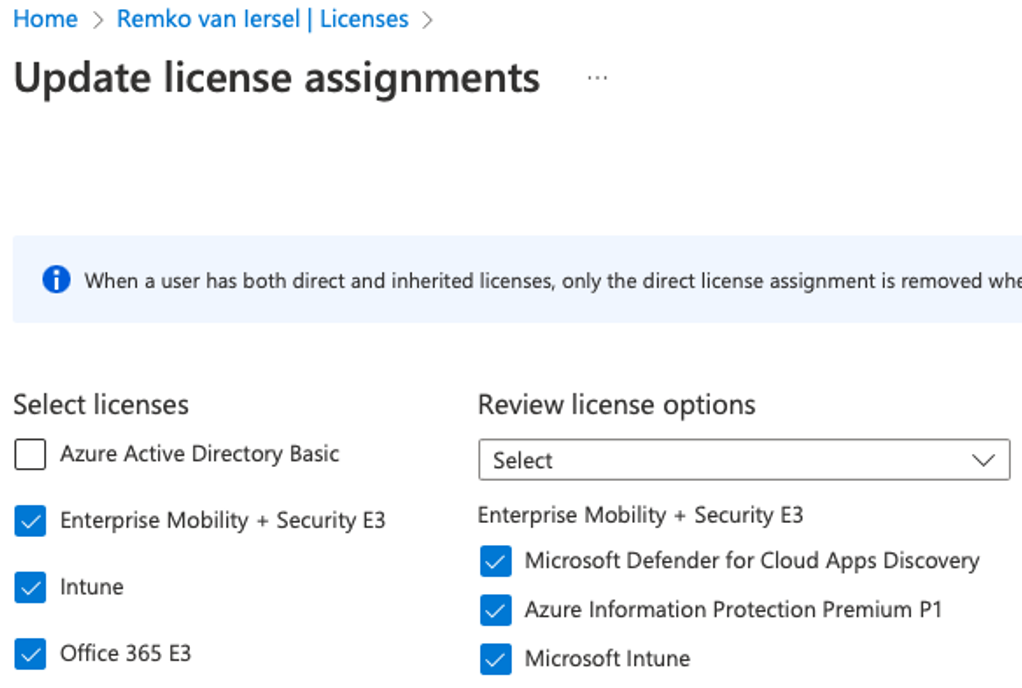
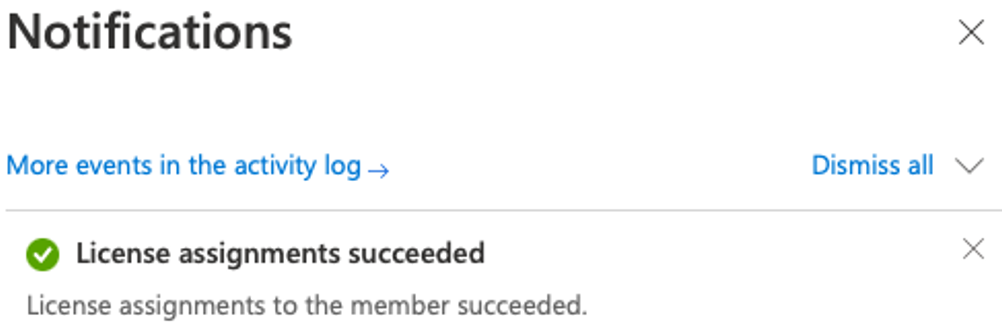
Assign a location to the user and make sure you assign the following license to this user to get a working Intune Autopilot setup with Office for the user:
- Enterprise Mobility + Security E3
- Intune
- Office 365 E3
MDM Authority
If you just started with Azure and Intune you can skip this step, otherwise if you have a older tenant version (pre-1911) follow the steps on https://learn.microsoft.com/en-us/mem/intune/fundamentals/mdm-authority-set#set-mdm-authority-to-intune
Enable device enrollment
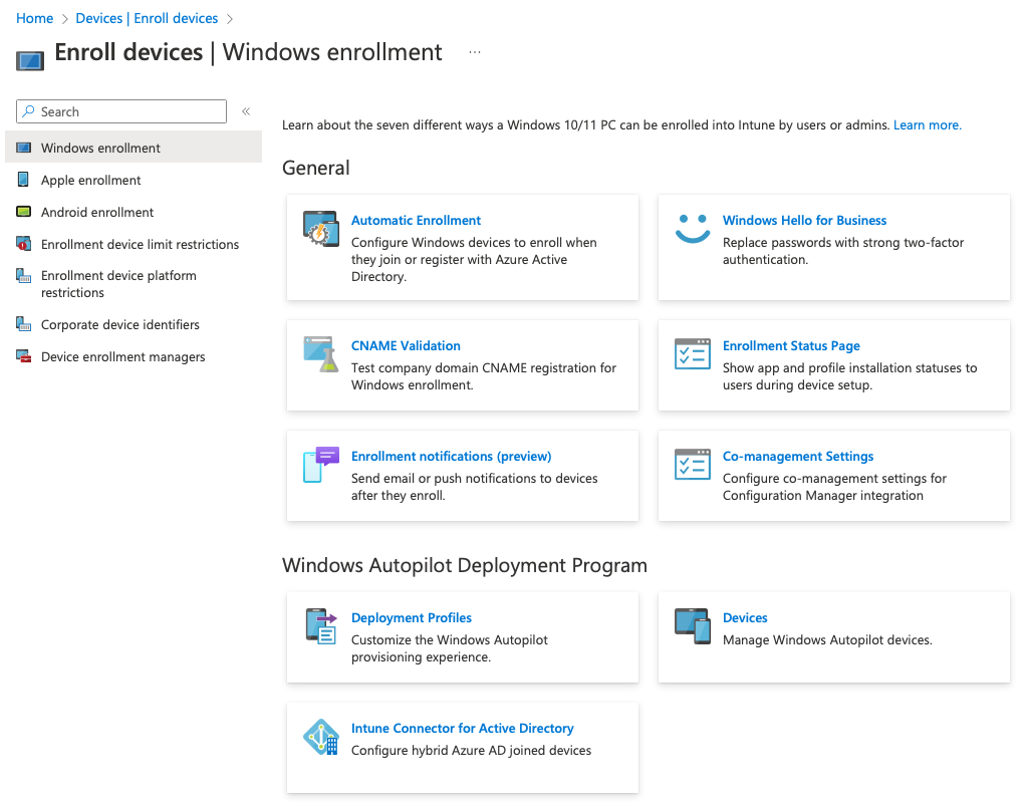
In the Intune portal go to Devices > Enroll Devices > Windows enrollment > Automatic Enrollment
Change the MDM user scope from None to All


Click [Save]
Autopilot
We want use autopilot so that devices which we add to the Autopilot database based on their hardware hash, get automatically enrolled into our Intune tenant and got all the applicable Intune profiles (policies) and applications installed for that device based on AAD Dynamic group memberships which we dynamically add via the Autopilot group tag.
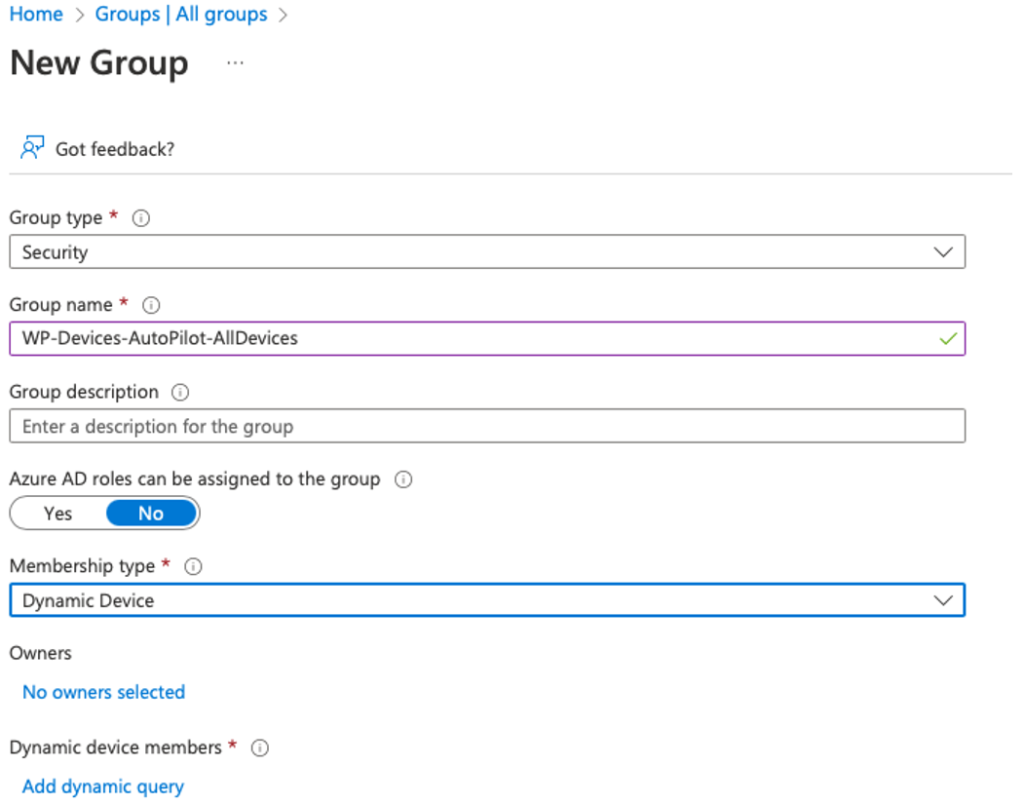
Create Dynamic AAD groups for Autopilot devices
First create a AAD group “WP-Devices-AutoPilot-AllDevices”
Change the Membership type to Dynamic Device
Click on Add dynamic query and copy/paste the following query under Rule syntax (Edit):
(device.devicePhysicalIDs -any _ -contains "[ZTDId]")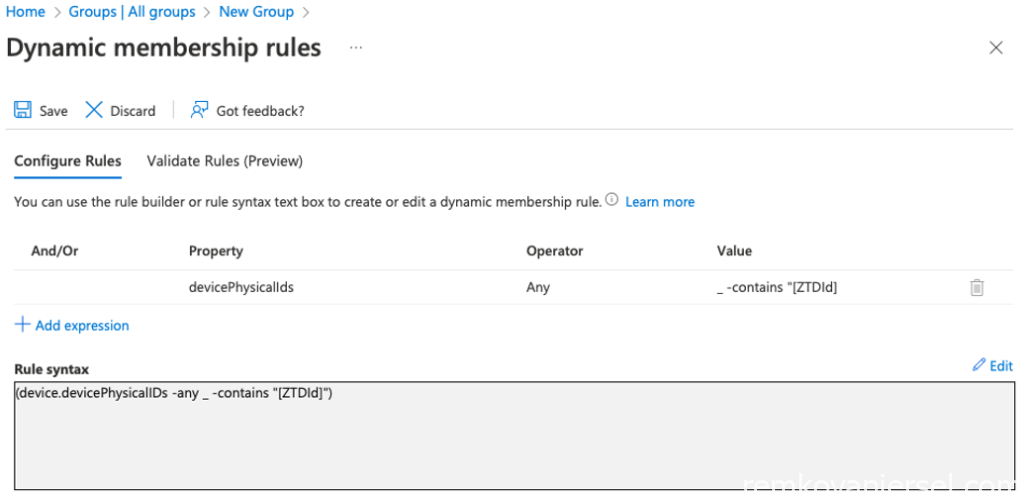
[Save] and [Close]
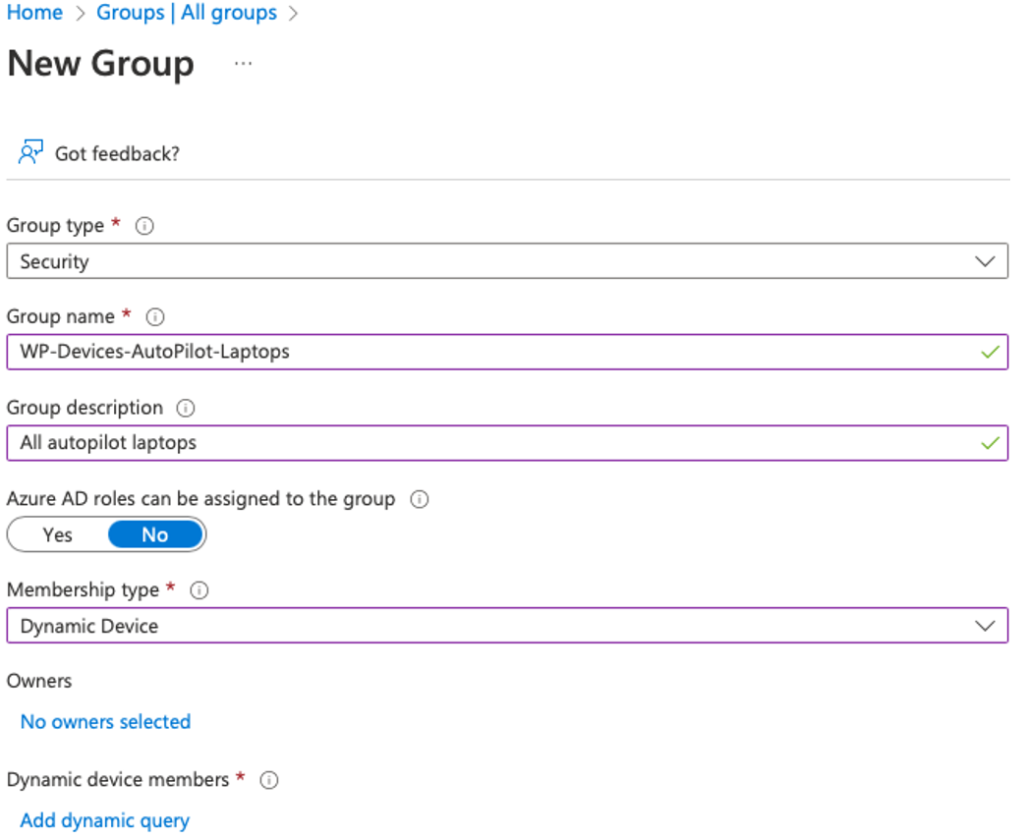
Secondly create a AAD group “WP-Devices-AutoPilot-Laptops” which we will need for the Deployment Profile
Change the Membership type to Dynamic Device
Click on Add dynamic query and copy/paste the following query under Rule syntax (Edit):
(device.devicePhysicalIds -any (_ -match ".OrderId.:WP-.-LP"))
[Save] and [Create]
Create a Enrollment Status Page (ESP)
In the Intune portal go to Devices > Enroll devices > (General) > Enrollment Status Page
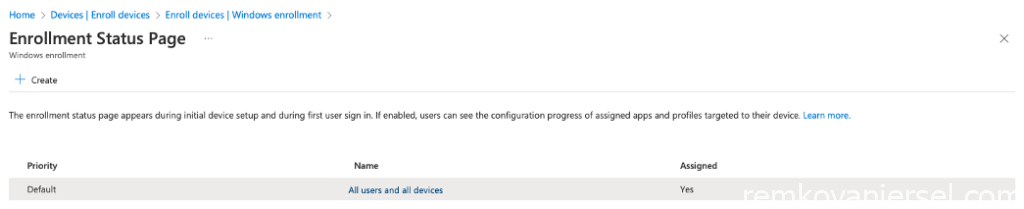
Click on [+ Create]
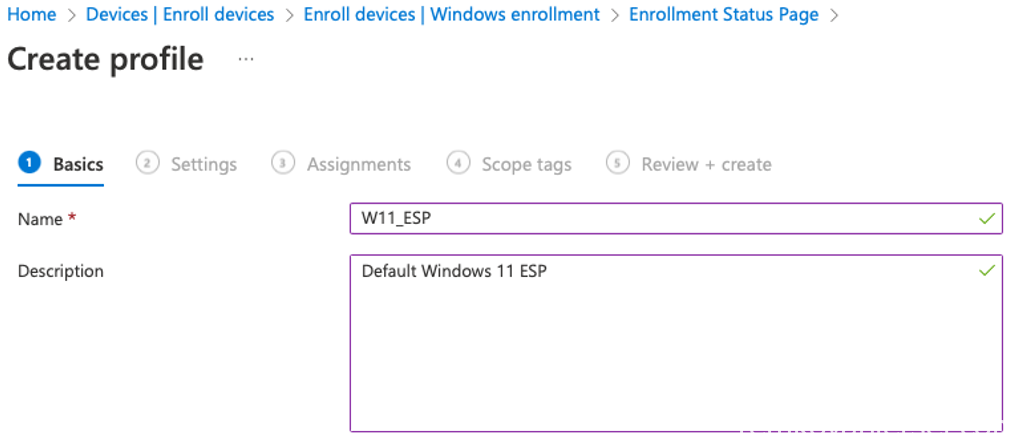
[Next]
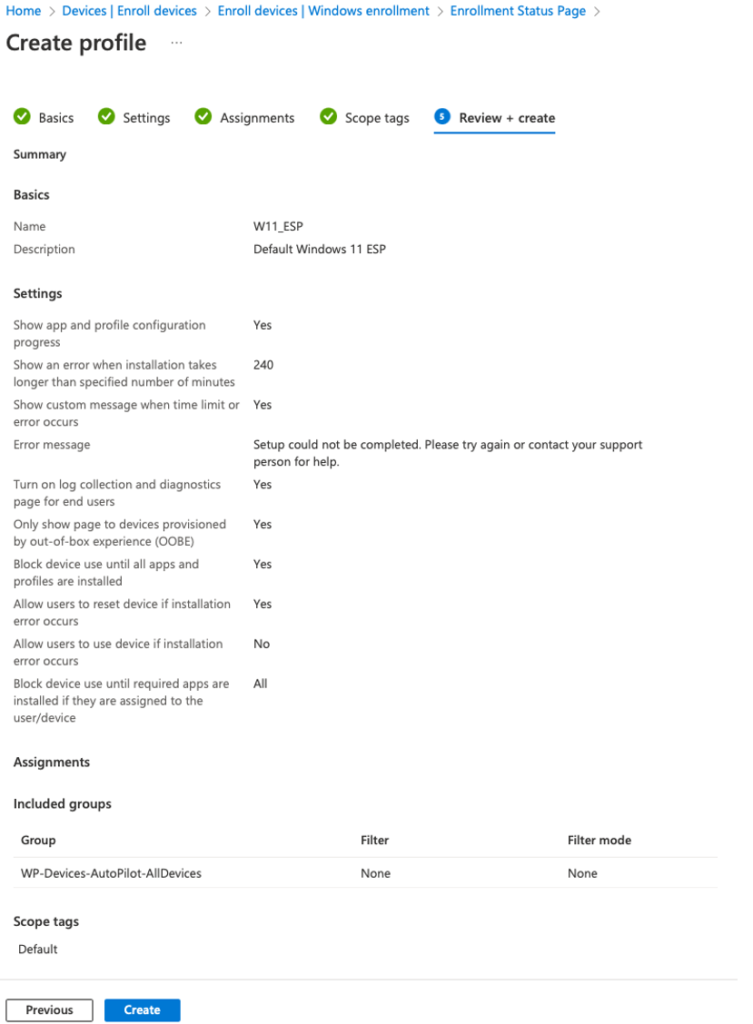
Toggle the “Show app and profile configuration progress” from No to Yes.
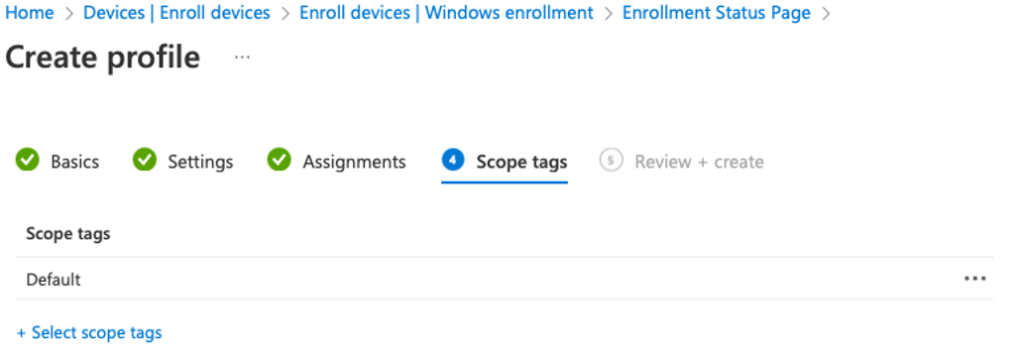
Change it to the following values:
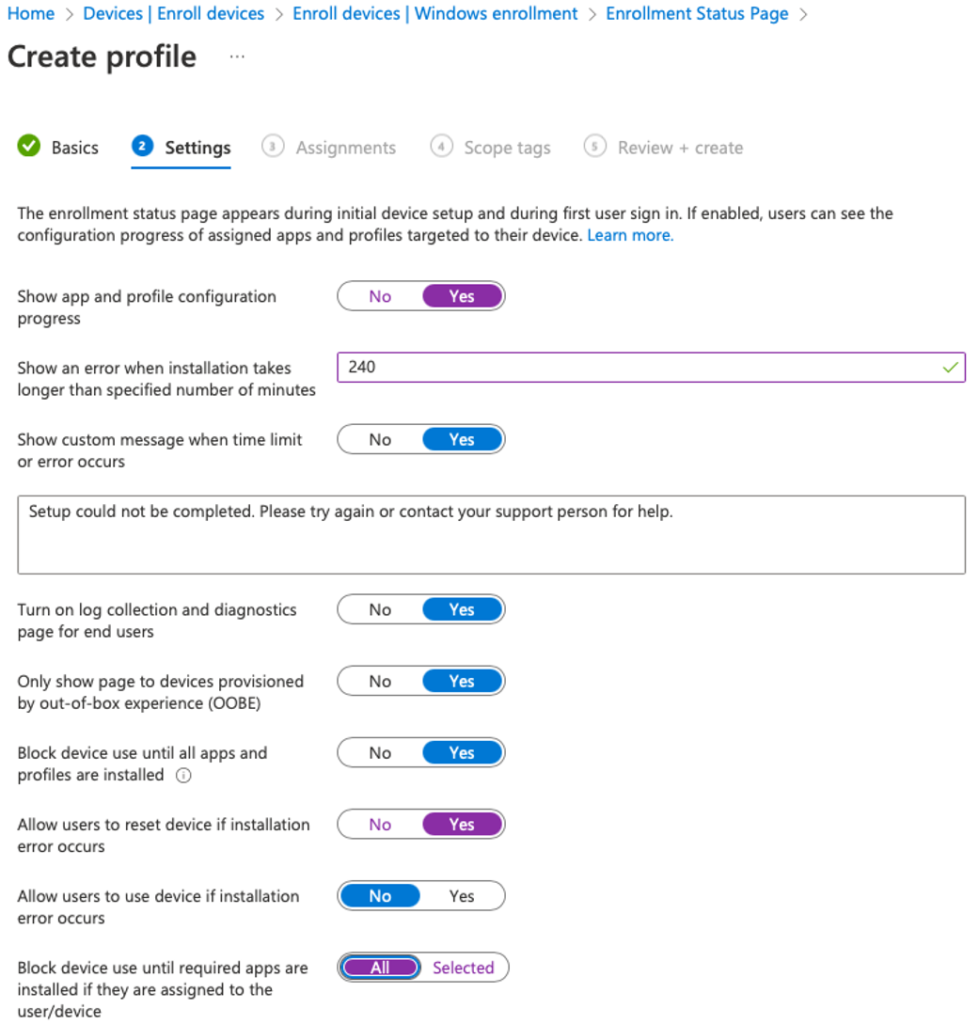
[Next]
For now we leave the “Block device use until required apps are installed if they are assigned to the user/device” set to all, once we have some application packaged and added to Intune, we will change this to Selected and select those applications we want to be 100% installed before a user can login and start using the device (for example a user needs Office and Chrome from the very first moment).
Assign this ESP to the “WP-Devices-AutoPilot-AllDevices” dynamic AAD group we just created.
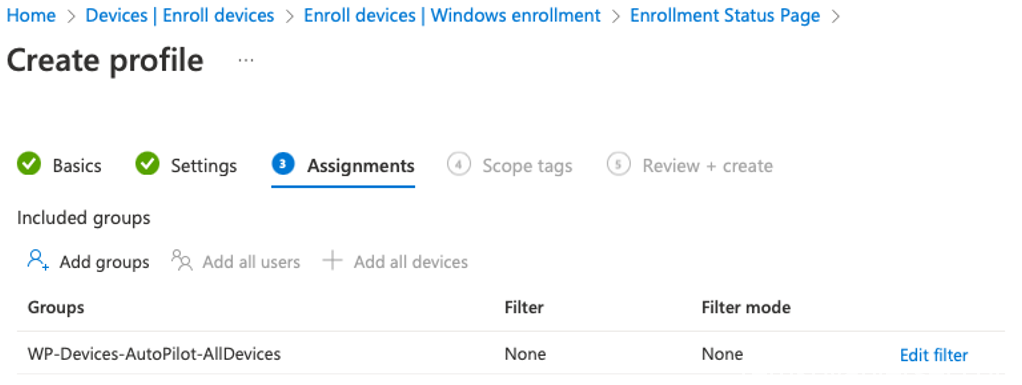
[Next]
[Next]
[Create]
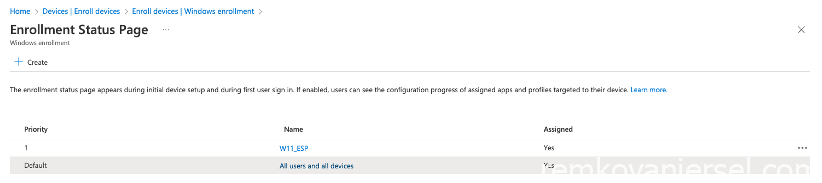
The new ESP has been created, notice the priority of this being higher (1) as the Default one.
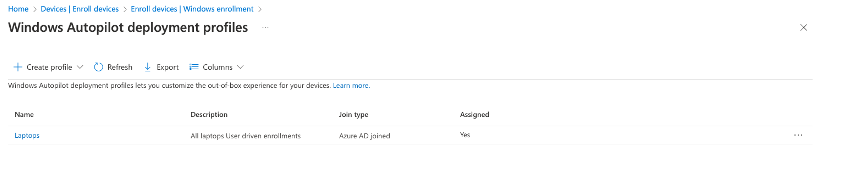
Create a Deployment Profile
In the Intune portal go to Devices > Enroll devices > (Windows Autopilot Deployment Program) > Deployment Profiles
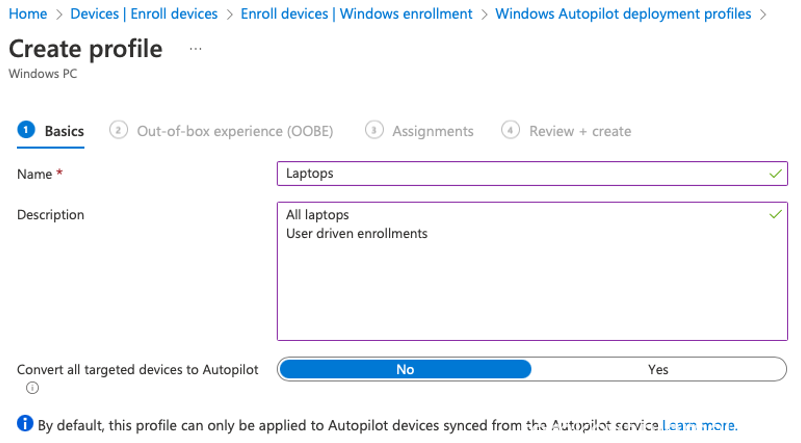
Click on [+ Create profile] and select Windows PC
[Next]
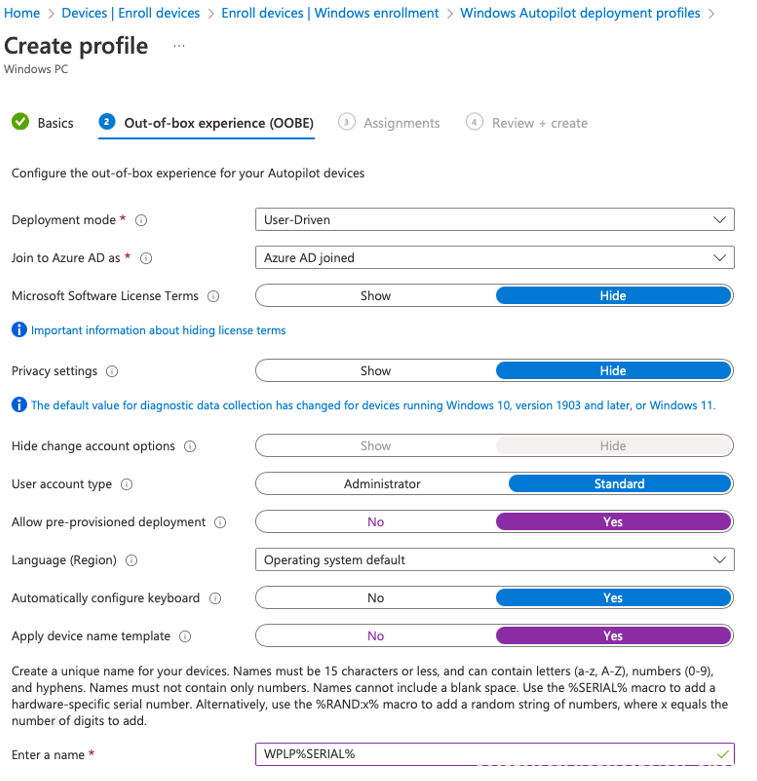
Configure the following settings (purple)
[Next]
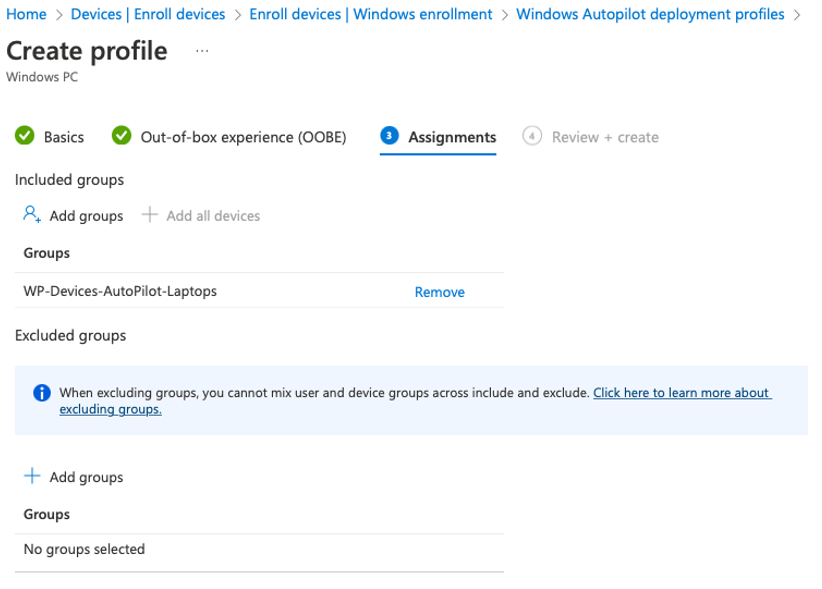
Assign to “WP-Devices-AutoPilot-Laptops”
[Next]
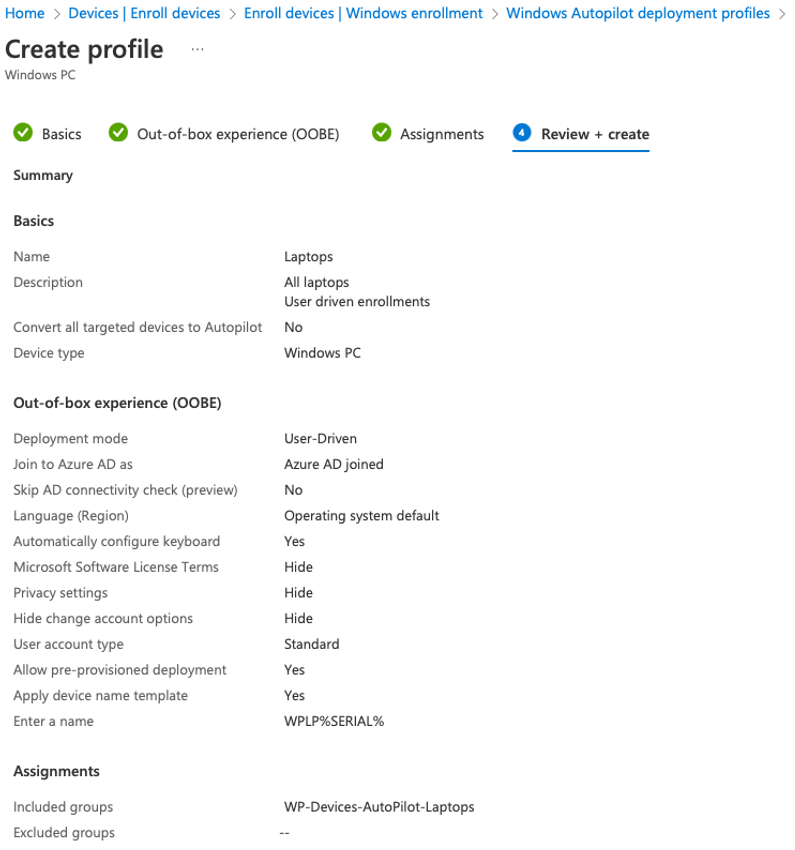
[Create]
Import device into Autopilot database
Install a clean “vanilla” Windows 11, do not sign on with your Microsoft account, just create a local account.
Open Powershell prompt (run as admin) and run the following cmdlets (accept all prompts with yes)
New-Item -Type Directory -Path "C:\HWID"
Set-Location -Path "C:\HWID"
$env:Path += ";C:\Program Files\WindowsPowerShell\Scripts"
Set-ExecutionPolicy -Scope Process -ExecutionPolicy RemoteSigned
Install-Script -Name Get-WindowsAutopilotInfo
Get-WindowsAutopilotInfo -OutputFile AutopilotHWID.csv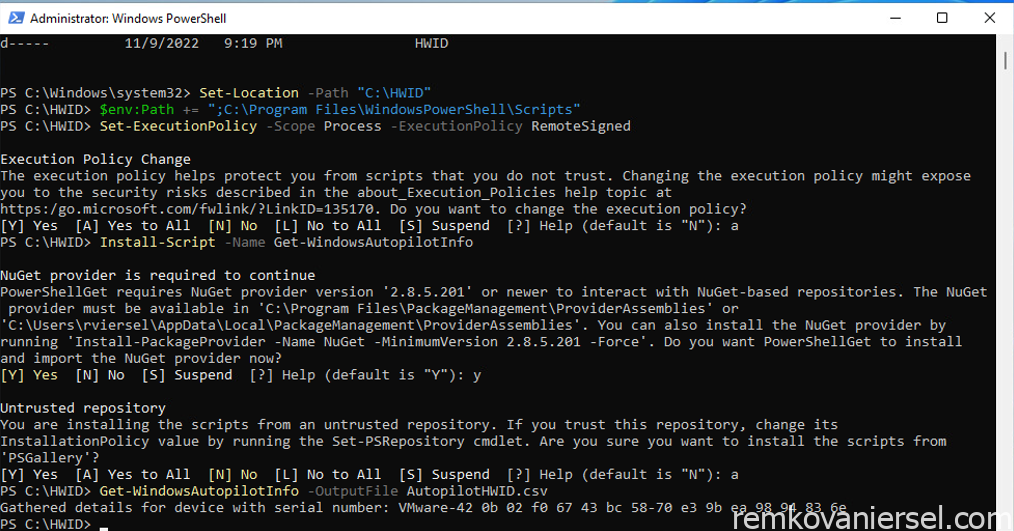
Copy the “AutopilotHWID.csv” file to a location from which you can import this into the Autopilot database via the Intune Management Portal (eg USB stick or Onedrive)
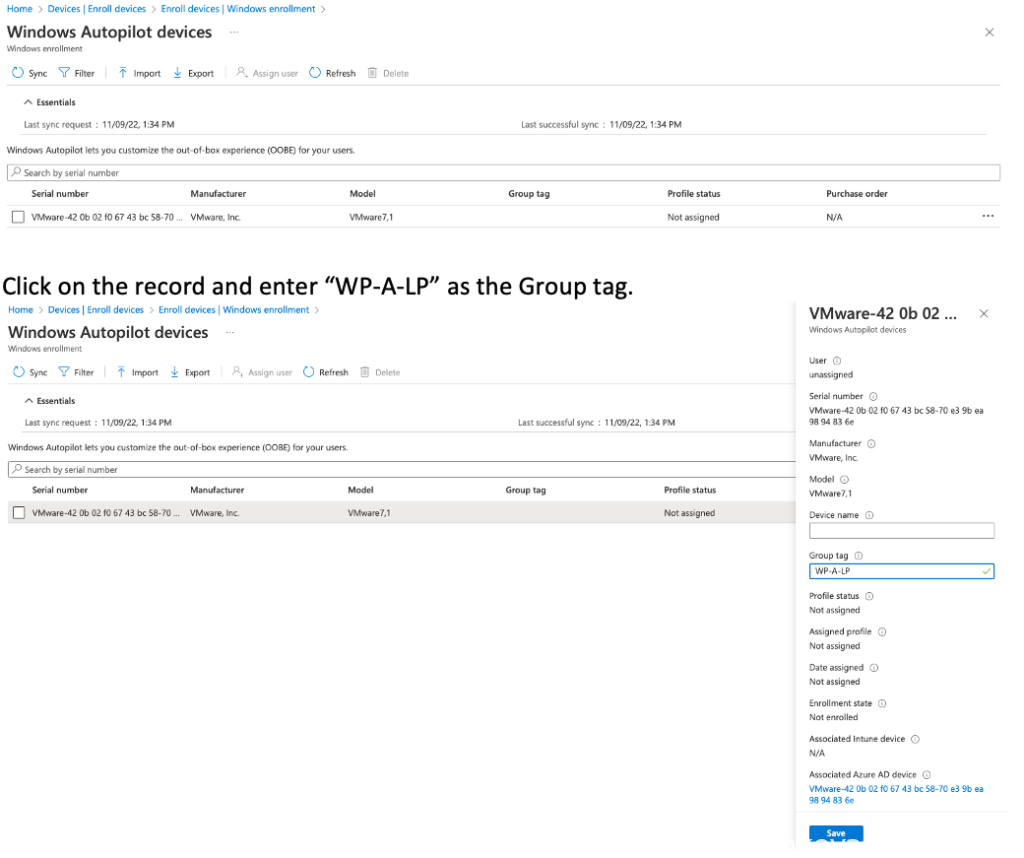
In the Intune portal go to Devices > Enroll devices > (Windows Autopilot Deployment Program) > Devices
[Devices]
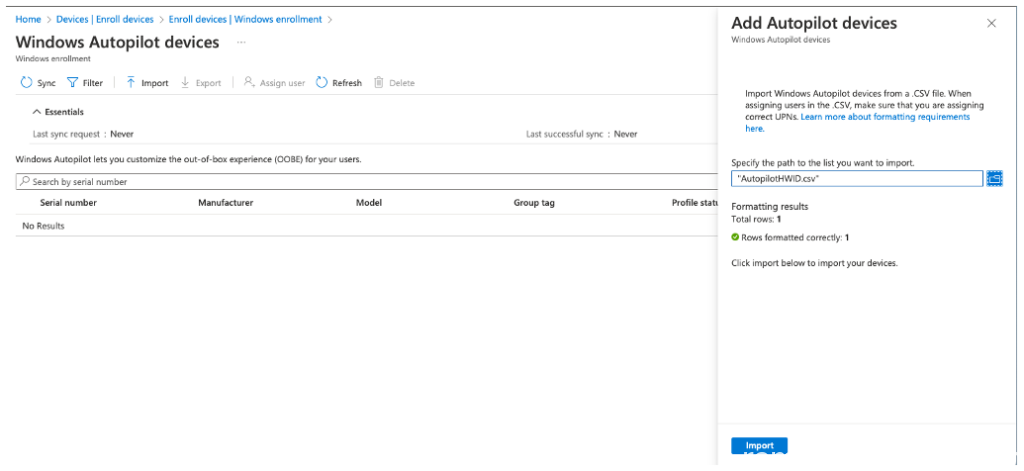
Choose the exported CSV and click on [Import]
Intune is now importing the devices which can take a while
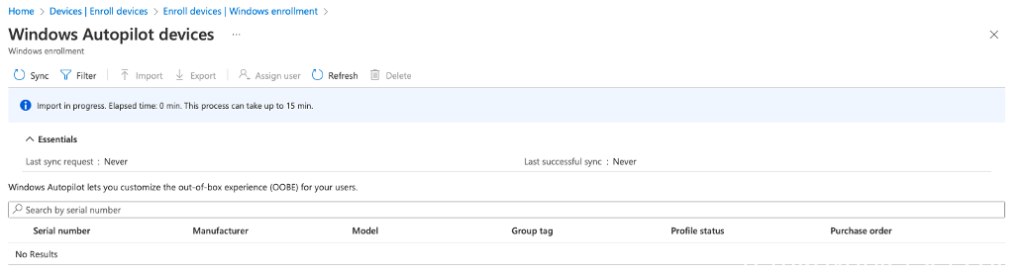
(refresh after 5-10 minutes). Device is now imported.
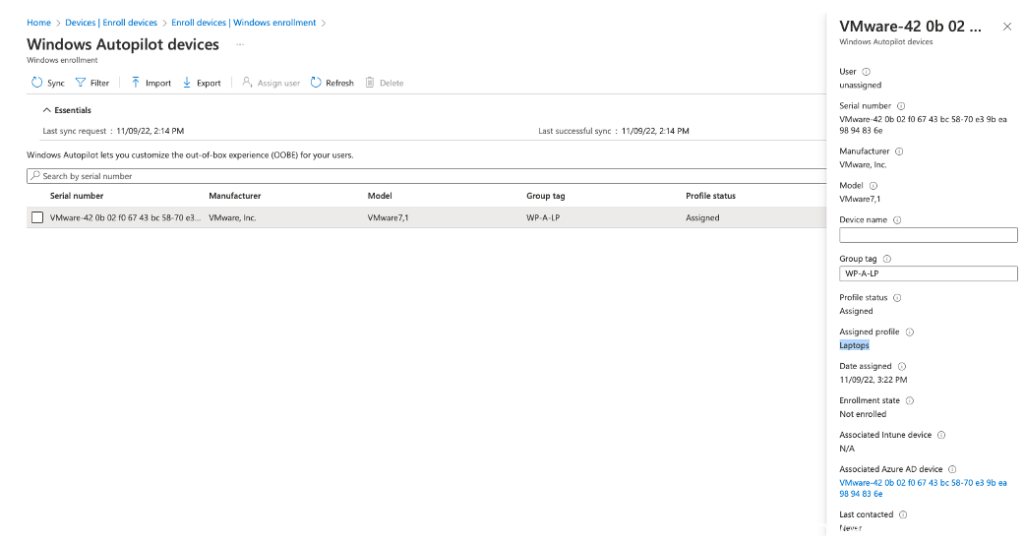
Click on the device record and assign the group tag “WP-A-LP”
Click on refresh every 5 minutes.
It is very important to make sure the group tag is assigned and that the profile status changed to a assigned status!
This can take a while (up to 24 hours since it’s a complete new group, up to 30 minutes for new devices) as Azure AD needs to update the dynamic AAD group for the laptop.
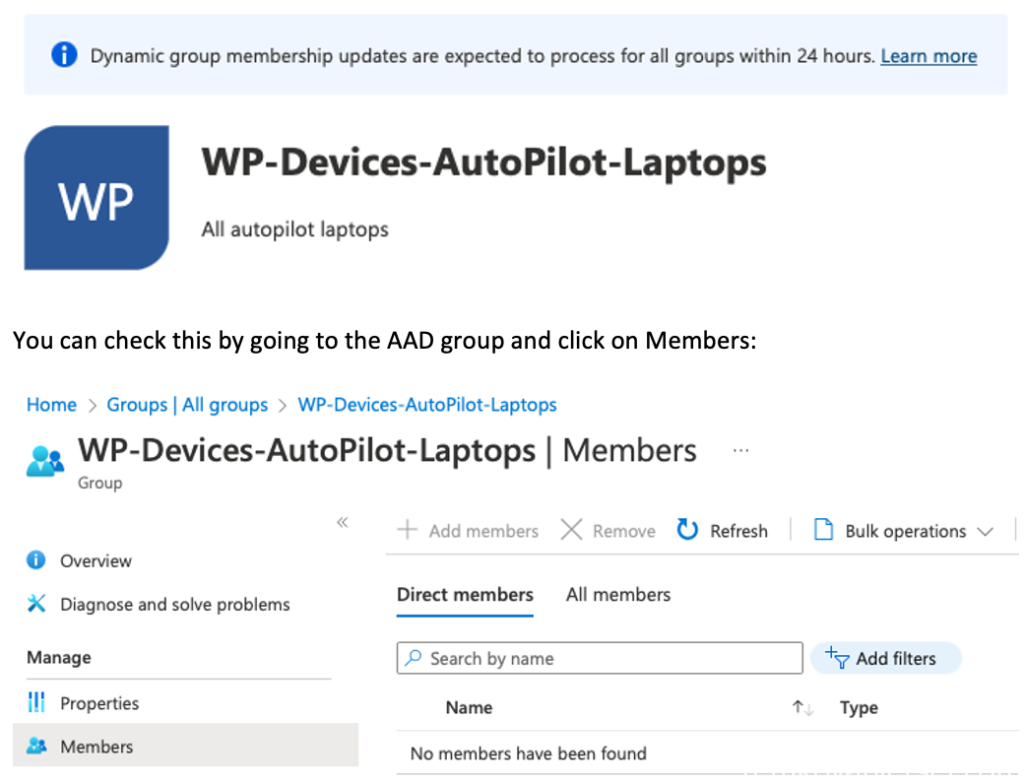
Empty for now… just wait for it…
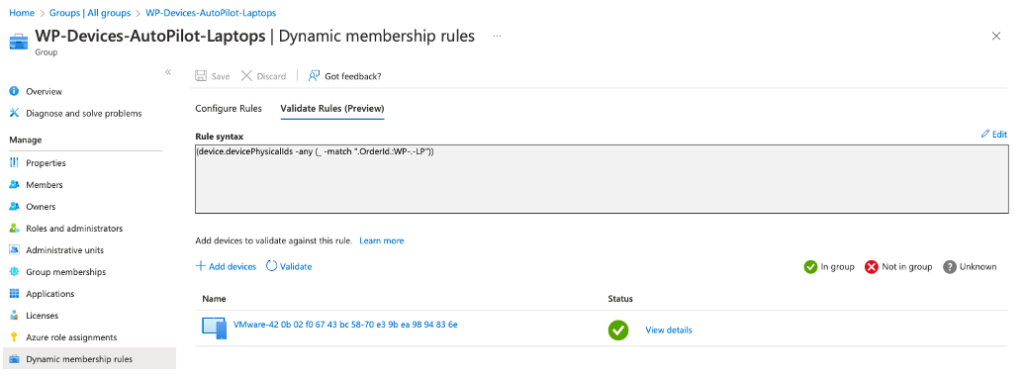
If you go to Dynamic membership rules, you can check via the Validate Rules if the Autopilot device status is passed as green OK:
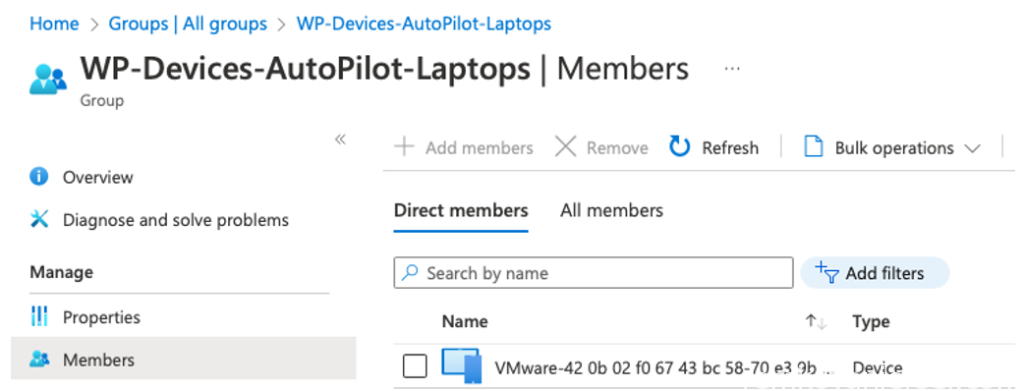
After 1 hour the device got added automatically:
Notice the profile status has changed to Assigned to the Laptop Deployment Profile:
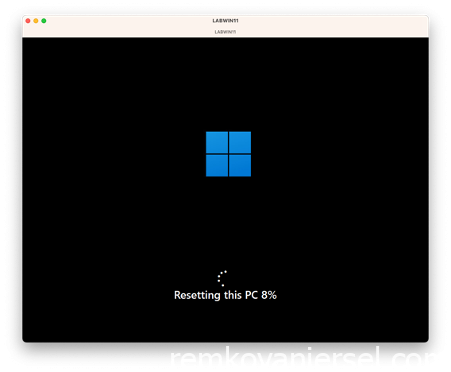
Reset device
Now that the Windows 11 device is imported in Autopilot and assigned to the deployment profile and ESP, we can reset it.
Wait 2 hours first, as processing by Microsoft can take some time…
On the Windows 11 device launch Powershell prompt (run as Admin) and type:
systemreset –factoryreset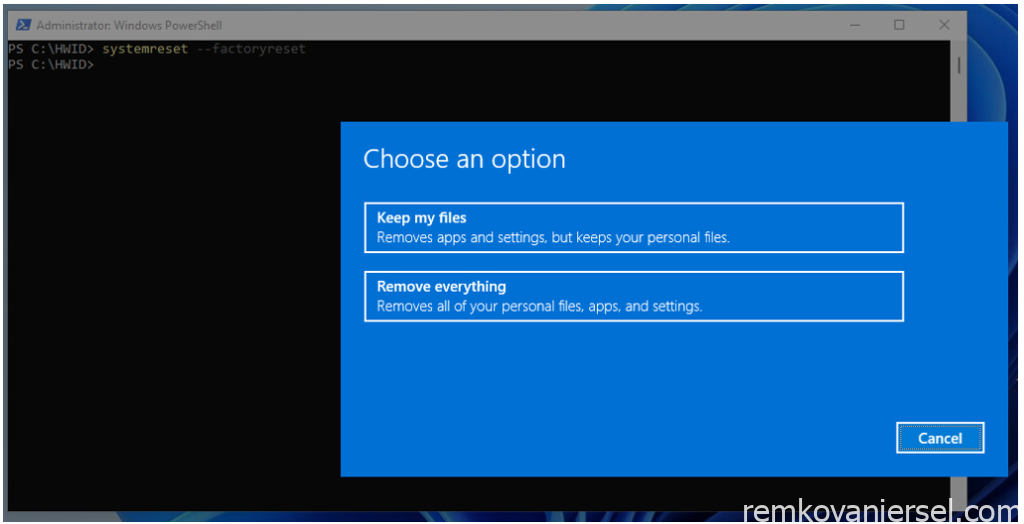
[Remove everything]
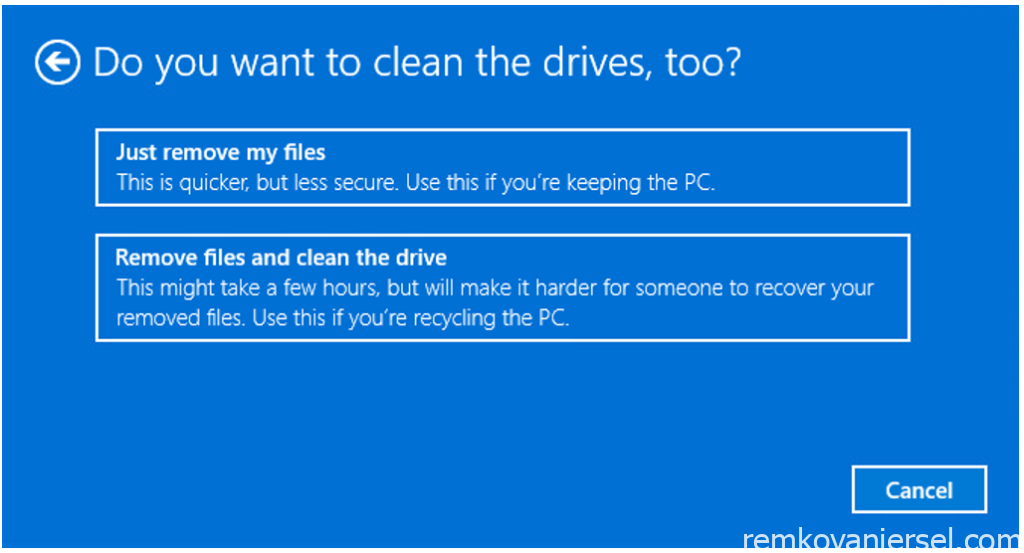
[Just remove my files]
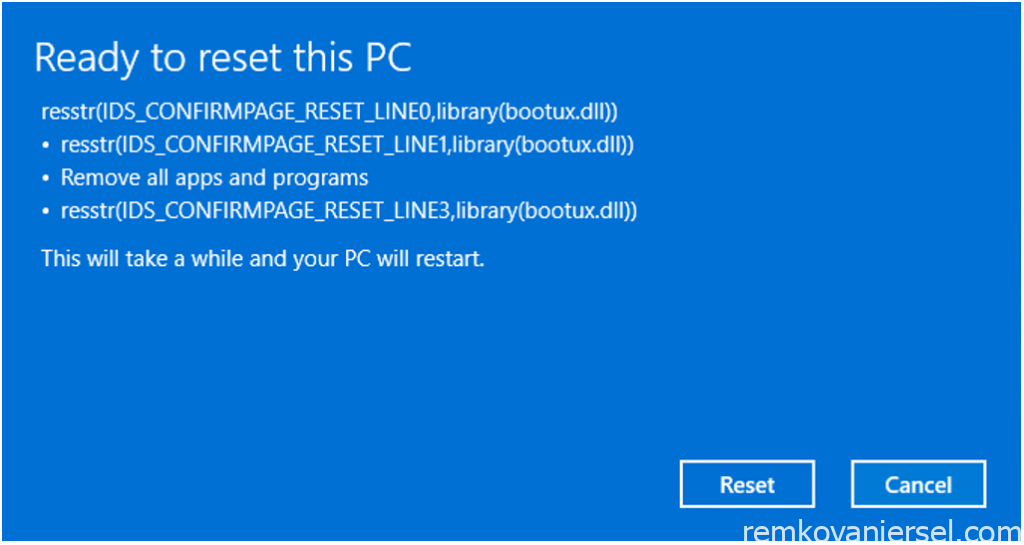
[Reset]

After a while Windows will automatically restart
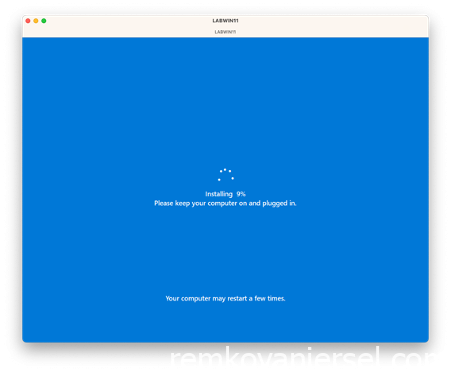
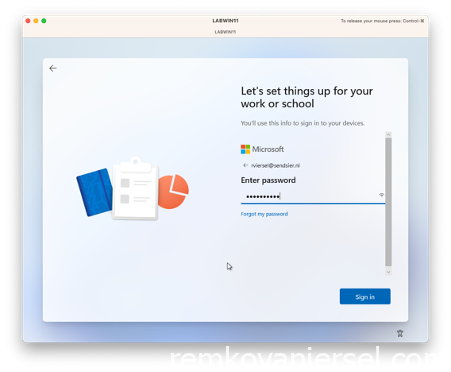
Login with the username mail address
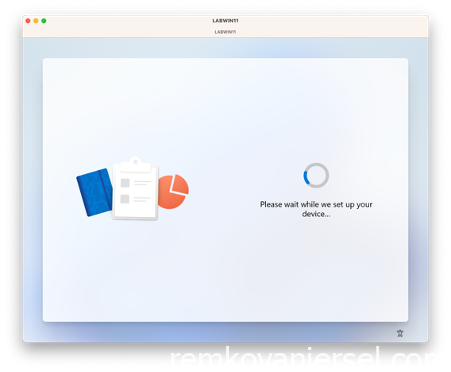
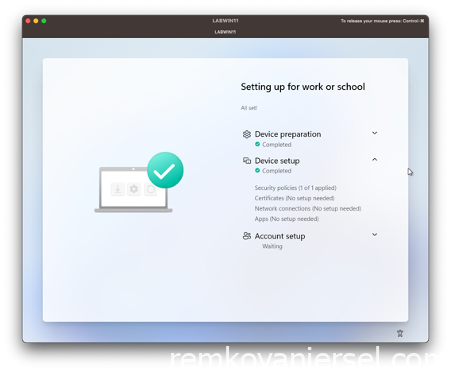
Now you can see the Autopilot enrollment kicking off
After this is done, the device will reboot
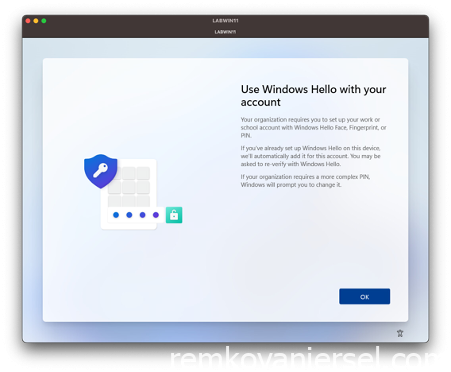
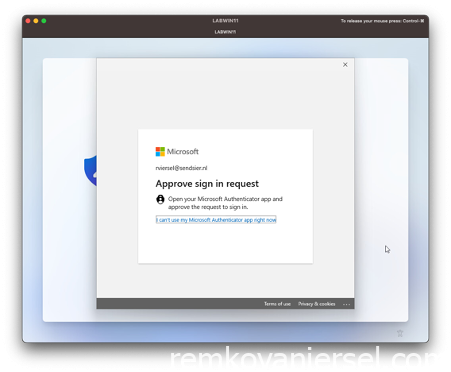
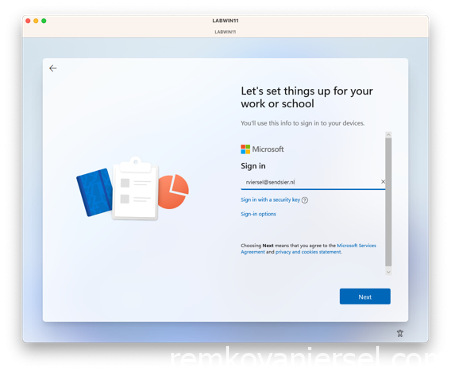
Approve MFA
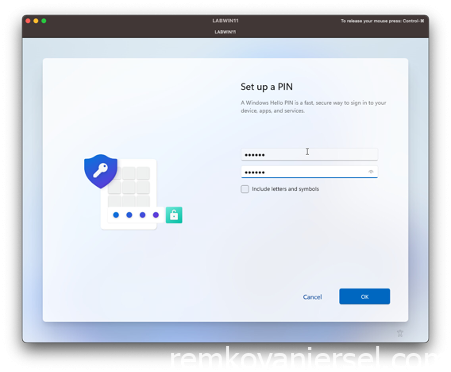
Setup a PIN
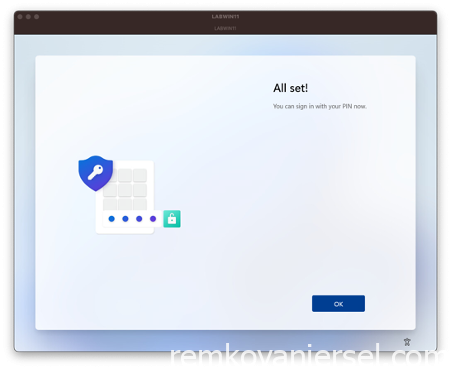
All done and set ! 🤠
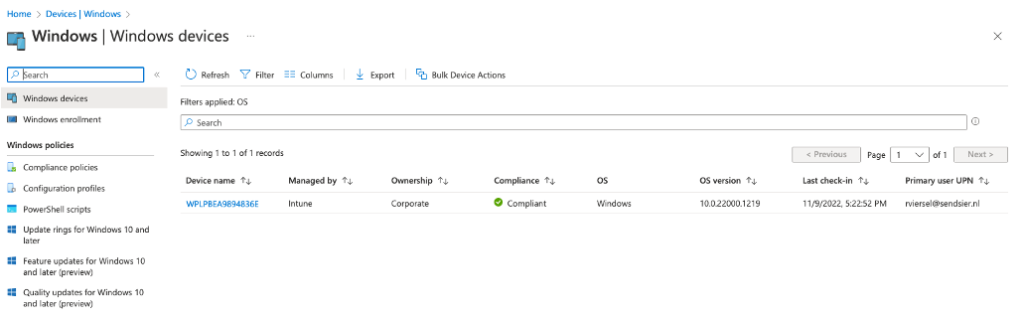
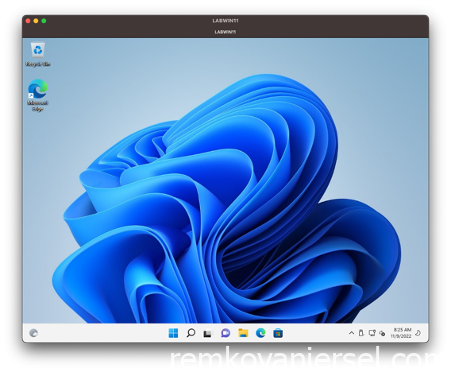
In the Intune portal you will see the newly enrolled windows device